[Old Editor] Using LayersUpdated 6 months ago
Notice - This information is only relevant for users still using the old portal. If you purchased your Luxedo projection system during or after 2024, please consult this guide instead: https://luxedo-support.gorgias.help/en-US/articles/editor-tools-and-tips-for-show-creation-109408
Layers are simply ways group objects. All objects (shapes, media, etc.) ultimately must belong to a layer.
By default every project starts with two layers:
- The Audio Layer - The layer into which all audio is deposited. There is only one audio layer.
- Layer 0 - The first 'graphical' layer. There can be many of these, but there must always be at least one.
Any new objects which are added to a project will automatically be deposited in Layer 0 until a new layer is added.
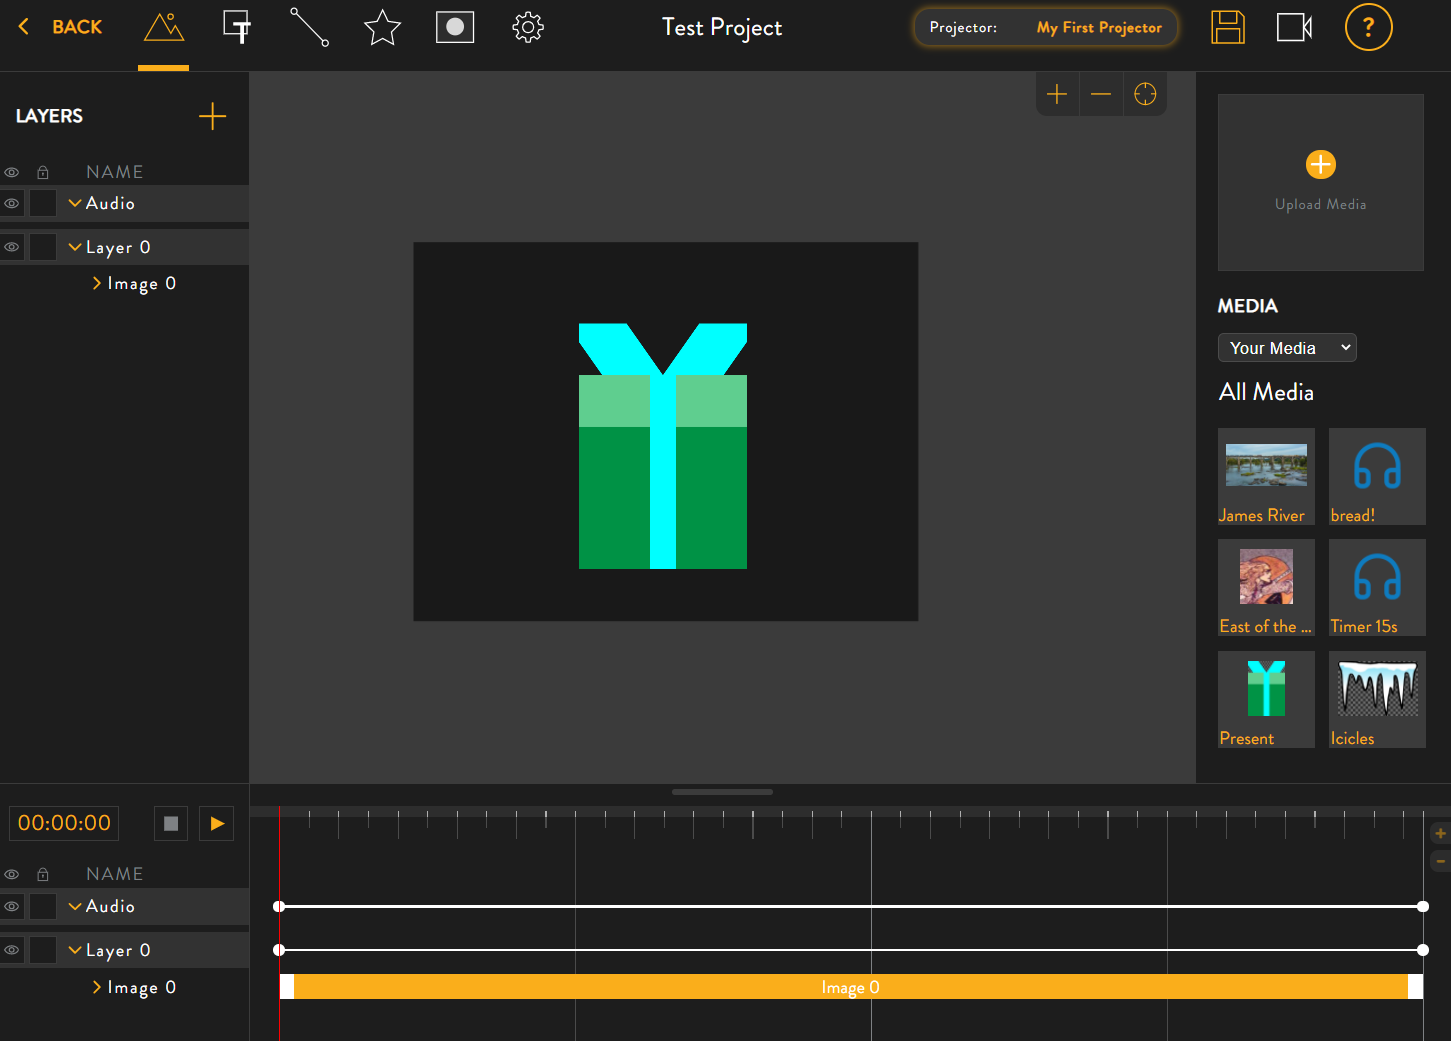
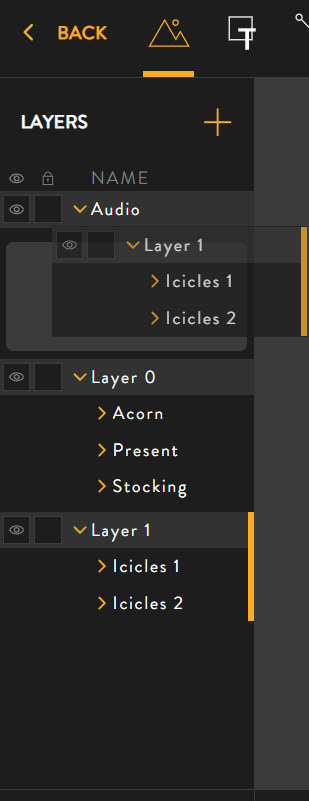
All layers will appear in the layer toolbar, which is located on the left-hand side of the project editor. In the screenshot below, only the default layers are shown.

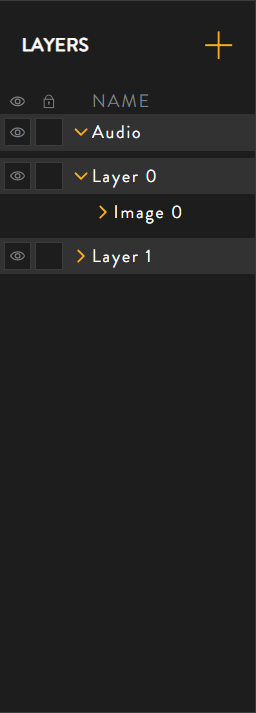
If a new object is added it will appear in Layer 0:
Adding A New Layer
To add a new layer, click the  icon in the top left of the layer toolbar.
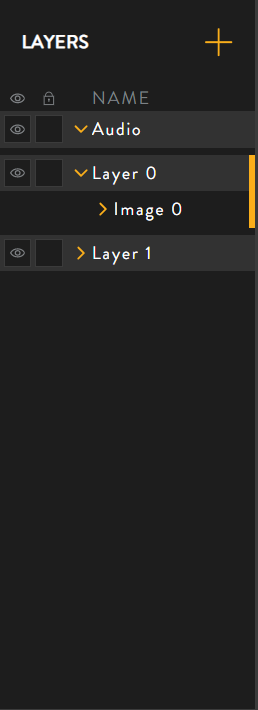
You can select a layer by left-clicking on it. The current selected layer will have an orange ribbon to the right like Layer 0 in the screenshot below:
New objects which are added to the project will be added to the current selected layer.
Changing Stack Order
The primary use for layers is to change the stack order of the project. 'Stack order' simply tells the project which objects should appear in front of other objects. The layers column indicates which objects will be at the front of the project.
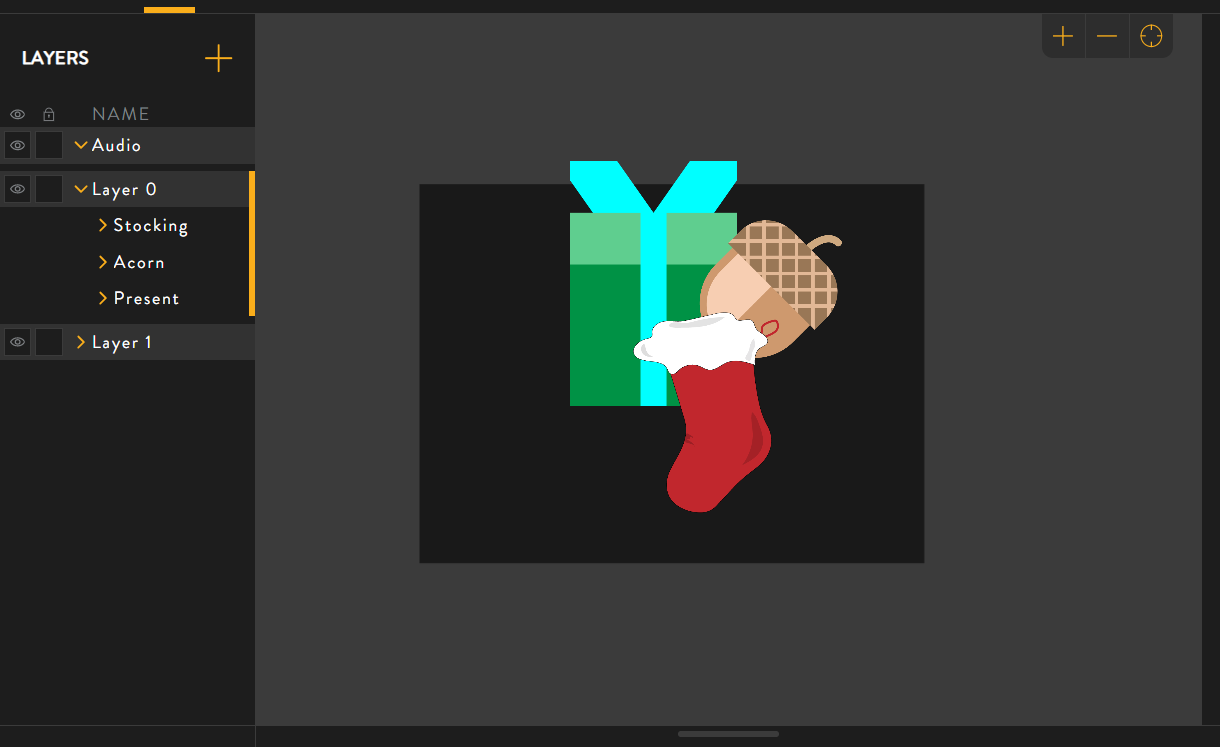
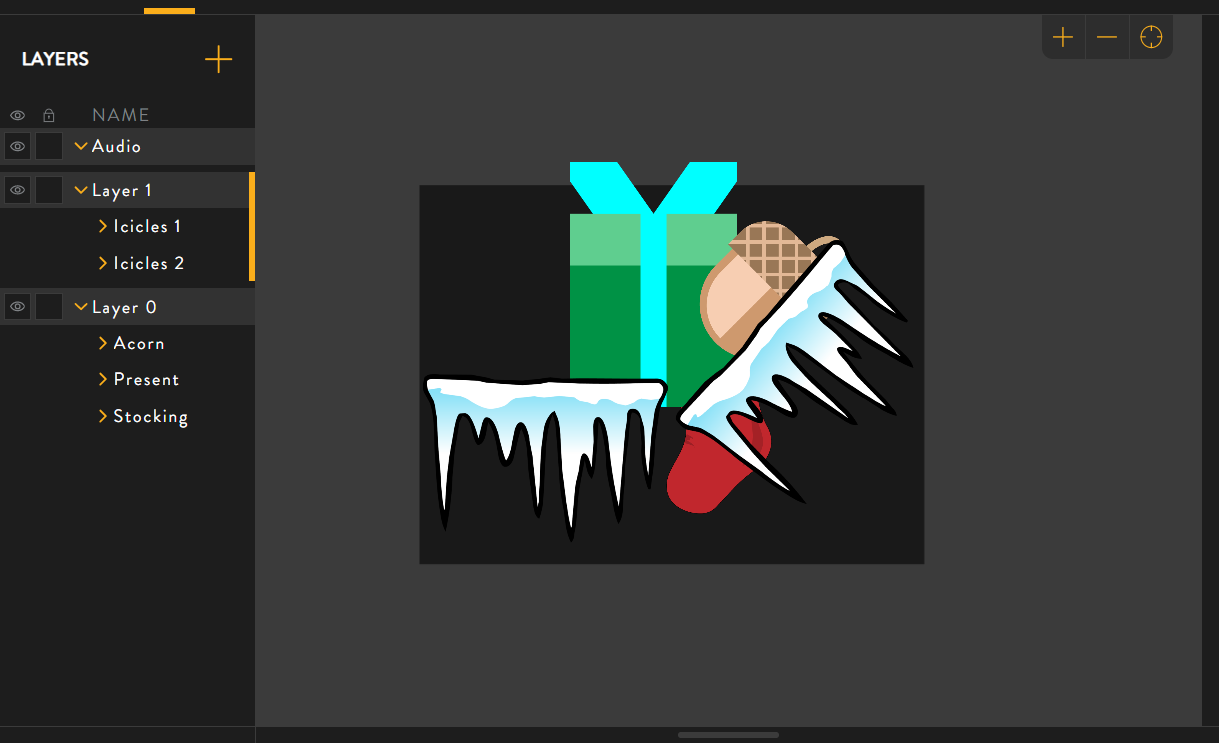
In the below example, there are three image resource objects in the project. The stocking image is in front of the other images because it is higher up in the layer list on the left.
To change stack order, click and drag the name of an object in the layer list:
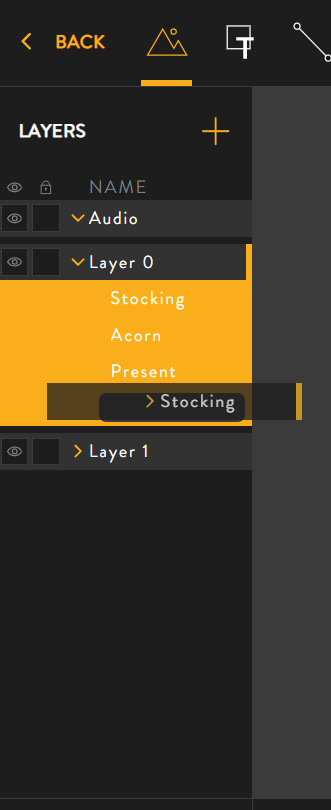
Now that it has moved, the stocking appears behind the other objects.
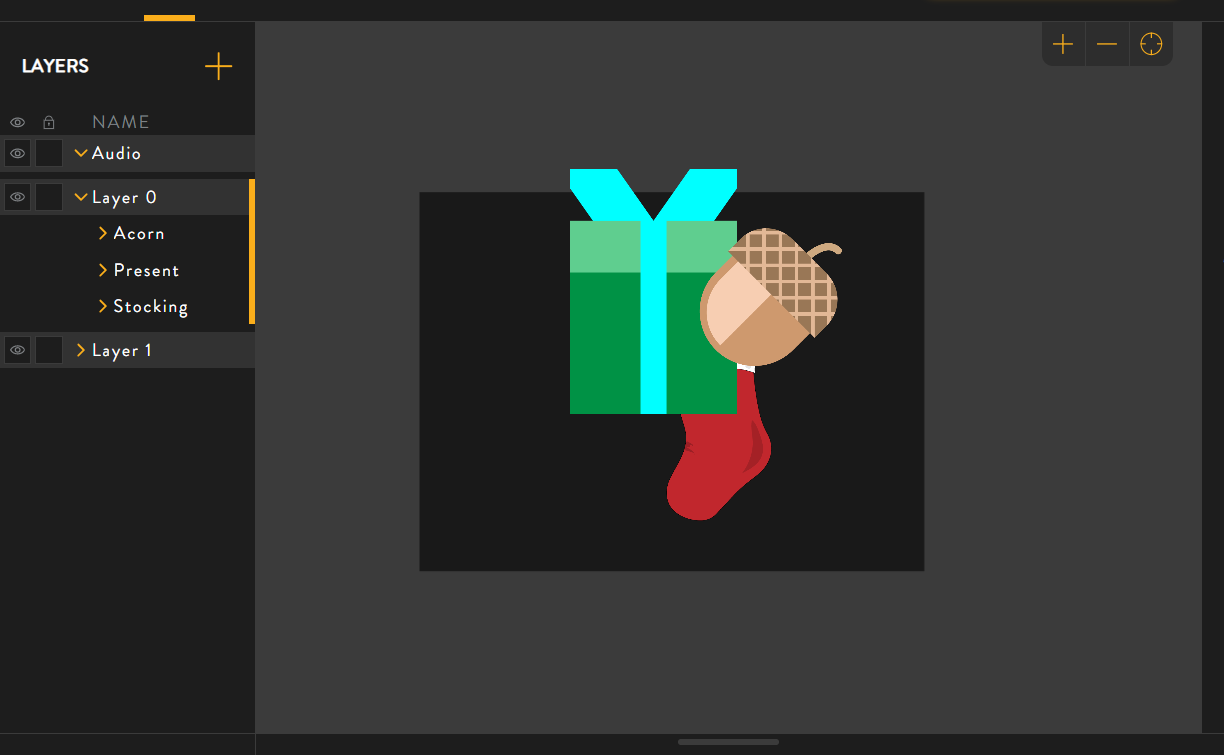
Layers behave the same way as individual objects when it comes to stack order. In the screenshot below I have added two more image resources (icicles 1 and 2) to Layer 1. Since Layer 1 is below Layer 0, the icicles appear behind the other objects.
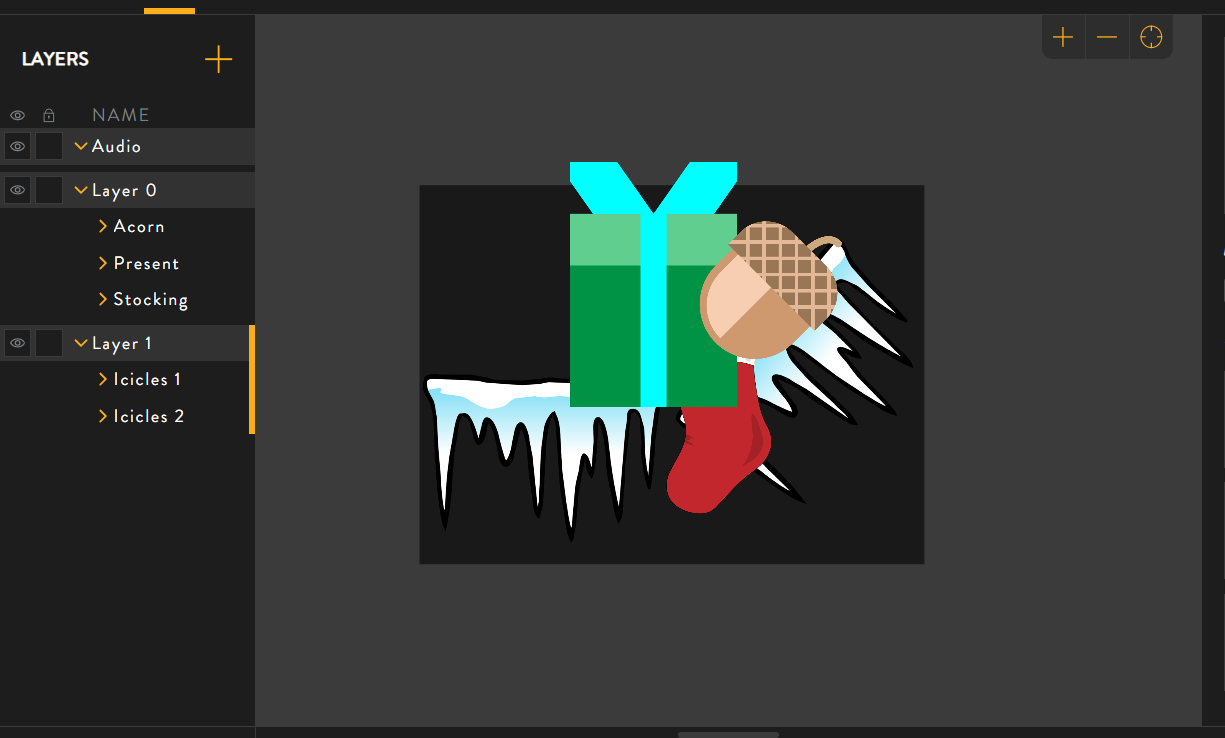
If we click and drag Layer 1 to move it above Layer 0:
The icicles now both appear in front of all of Layer 0's objects.
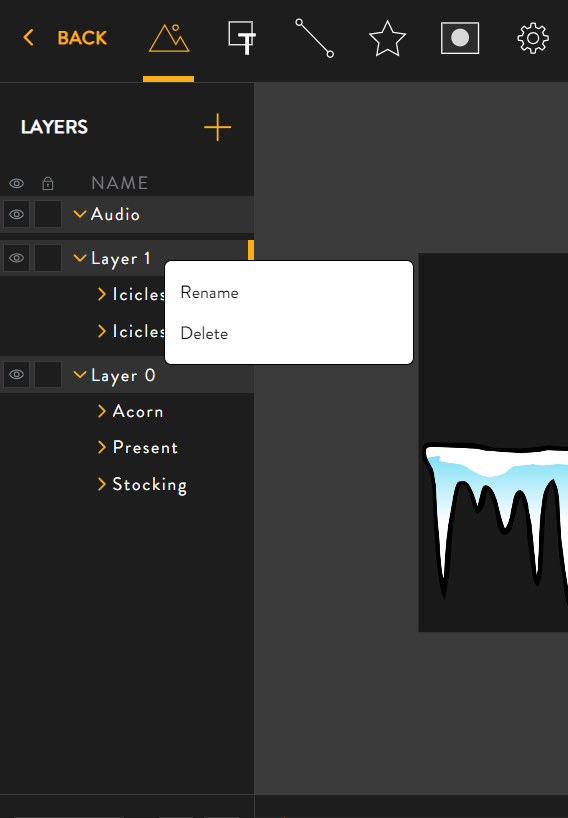
Renaming Layers
Lastly, layers can be renamed by right-clicking them and selecting 'Rename'.