Animating in the Scene EditorUpdated 6 months ago
If you want an object to move around or appear dynamic in your scene, chances are you will want to animate it. Luckily, animating is very simple when using the Scene Editor.
Applying an Animation
- Select the object you want to animate and click the "Animate" button (
 ) in the Edit Panel - this will open the New Animation menu.
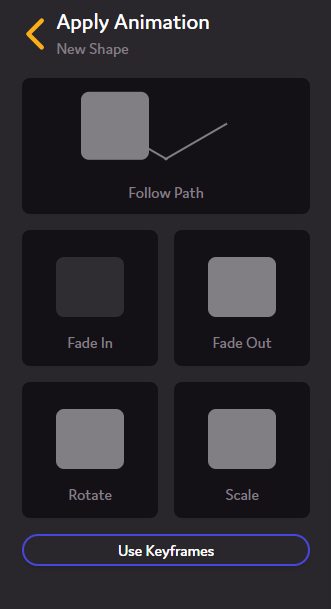
- Select the animation you want to apply (in this tutorial, we are selecting the "Follow Path" option) - this will open the animation options.
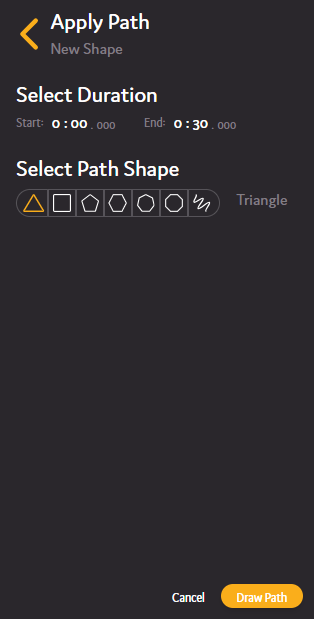
- Select the duration by editing the start and end inputs - this will modify when the animation is active.

- Select the shape you want the object to follow (this can be adjusted in the future).

- Click the "Draw Path" or "Animate" button (
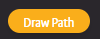 ) to apply the animation.
If you selected the follow path animation, follow the instructions under "Drawing Path".
Editing an Animation
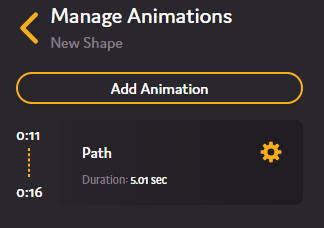
- Locate the animation you want to edit and click the cog icon (
 ) - this will open the edit animation menu.
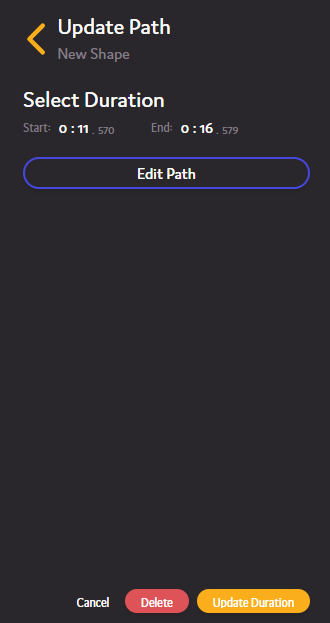
- Modify the properties you need changed and click "Update". If editing a "Follow Path" animation, and you need to adjust the path it takes, click the "Edit Path" button (
 ) - this will take you to the "Transform Path" menu.
- Follow the instructions and click "Complete".
Using Keyframes
Keyframes allow you to be more precise with your animations, but are more complicated and restrict the modified object from using other animations.
Keyframes are not recommended if you do not have prior experience with them.
Keyframes are points in an objects timeline where changes occur to the object's properties, such as position or size. These keyframes serve as markers that define the different states of an animation sequence, allowing for smooth transitions between them.
- To begin using keyframes, click the "Use Keyframes" button. It can be found under the "Manage Animations" menu (
 ) or under the "Apply Animation" menu (
 ).
). - You will be prompted to verify that you want to convert this object to use keyframes.
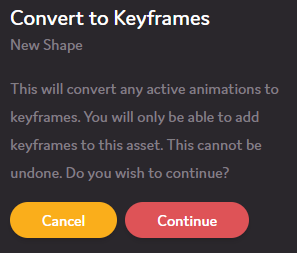
- Click "Continue" to convert the object to use keyframes - this will generate a list of keyframes for all of the animations previously applied.
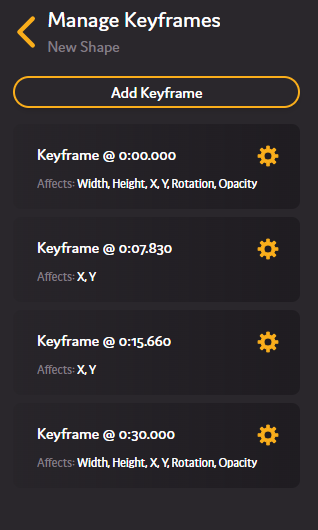 Here you can see all of the keyframes applied to this object, including their timestamp and the properties they affect. You can also now see the keyframes on the timeline - clicking on one of these keyframes will allow you to edit it.
- To add a keyframe at the current timestamp, click the "Add Keyframe" button (
 ) - this will open the keyframe edit menu.
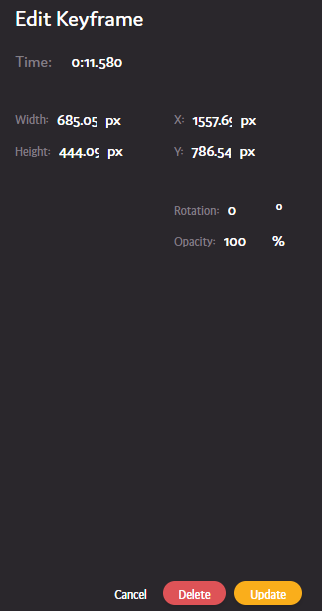
- Edit the properties you want the keyframe to modify and click the update button (
 ).
).