Editing Masks in the Scene EditorUpdated 6 months ago
You may find, after creating a mask that you need to adjust its position or modify its shape. This can be done within the left side "Edit Panel" after selecting the mask.
Selecting a Mask
There are a few different ways you can select a mask within the scene editor.
Method #1: Selecting from the Layer Panel
- Locate the layer which has a mask applied to it. It should show as a Masked Group in the Layer Panel.

- Click the yellow arrow (
 ) to expand the group.
Once expanded, you should see the mask directly below.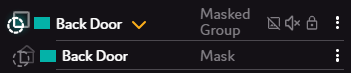
- Click the mask to select it - it will appear selected on the canvas.
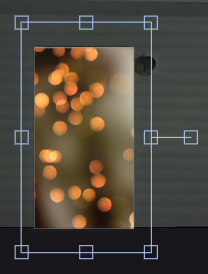
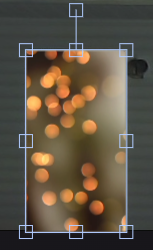
Method #2: Selecting from the Canvas
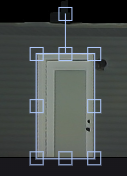
- Locate the mask on the canvas.
- Click on the edge of the mask - this will select it on the canvas.

Method #3: Selecting from the Timeline
This method requires an object (media, shape, text, ect) to be affected by the mask you are selecting.
- Locate an object affected by the mask on the timeline.

- Click on the mask icon (
 ) next to the timeline label (
 ) - this will select it on the canvas.
Method #4: Selecting from the Edit Panel
This method requires an object (media, shape, text, ect) to be affected by the mask you are selecting.
- Locate and click an object on the canvas which is affected by the mask you want to select. This will populate the right side "Edit Panel" with the properties of the selected object.
- Expand the "Advanced Options" dropdown by clicking the yellow arrow (
 ).
). 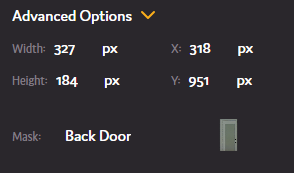
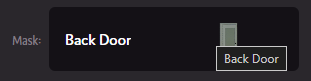
- From here, click the mask to select it.
Editing a Mask
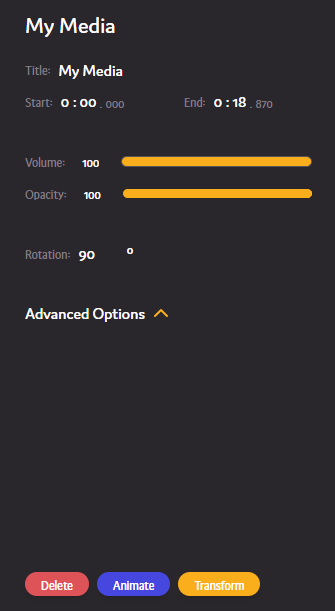
Now that the mask is selected, you can move it around simply by clicking and dragging it around the canvas, or you can further modify it from the right side "Edit Panel". 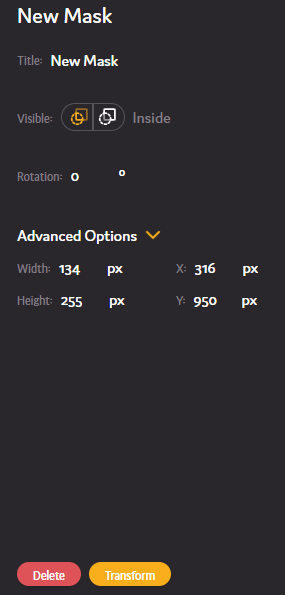
Within the Edit Panel, you can adjust the mask visibility, rotation, width, height and position.
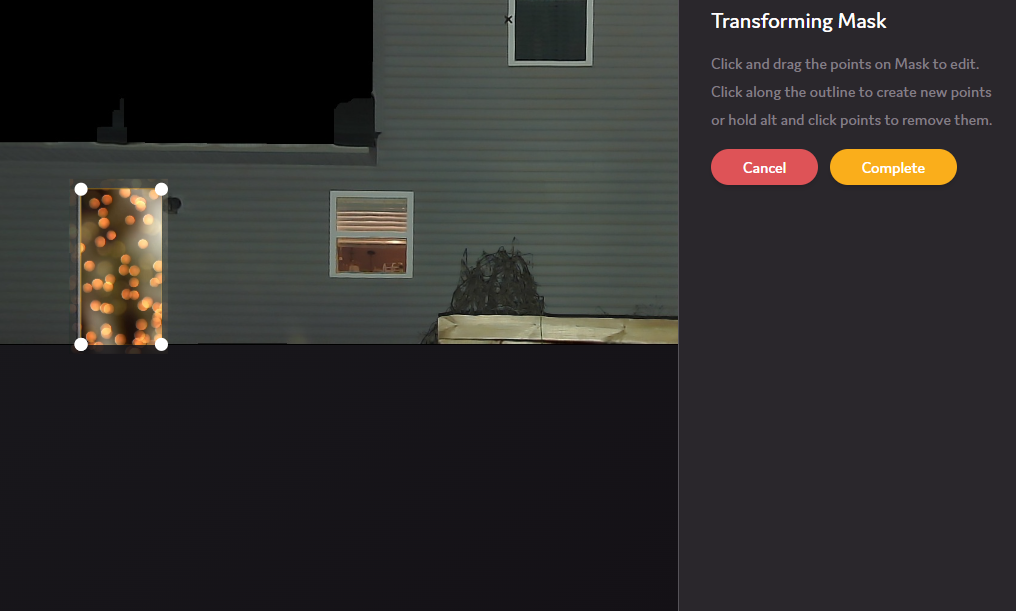
To modify the shape, click the "Transform" button ( ). This will put the mask into point edit mode, allow you to add, remove or adjust the points of the mask. Follow the instructions under "Transforming Mask" to modify the mask shape.