[Old Editor] Add Masks To Your ProjectUpdated 6 months ago
Notice - This information is only relevant for users still using the old portal. If you purchased your Luxedo projection system during or after 2024, please consult this guide instead: https://luxedo-support.gorgias.help/en-US/adding-masks-to-your-scene-458919
Masking is one of the most useful tools provided by the Luxedo software. They are also somewhat complex. Put simply, a mask allows you to 'crop out' a region of a layer to make it invisible.
The following steps will show you how to create a mask that will ensure a layer only effects the back wall of the projection region.
How To Create A Mask
For the purposes of this tutorial, I have set up a basic project with a video resource. My projector is aimed at a plain wall with a board propped up against it.
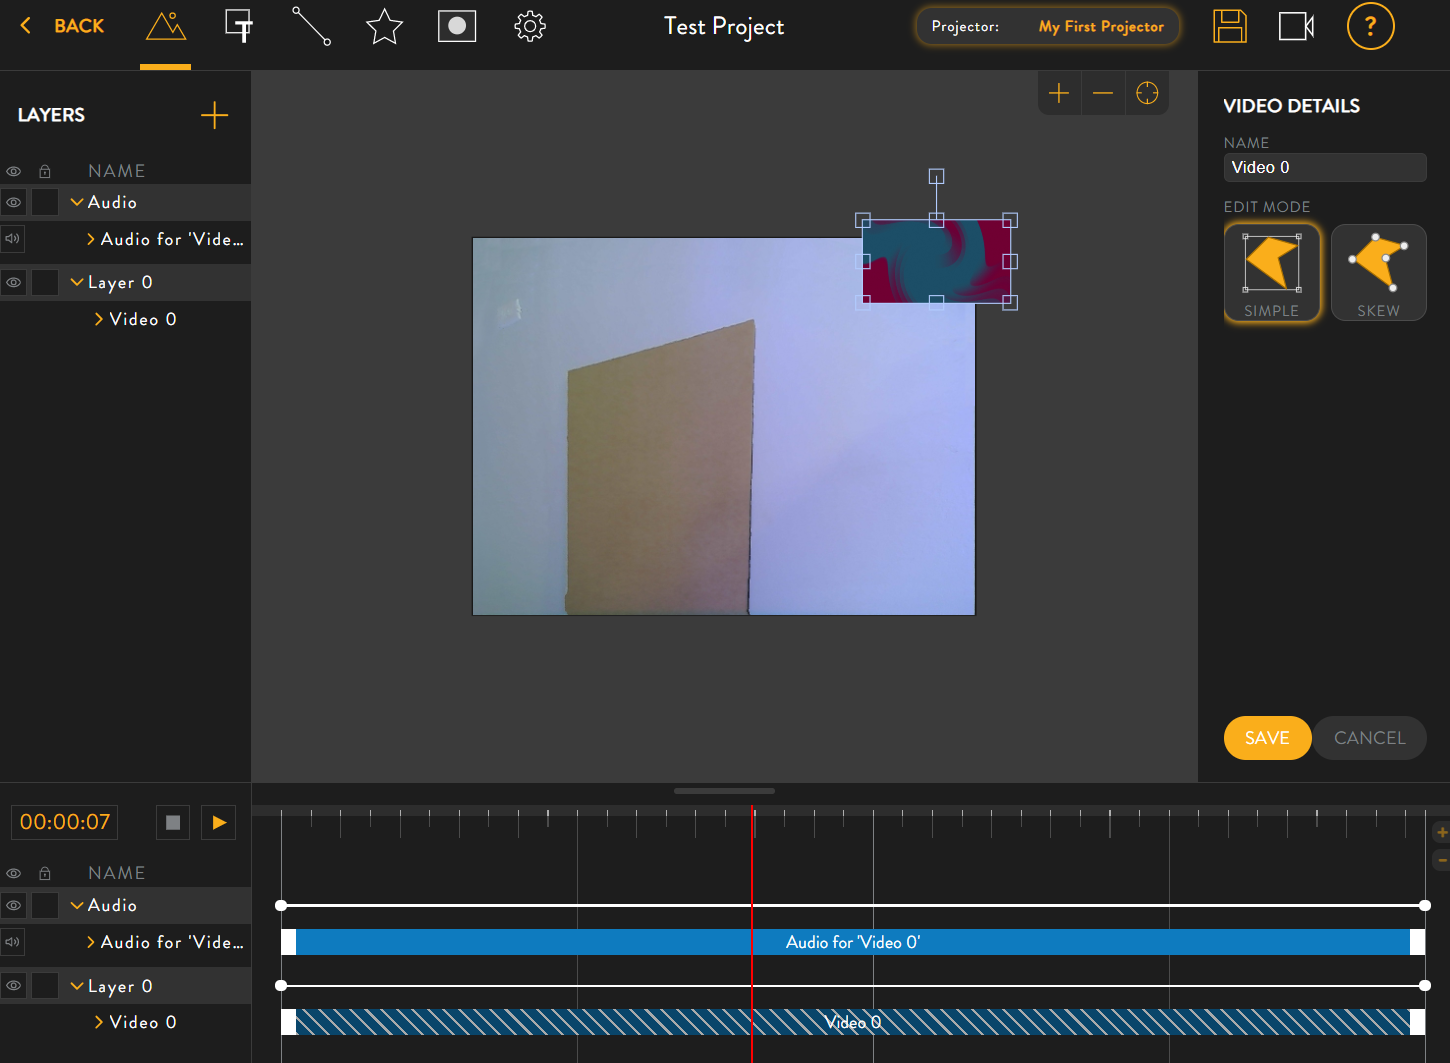
Our goal will be to cover the wall (but not the board) with the video resource. We will achieve this using masks.
First, create a new mask by clicking the mask icon in the top menu bar. 
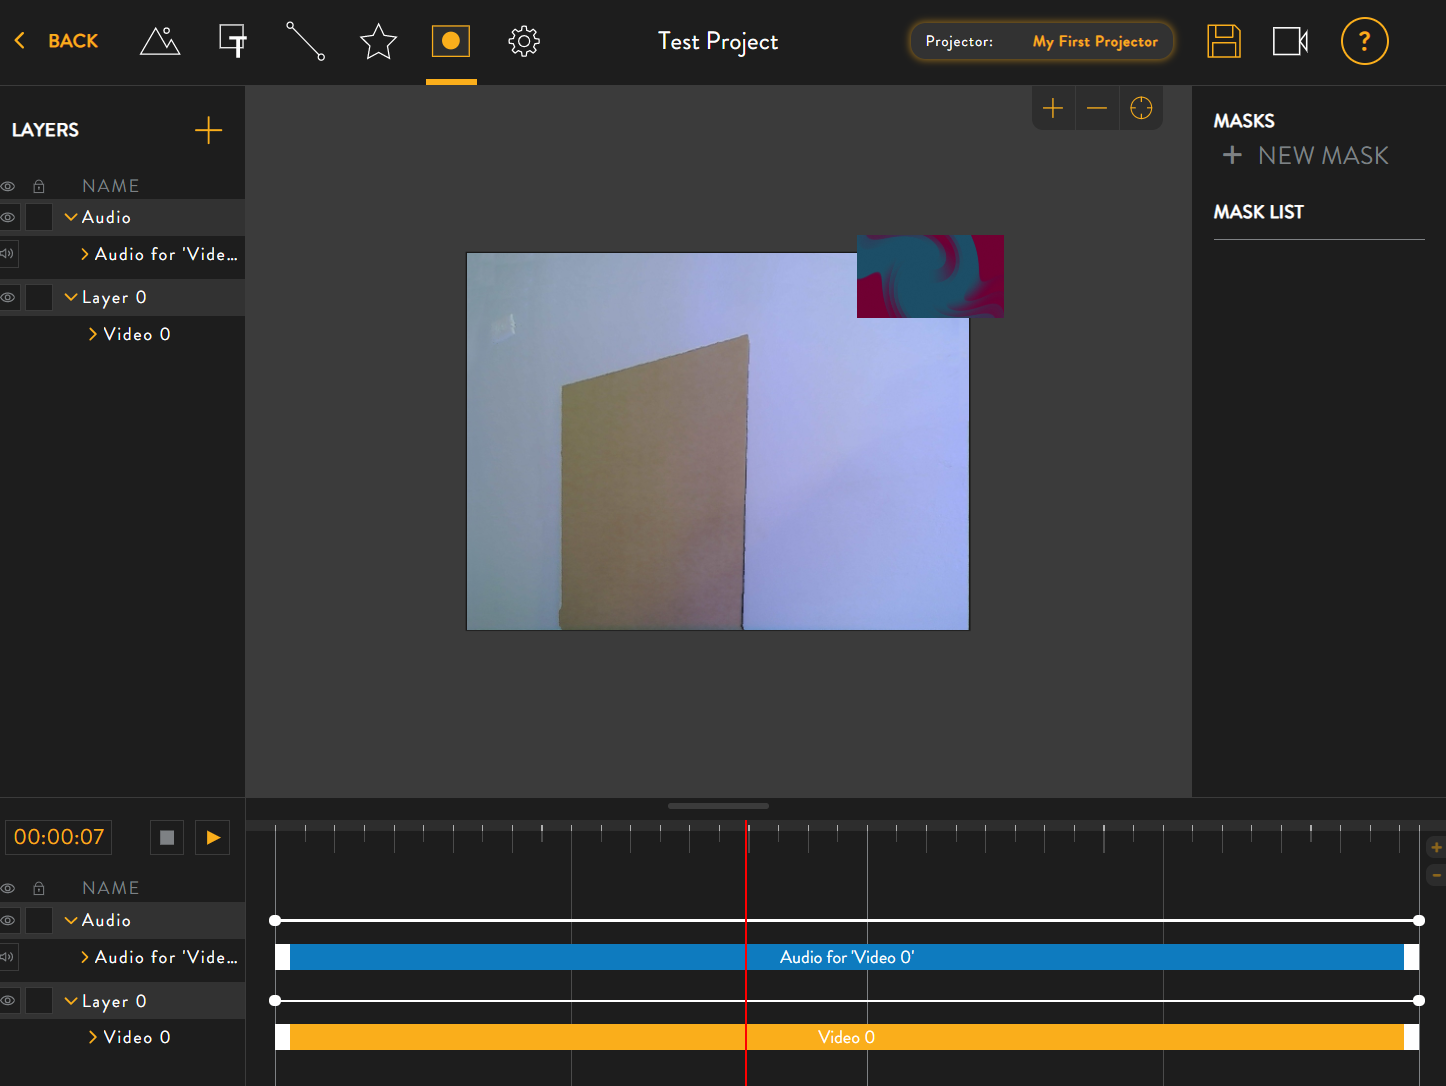
This will bring up the mask toolbar on the right. Click 'NEW MASK'.
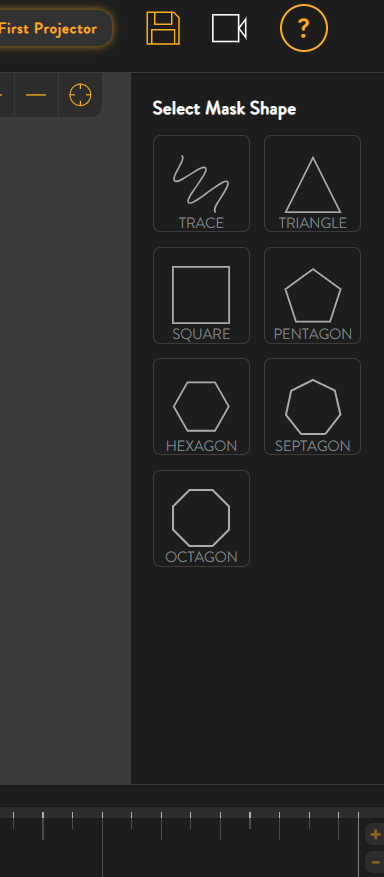
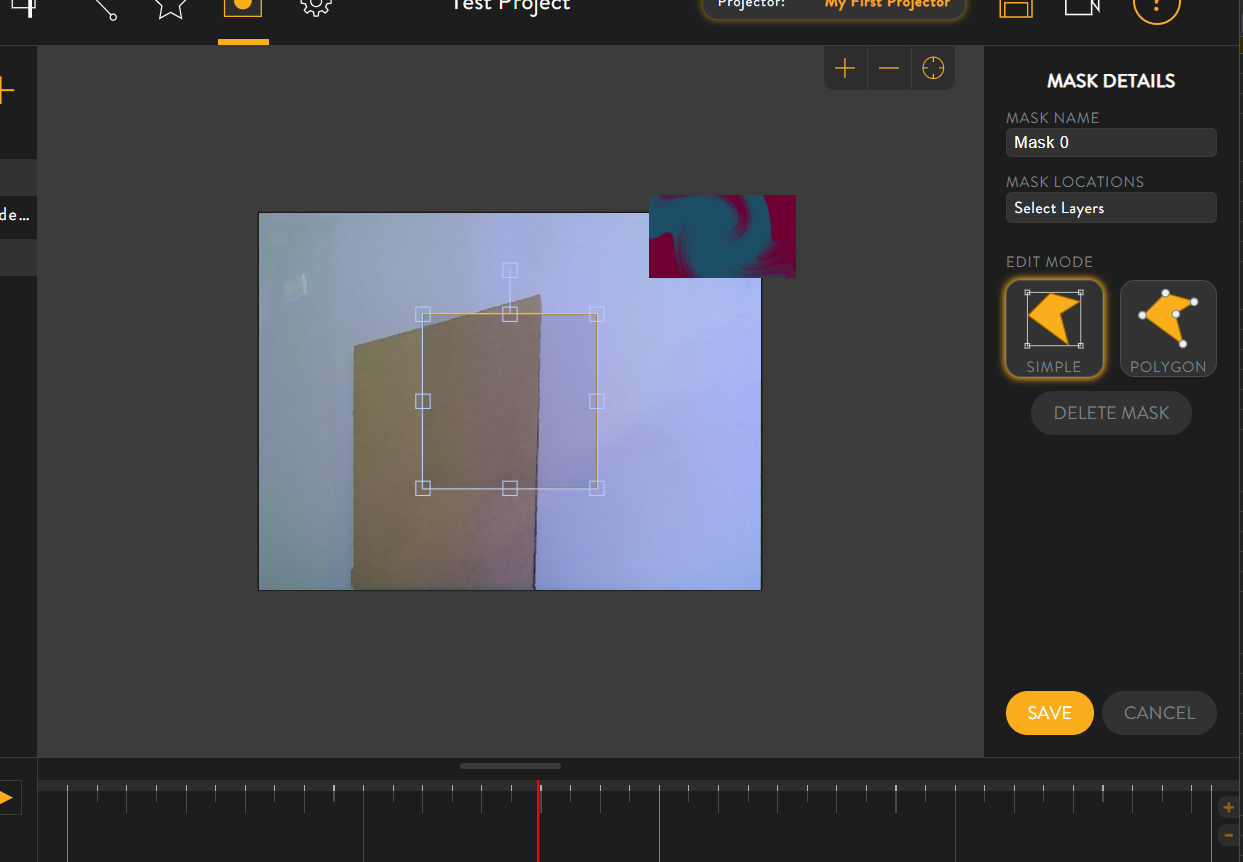
Select a the square shape. This will place a default square mask in your project as shown:
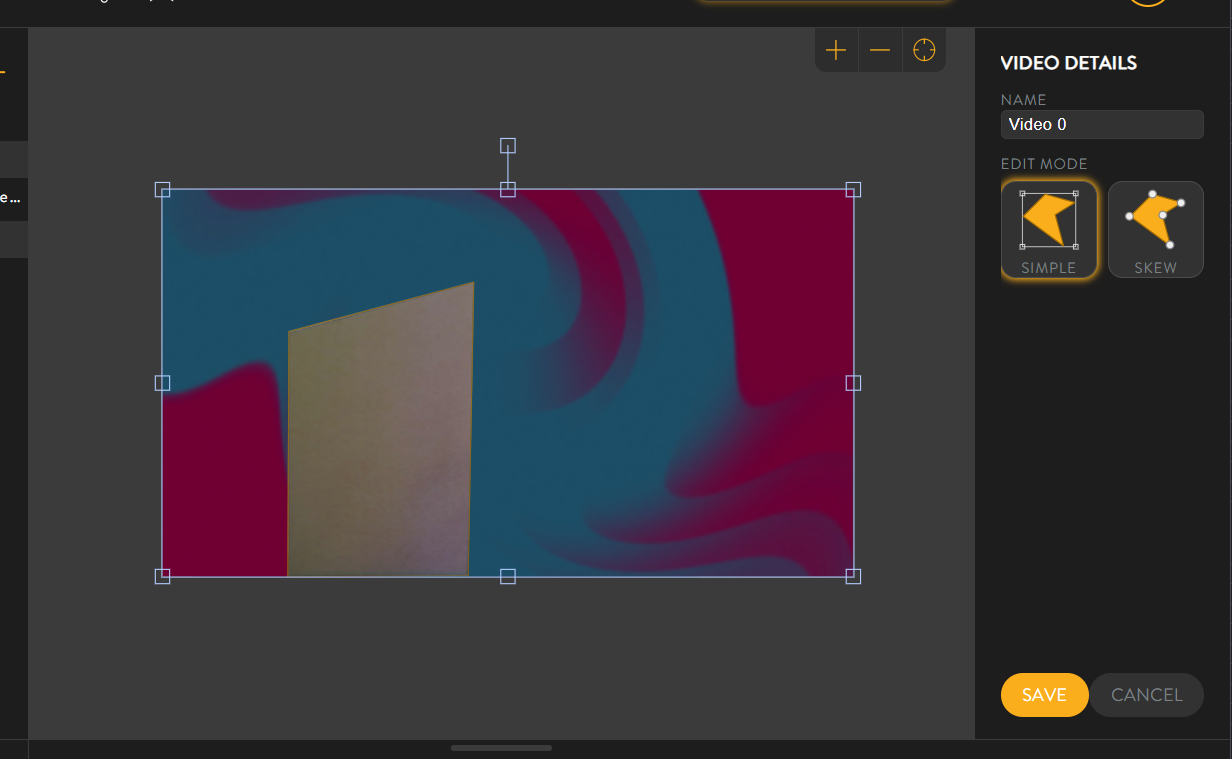
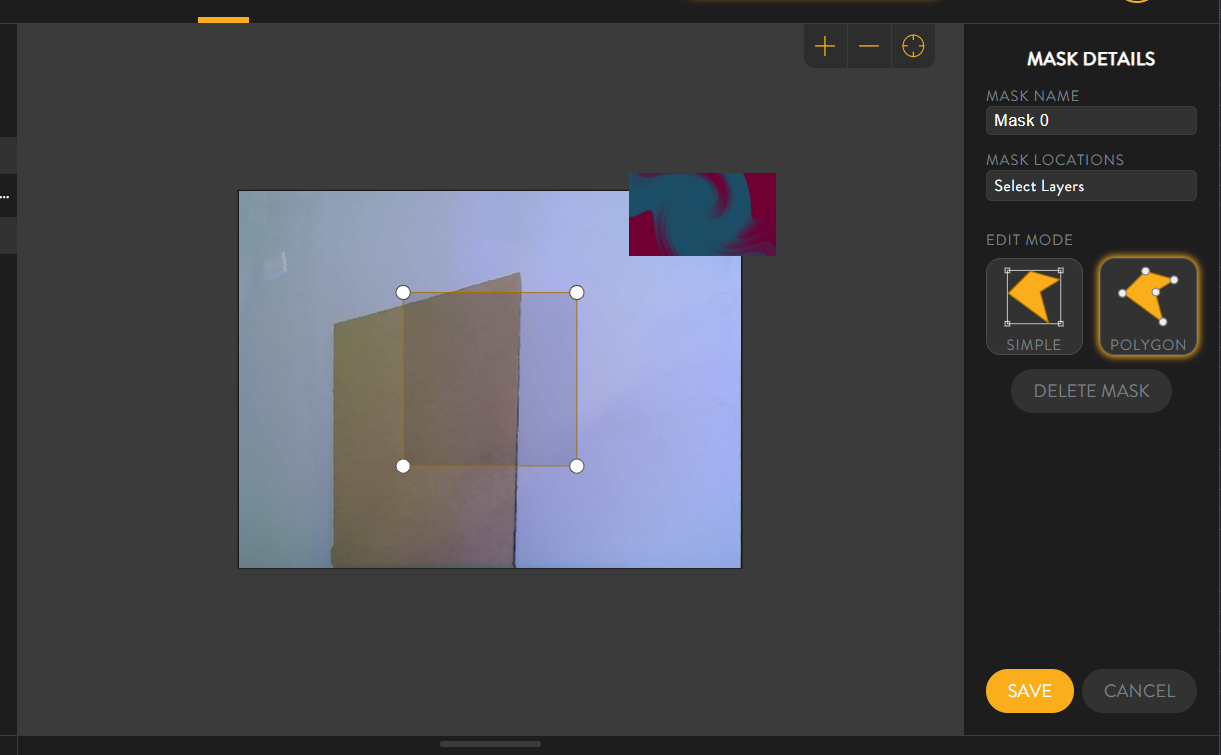
Now we need to setup the mask so that it only allows the background video to show on the wall. Switch to polygon edit mode by clicking 'POLYGON' on the right.
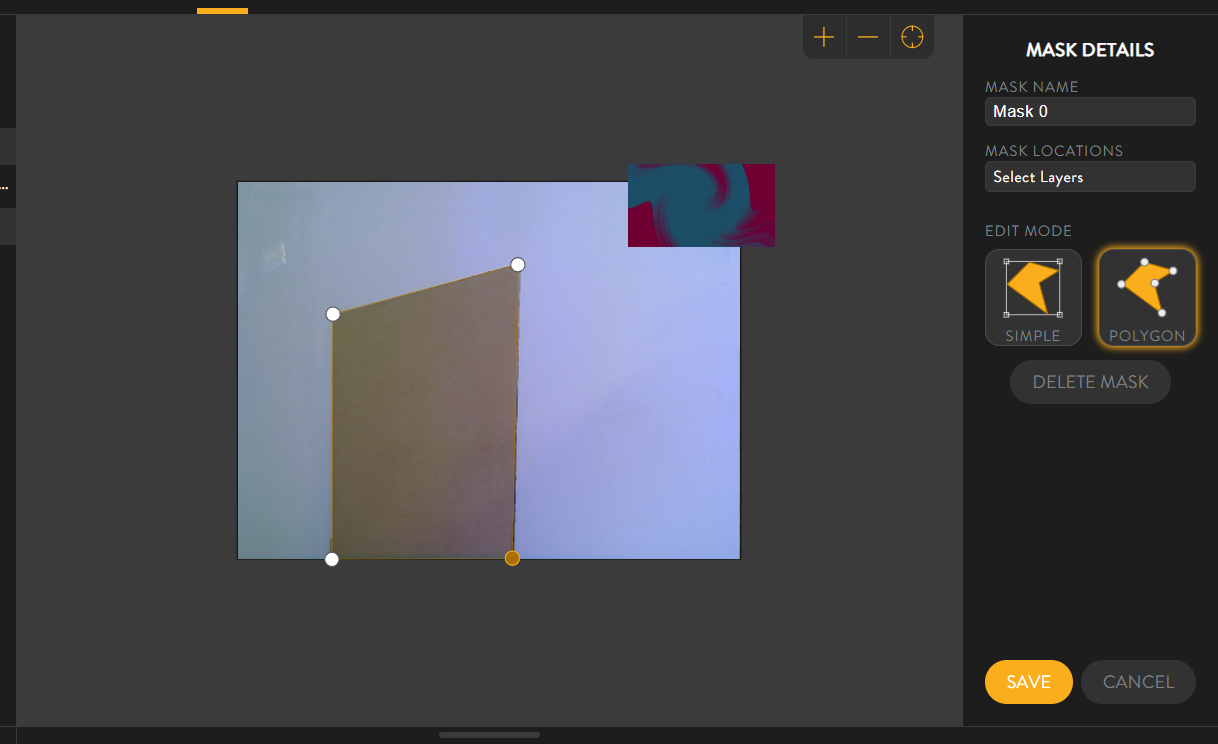
This allows us to change the shape of the mask. Drag the corners so that it aligns with the board.
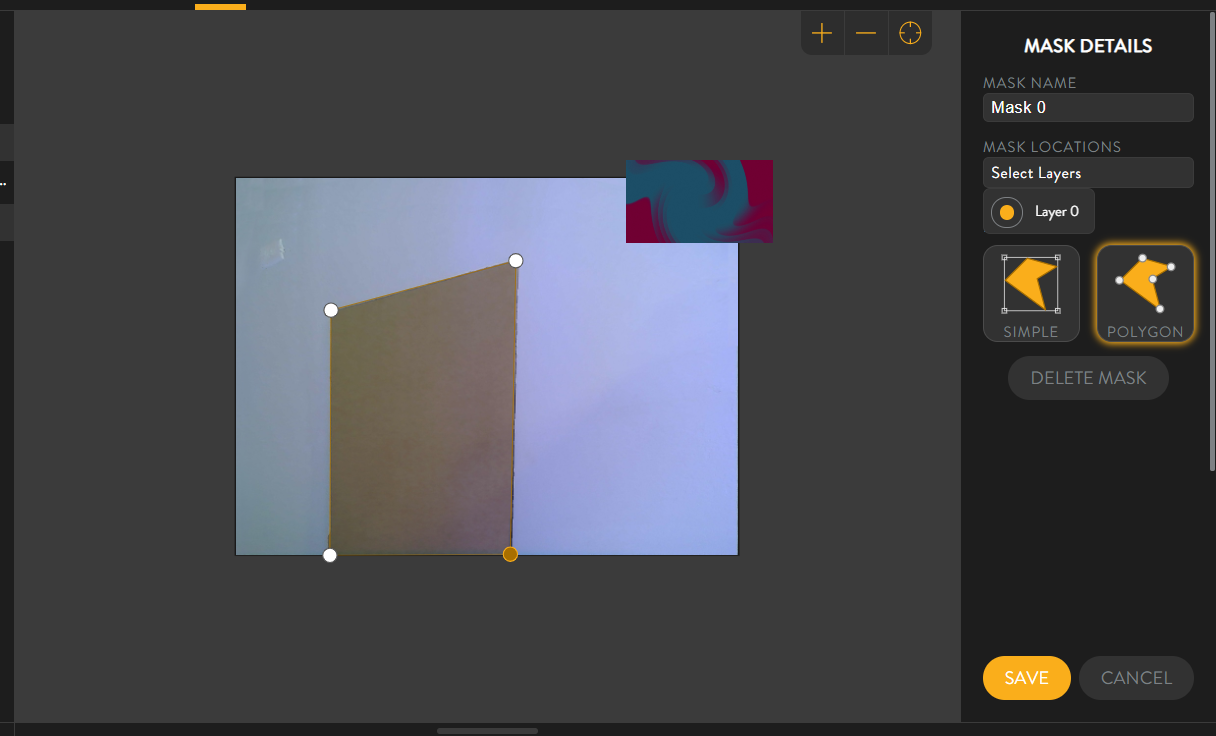
Now we need to make the mask apply to the video resource's layer. In my project, this is Layer 0. Click 'Select Layers' in the righthand toolbar, and then check the box for Layer 0.
Then click 'SAVE' to close the mask toolbar. It seems that the video has disappeared!
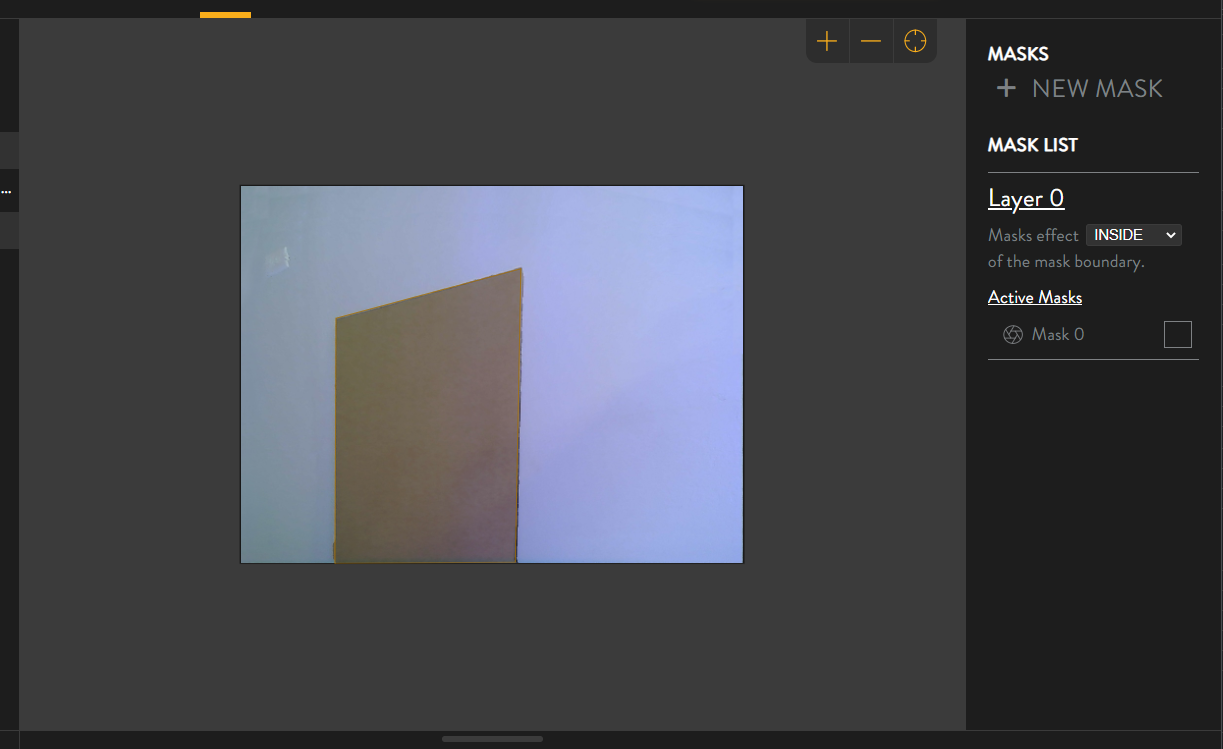
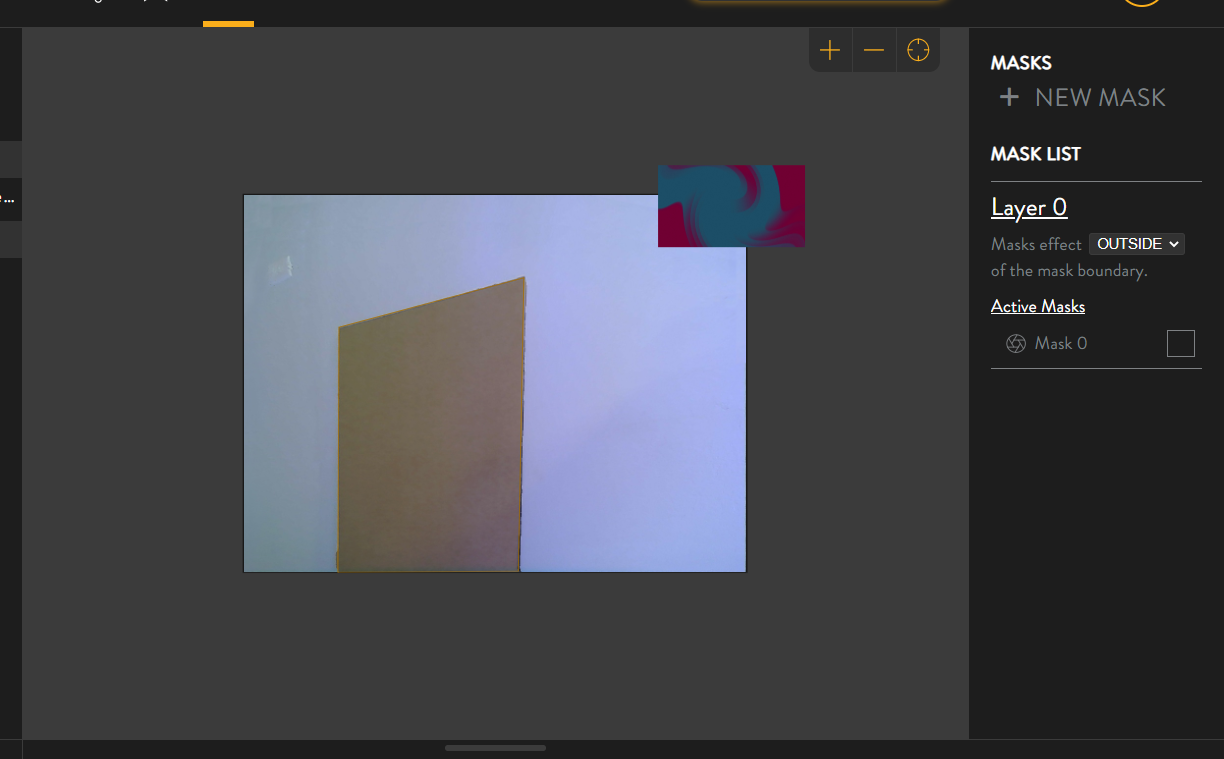
It is still there - it has just been 'masked out' because our mask will only show objects that are inside of the mask's boundary. We want the mask to only show objects outside of the mask boundary, so change all masks for Layer 0 to effect outside by clicking the 'INSIDE' dropdown and selecting 'OUTSIDE'. Now our video resource is visible again:
Now let's make the video take up more of the wall by moving and scaling it:
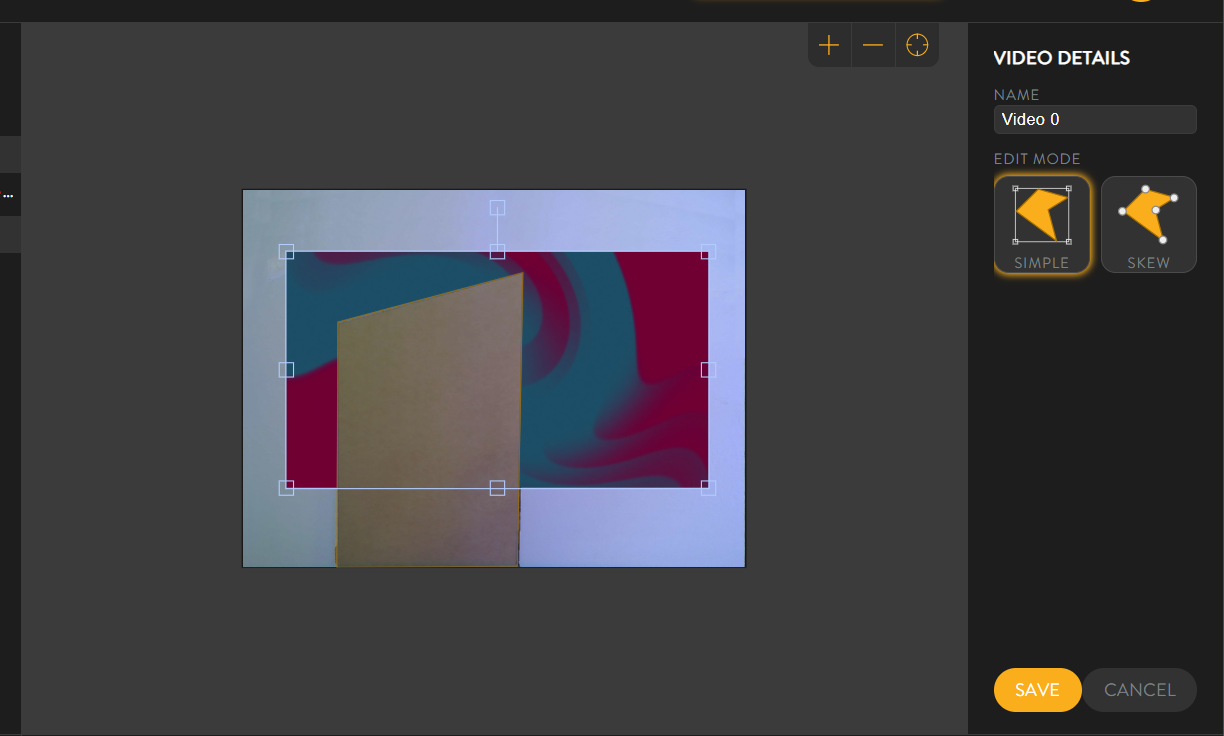
The mask is working as intended and is only showing the video resource on the wall (and not the board). If we scale it up to take up the entire wall area, only the board remains visible.