[Old Editor] Add Shapes To Your ProjectUpdated 6 months ago
Notice - This information is only relevant for users still using the old portal. If you purchased your Luxedo projection system during or after 2024, please consult this guide instead: https://luxedo-support.gorgias.help/en-US/adding-shapes-to-your-scene-457136
A shape is a free-form solid color object which can be added to your project.
How to create a Shape
1. Load the project you will be editing either by creating a new one or loading an existing one.
2. Once you are in the portal, click on the ![]() icon
icon
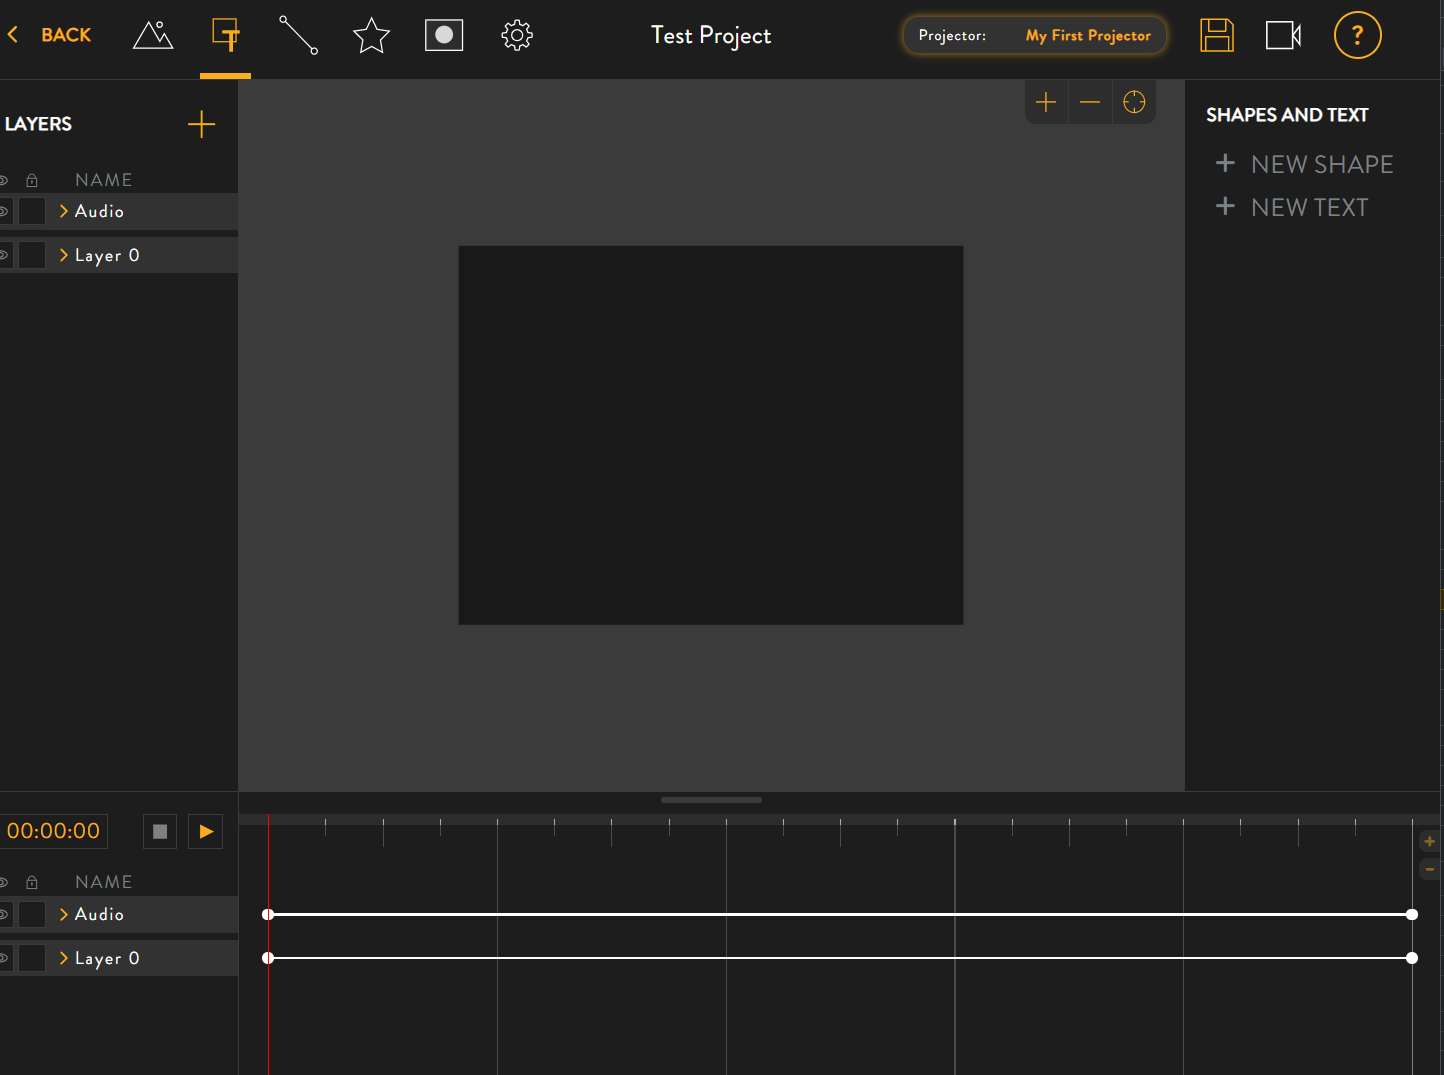
3. Click on “NEW SHAPE” on the right.
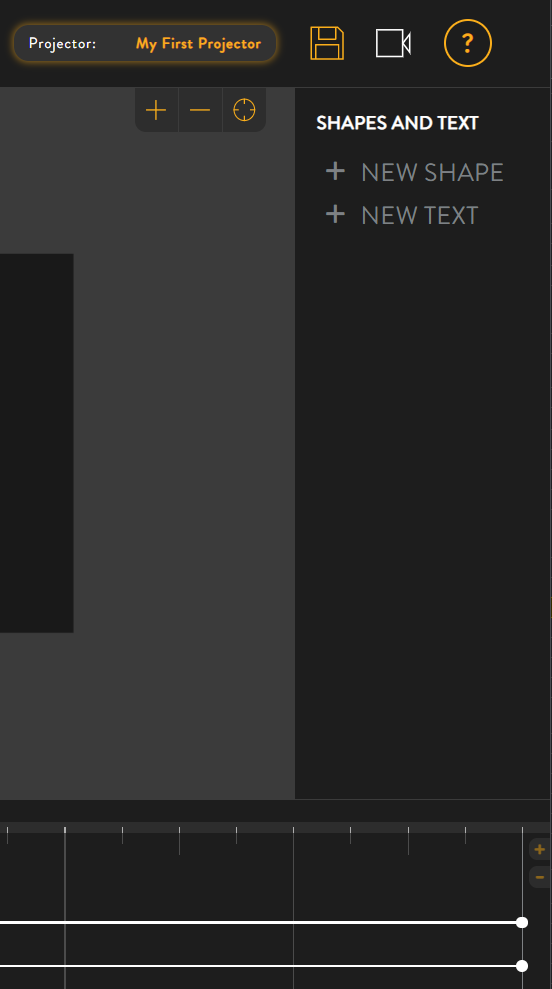
4. This will bring up a menu where you can select the type of shape you'd like to make. There are several options here, including the option to draw a custom shape in the top left. For now, let's create a triangle by clicking on the button shaped like a triangle.
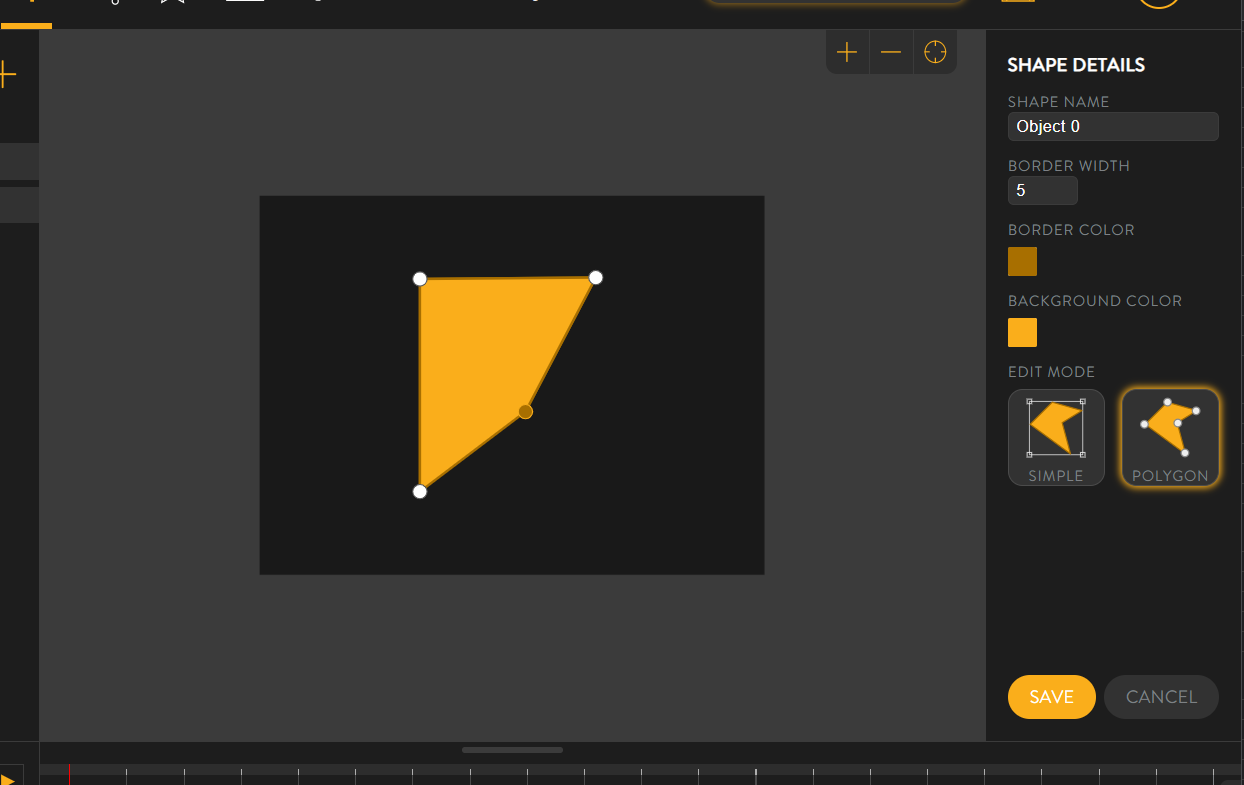
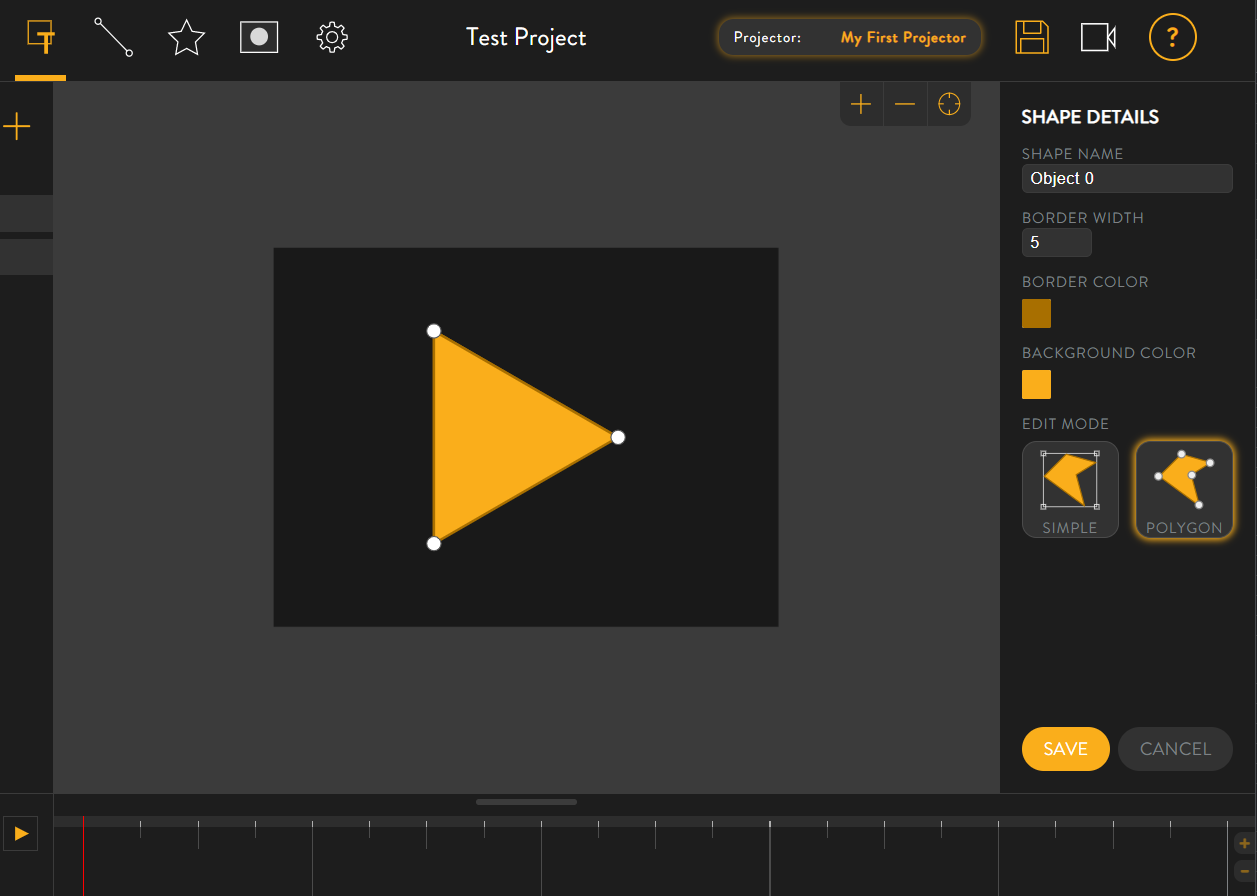
5. This will drop a triangular shape into your project. On the right you can configure the details for your shape. This includes a name, the border width, and the colors for border and background of the shape.
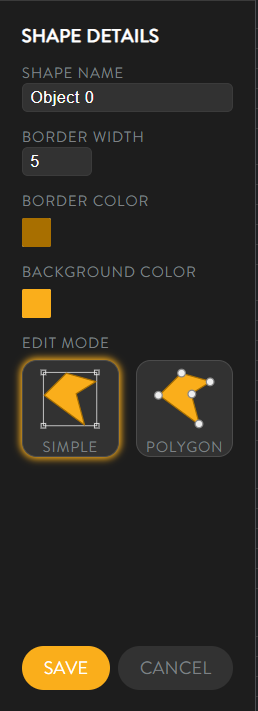
6. If you would like to further alter your shape, switch to polygon edit mode by clicking on the button labeled 'POLYGON'. Notice how circular drag handles now appear at the corners of the triangle. These will allow you to edit the corners of the shape.
7. Try clicking and dragging a corner to change the shape of the triangle.
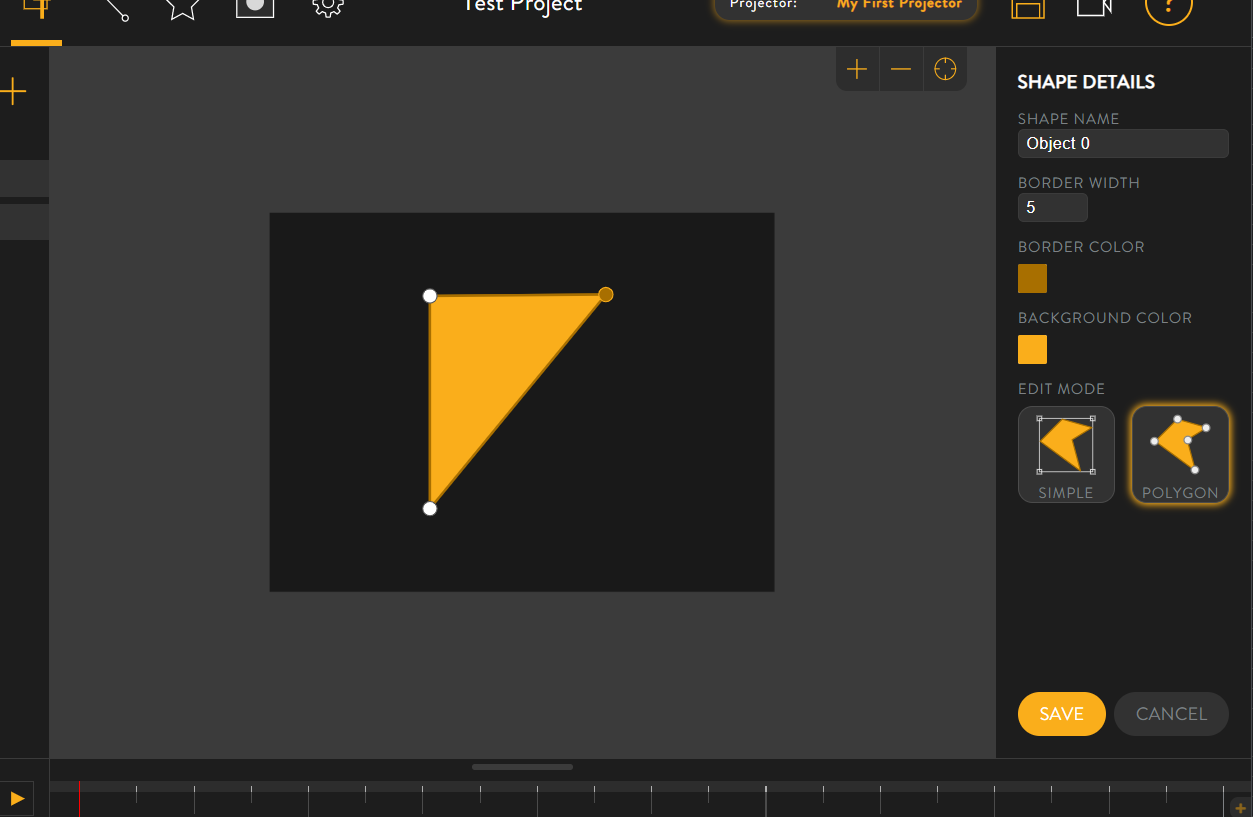
8. Lastly, you may even add new corners by clicking and dragging along the shape's edge.