[Old Editor] Calibration - AutomaticUpdated 6 months ago
Notice - This information is only relevant for users still using the old portal. If you purchased your Luxedo projection system during or after 2024, please consult this guide instead: https://luxedo-support.gorgias.help/en-US/calibrating-your-device-1062364
Calibration ensures that the projects you create will line up with the images the projector captures. It is almost always necessary to perform a calibration before doing serious work on a project.
How to Automatically Calibrate your Projector
- Position your projector in the location which you will be displaying your projects. Remember, if your projector is moved later it will have to be recalibrated. (Tips On Projector Positioning)
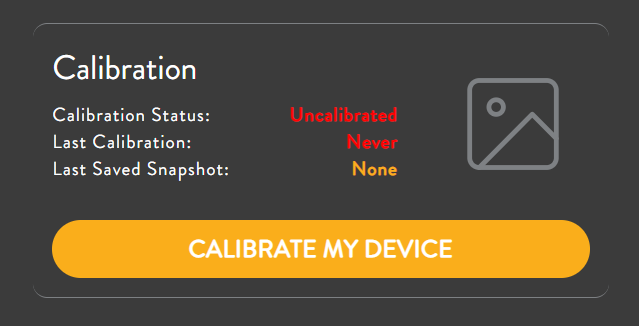
- To begin calibration, click on your projector to open your projector settings, then click on "Calibrate".
You can also begin calibration from the project editor by hovering over the projector menu then clicking 'Calibrate Projector'.
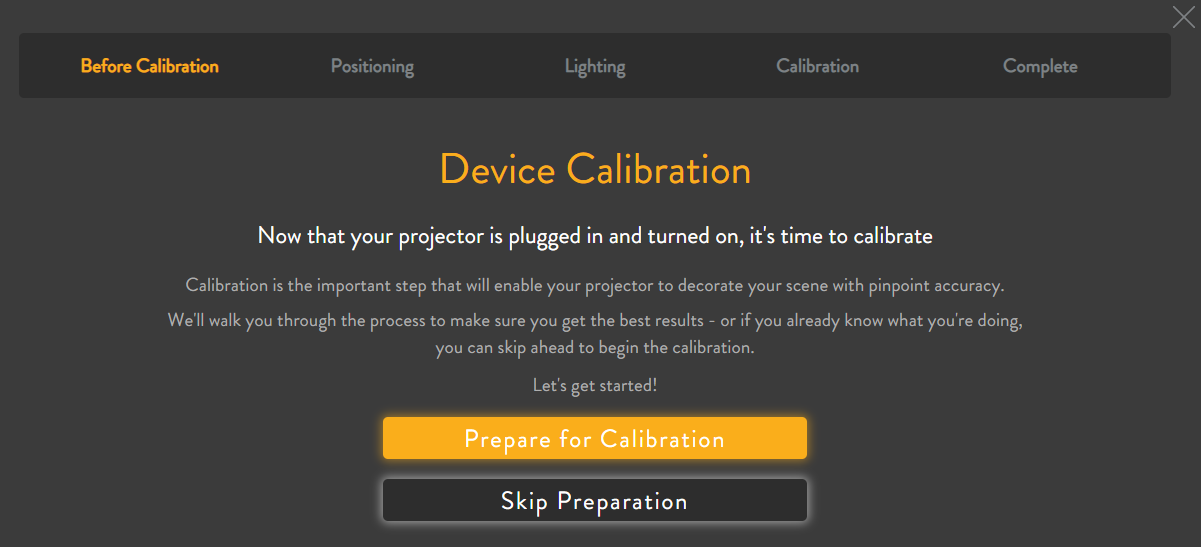
- You will be presented with the calibration screen. For your first few times calibrating, click on "Prepare for Calibration" for a detailed guide to set up your projector for optimal calibration results. Please follow this guide closely to get a good calibration!
- NOTE: To view your projection space to make adjustments to the position of your device, click the 'Activate Projector Spotlight' button.

a) If you are using LuxLink, make sure to follow the instructions in the LuxLink client window to make sure your camera is set up properly for calibration
b) If your scene is often lit up unpredictably by things such as car headlights, you can check the box pictured below. We find that even in such cases this option is usually unnecessary, and it will make your calibration take longer. We recommend trying this option only if other calibrations seem to fail consistently.
- Click "Start Calibration"
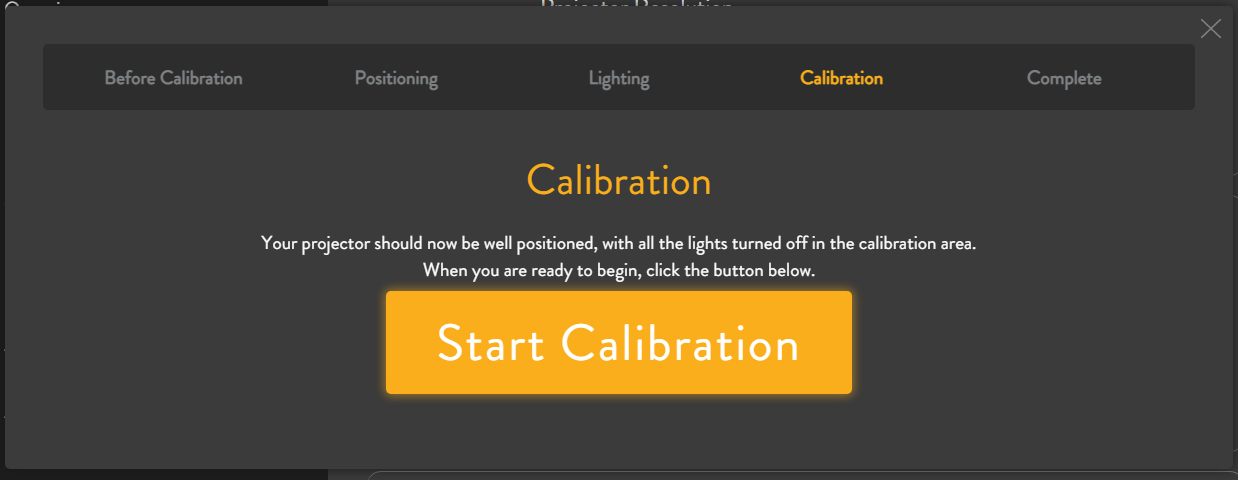
- The projector will then begin projecting and capturing a series of images it needs to perform a calibration. This process usually takes several minutes, but can take considerably longer if lighting conditions are poor.
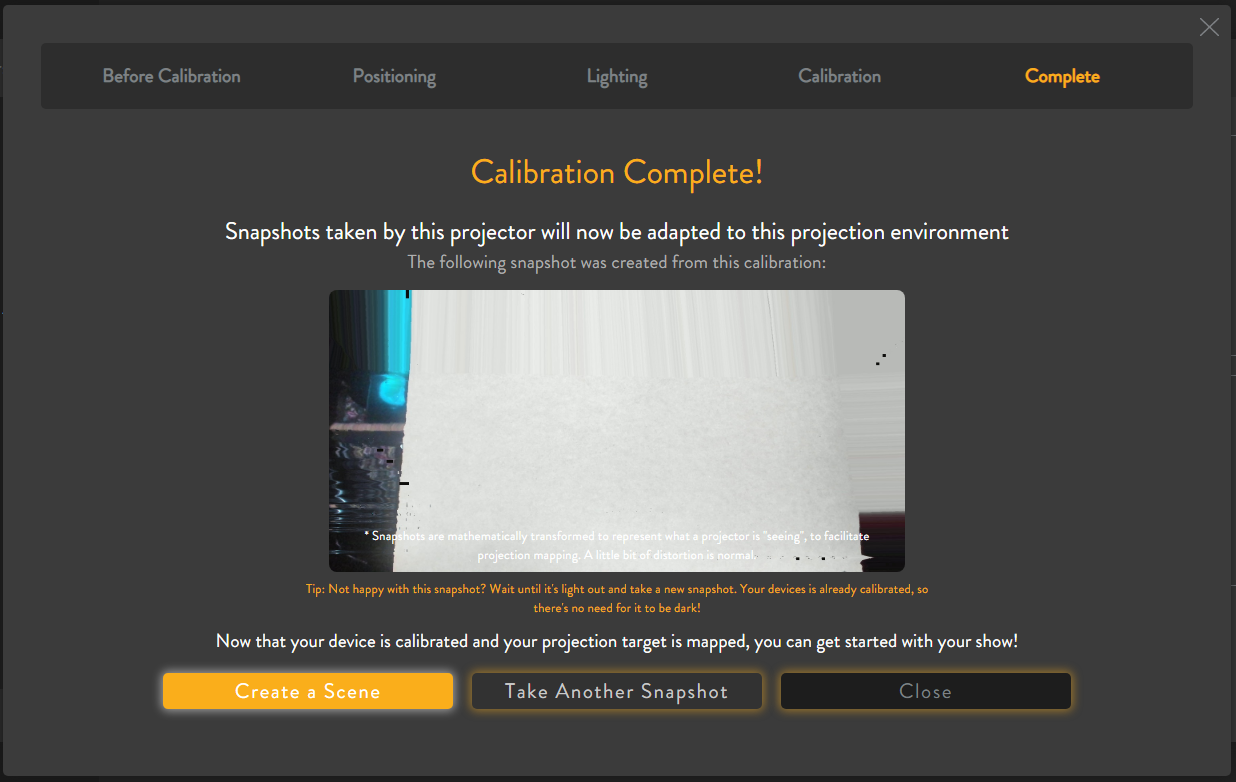
- Once it is done, a snapshot will be automatically generated, which will operate as a canvas for you to paint your scene with light! Click "Take Another Snapshot" to use your new calibration settings to generate a different snapshot or click "Create a Scene" to start creating your light show.
- Once the snapshot has been captured, continue to your projects to start working on your scene!
Recommended Article: Snapshots