[Old Editor] Creating and Scheduling a Lightshow with your ScenesUpdated 6 months ago
Notice - This information is only relevant for users still using the old portal. If you purchased your Luxedo projection system during or after 2024, please consult this guide instead: https://luxedo-support.gorgias.help/en-US/creating-and-managing-lightshows-390685
To better schedule shows, a new "Lightshows" option has been added. This feature allows you to combine multiple different scenes in order to create one big lightshow. This article will walk you through how to do just that.
Creating your Lightshow
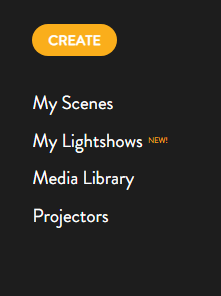
1. Select "My Lightshows" from the navigation menu on the left side of your portal.
2. Here you will see a list of the lightshows you have already created, if any. Select the "New Lightshow" option on the bottom right of this page.

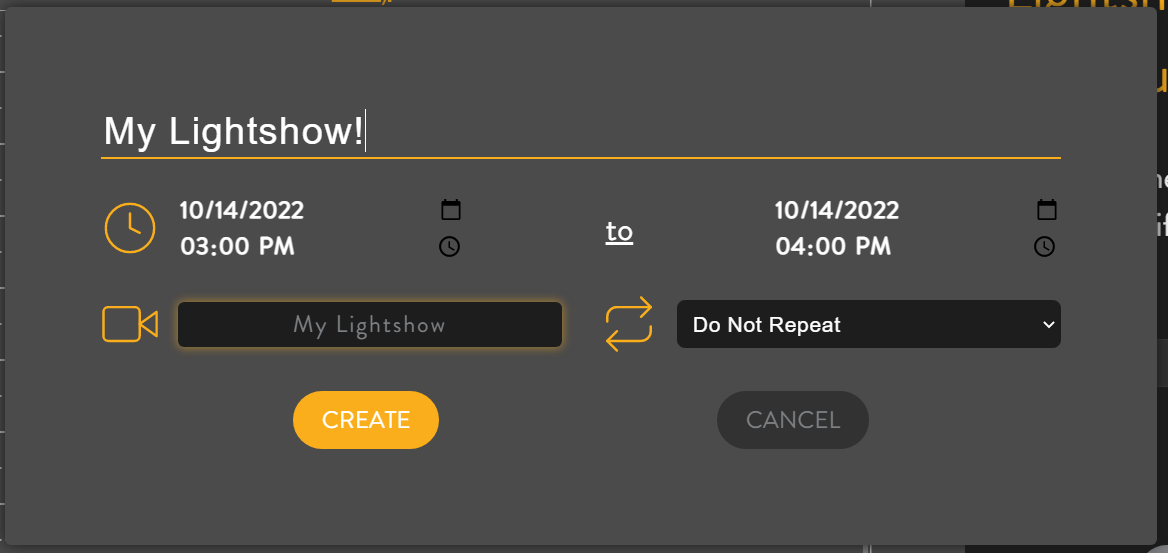
3. Add a title and select your projector, then click 'Create'.
Note: Be sure the scenes you plan to use for this lightshow have the same resolution as the projector selected.

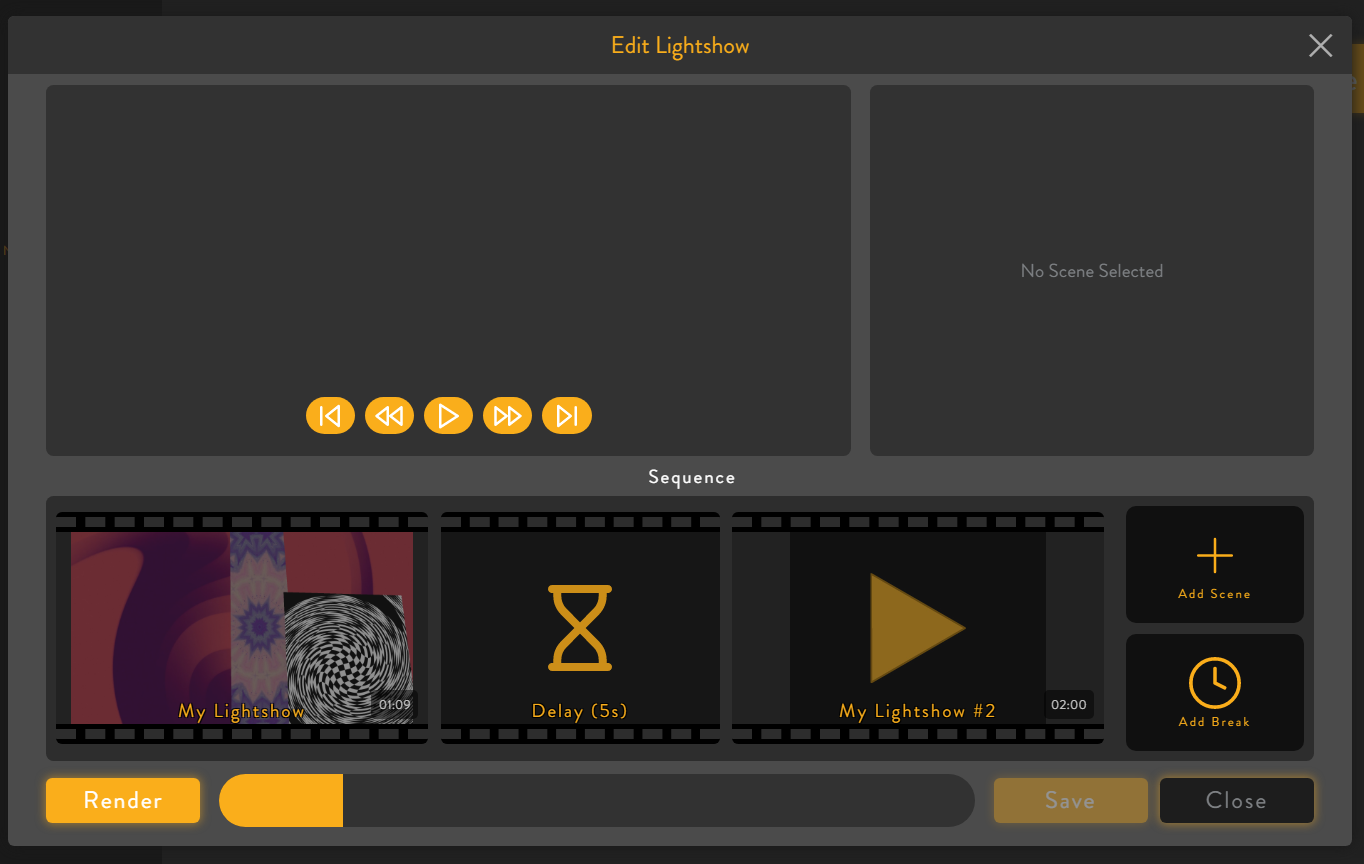
4. The Lightshow creation menu should now be open. Here you can add and manage the scenes you want to add to your lightshow.
Note: Be sure to render all the scenes you are using for this lightshow, as in order to render this lightshow, each scene must be rendered first.
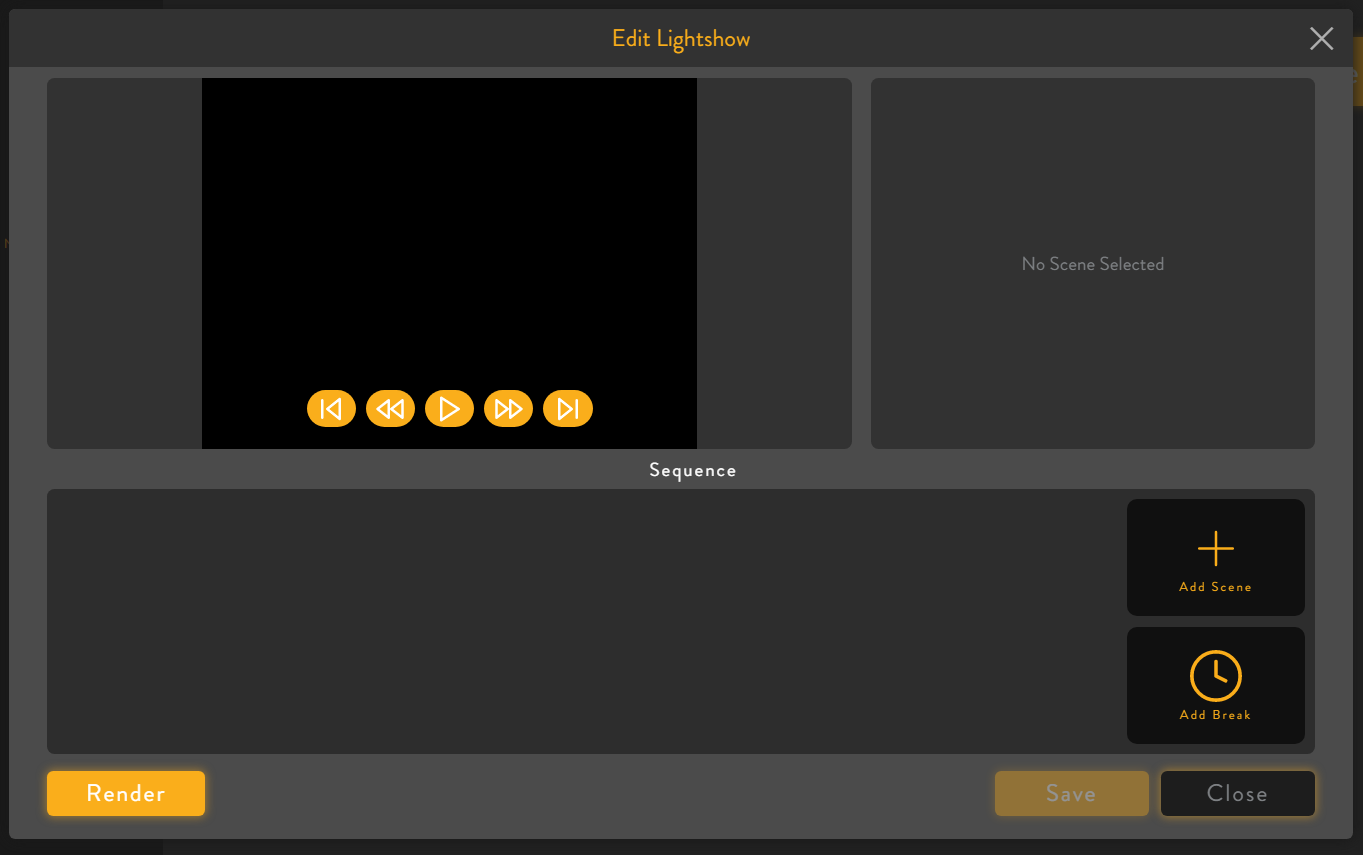
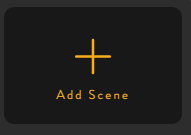
5. Click the "Add Scene" button to add your first scene.
6. An overlay of your scenes will be opened. Select the scene you want to add first.
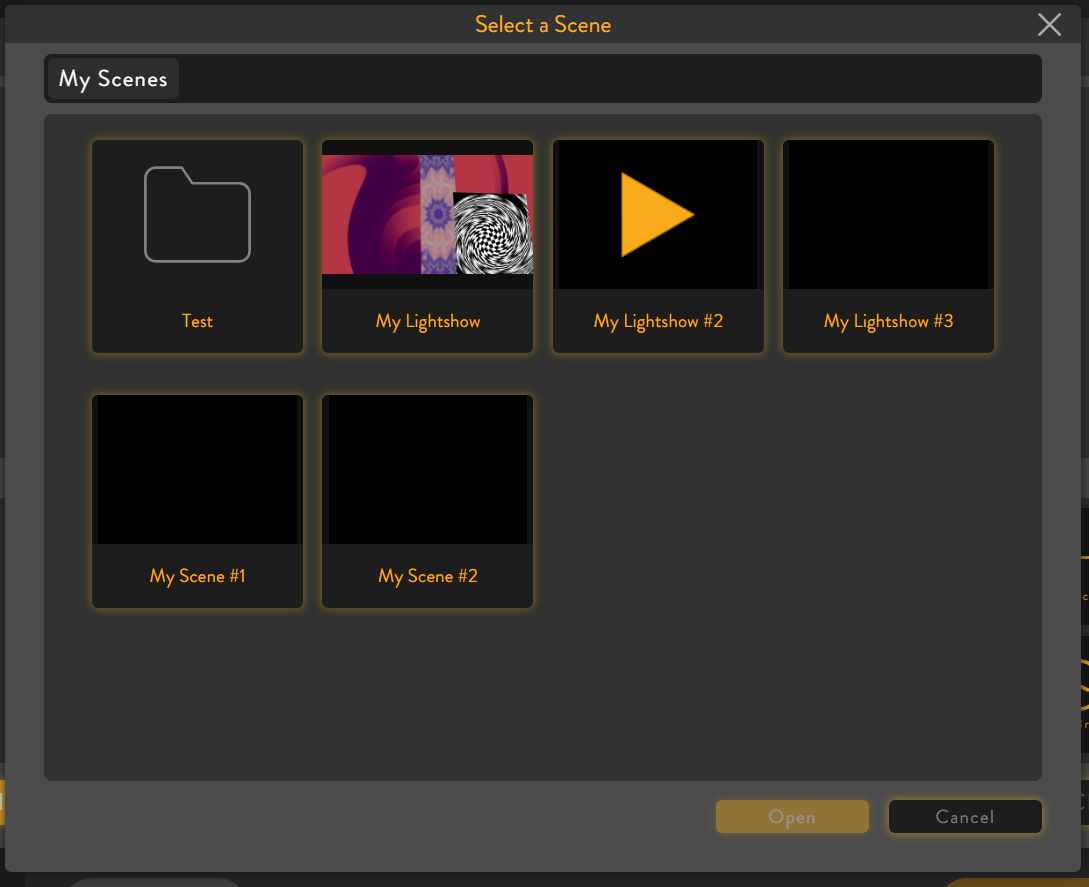
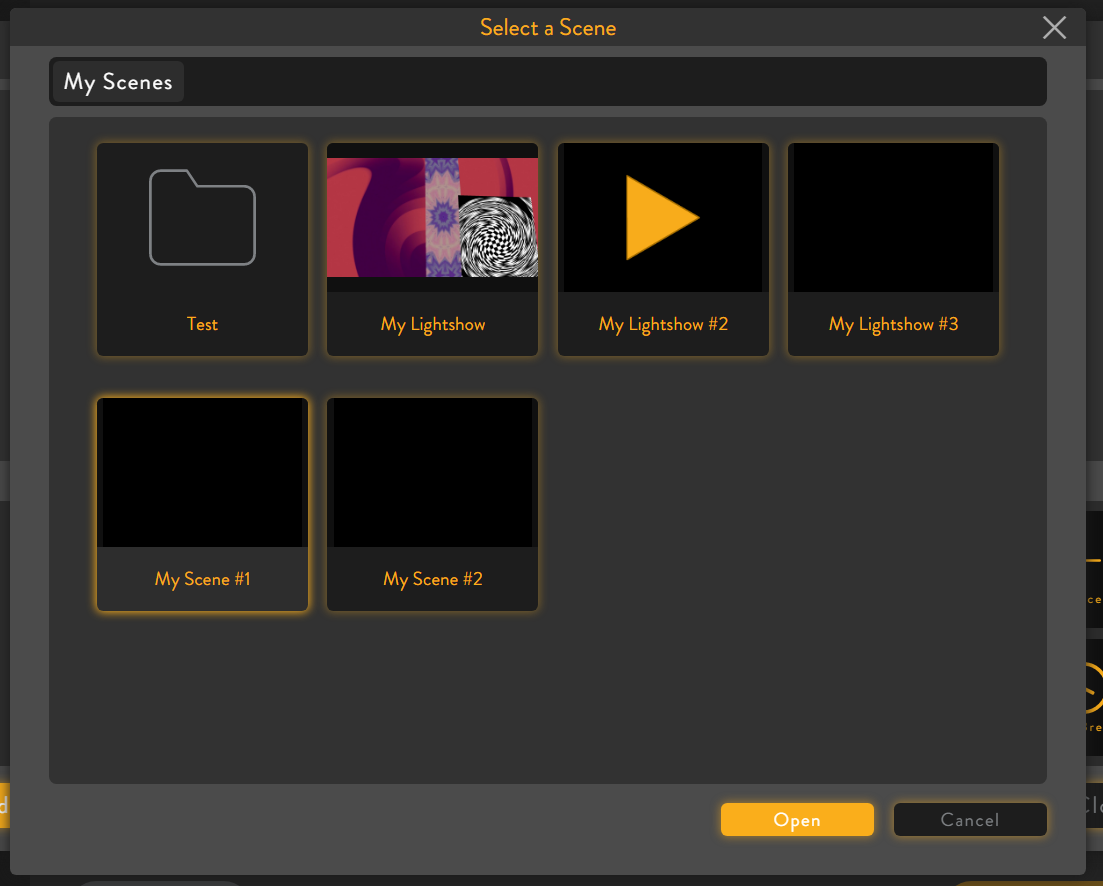 7. Click the "Open" button.
 ![]()
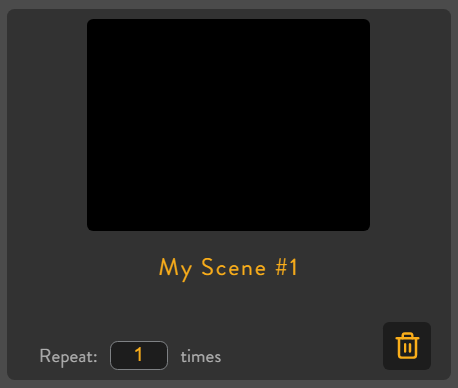
8. Your scene will now show up on the timeline with settings to be found on the right.
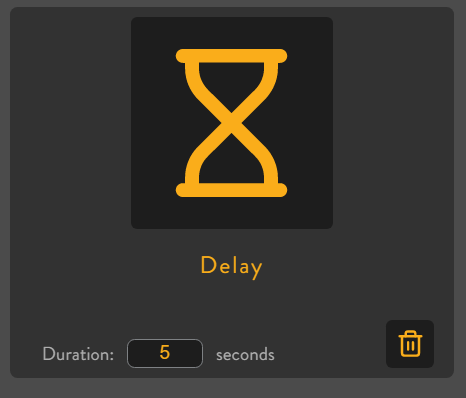
9. If you would like to add a transition or delay, select the "Add Break" button.
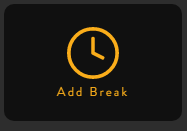
10. A new delay will be added, look on the righthand side to edit the options of the delay.
11. To view what you have created to this point, click the play button (![]() ). A preview of your lightshow will begin to play.
). A preview of your lightshow will begin to play.
11a. To fast forward press ![]()
11b. To skip to the next scene press ![]()
12. Once everything is set up the way you would like, click the save button. ![]()
13. To be able to play on your projector, you will need to render this lightshow. Click the render button. ![]()
14. A progress bar will show up on the bottom of this menu. Note: this process may take a few hours depending on the quality of each scene and how many scenes are being used.

15. Once complete, close the menu. Your lightshow is now ready to play on your device!
Scheduling your Lightshow
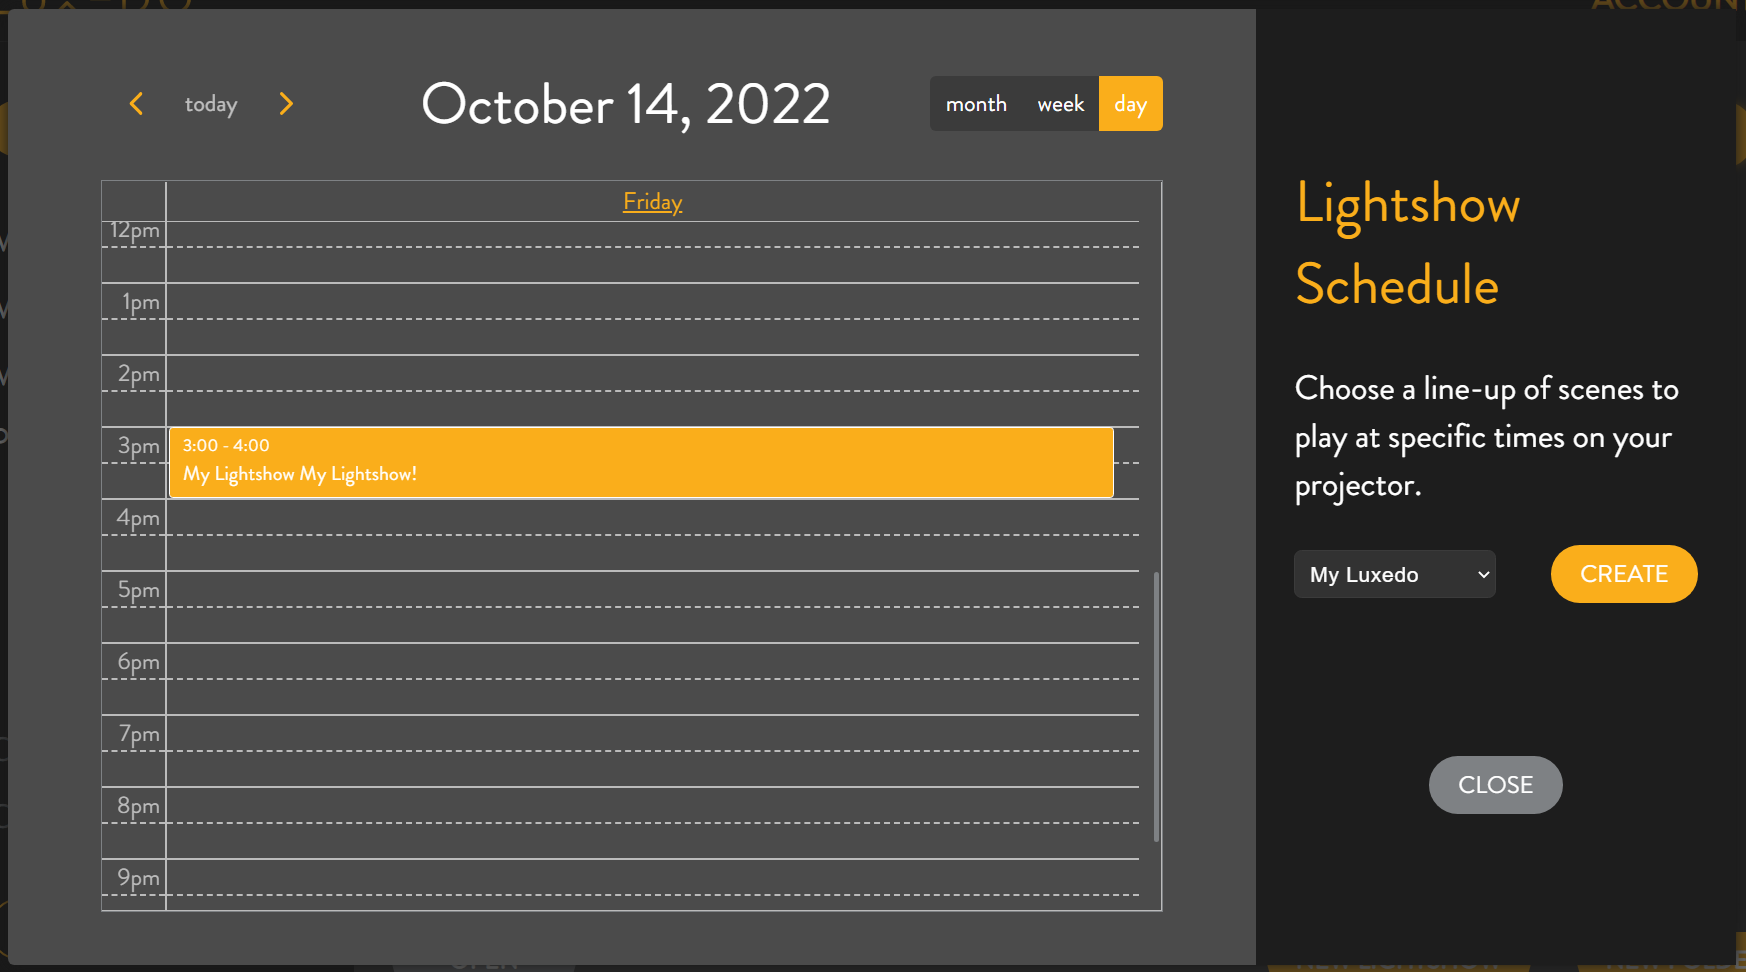
1. Click the "Schedule Lightshow" button in the top right corner of you portal. This will open the lightshow scheduler.
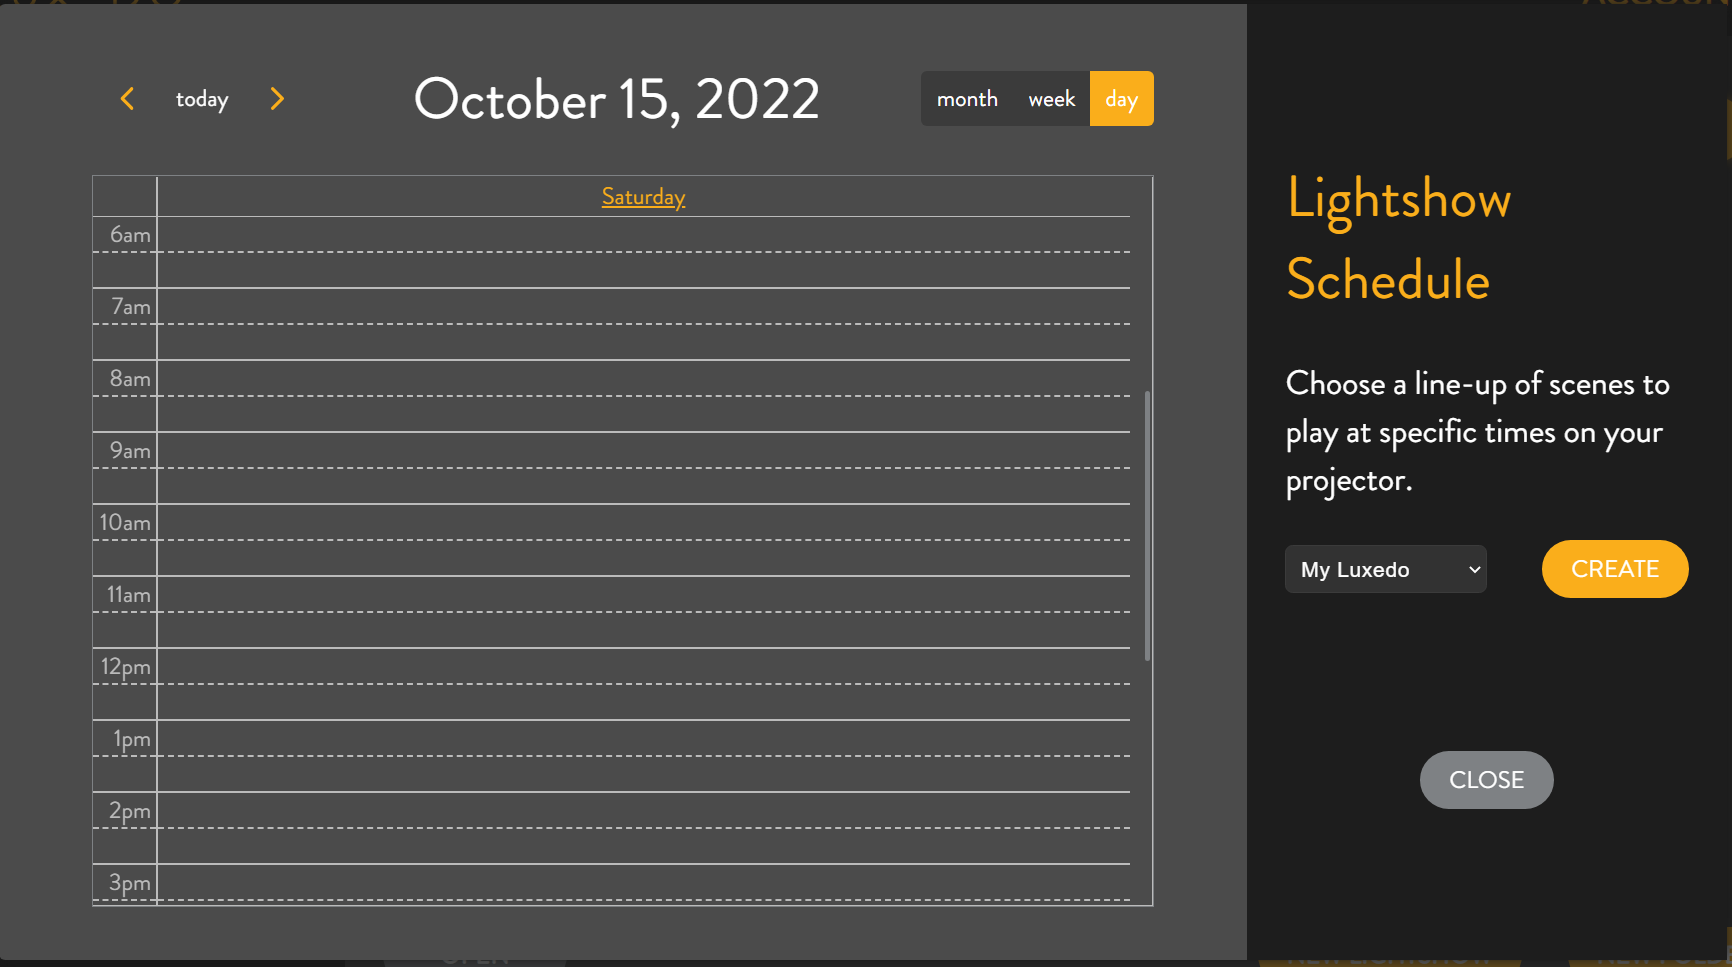
2. Select your projector and click "Create".

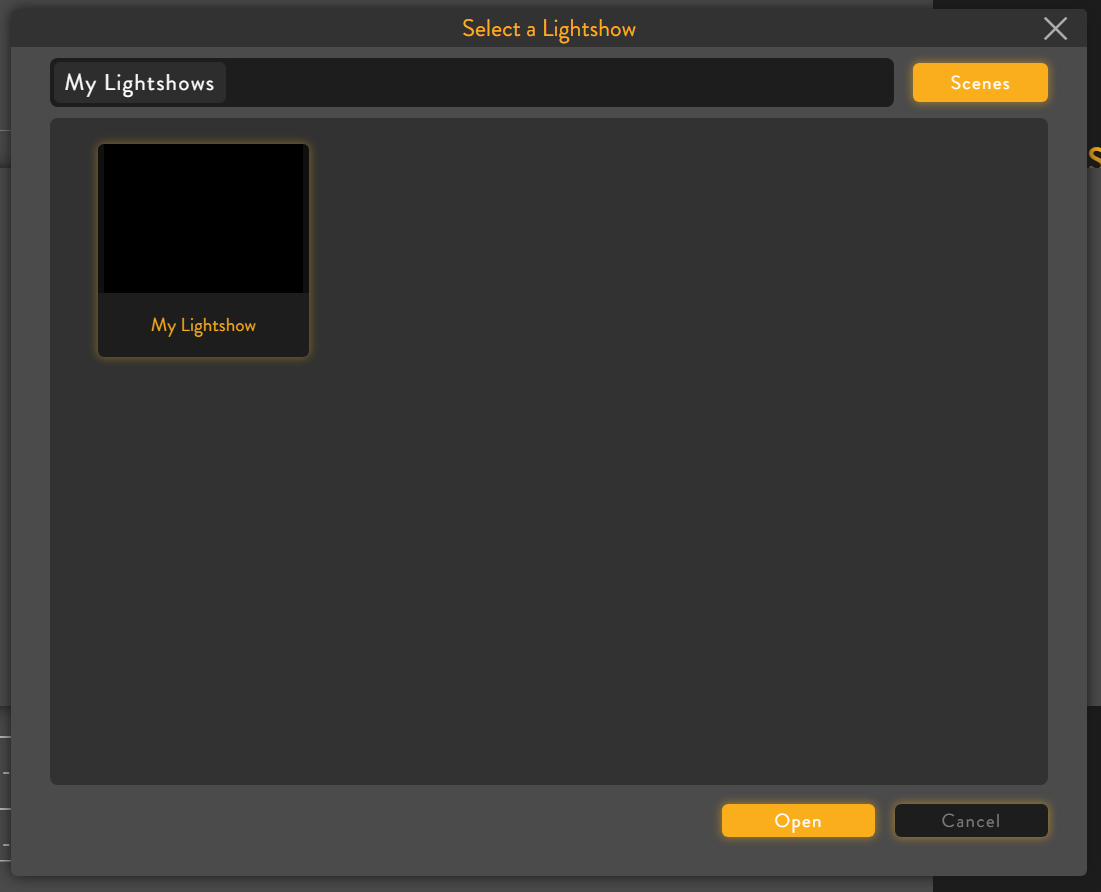
3. Click the button labeled "Select a Show" to schedule your newly created lightshow.

4. This will open a list of your lightshows, select your new lightshow and click "Open". ![]()
5. Now select the timeframe you would like this show to loop and click "Create".
NOTE: If your show is only 10 minutes long and you set it to play for an hour, it will automatically loop.
6. Sit back and relax and watch your new lightshow!