Creating and Managing LightshowsUpdated 6 months ago
While your typical scene is limited to 5 minutes or less, Lightshows allow you to combine multiple scenes together to make one continuous show that can be scheduled or played whenever you like. Using the Luxedo Portal to create these lightshows allows for limitless options for how you create your shows.
Creating a Lightshow
- Navigate to the My Shows page.
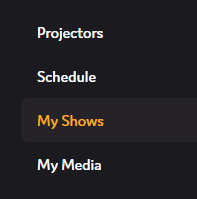
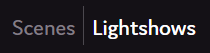
- Select the "Lightshows" option (if you have not created any scenes, you will not have a "Lightshows" option).
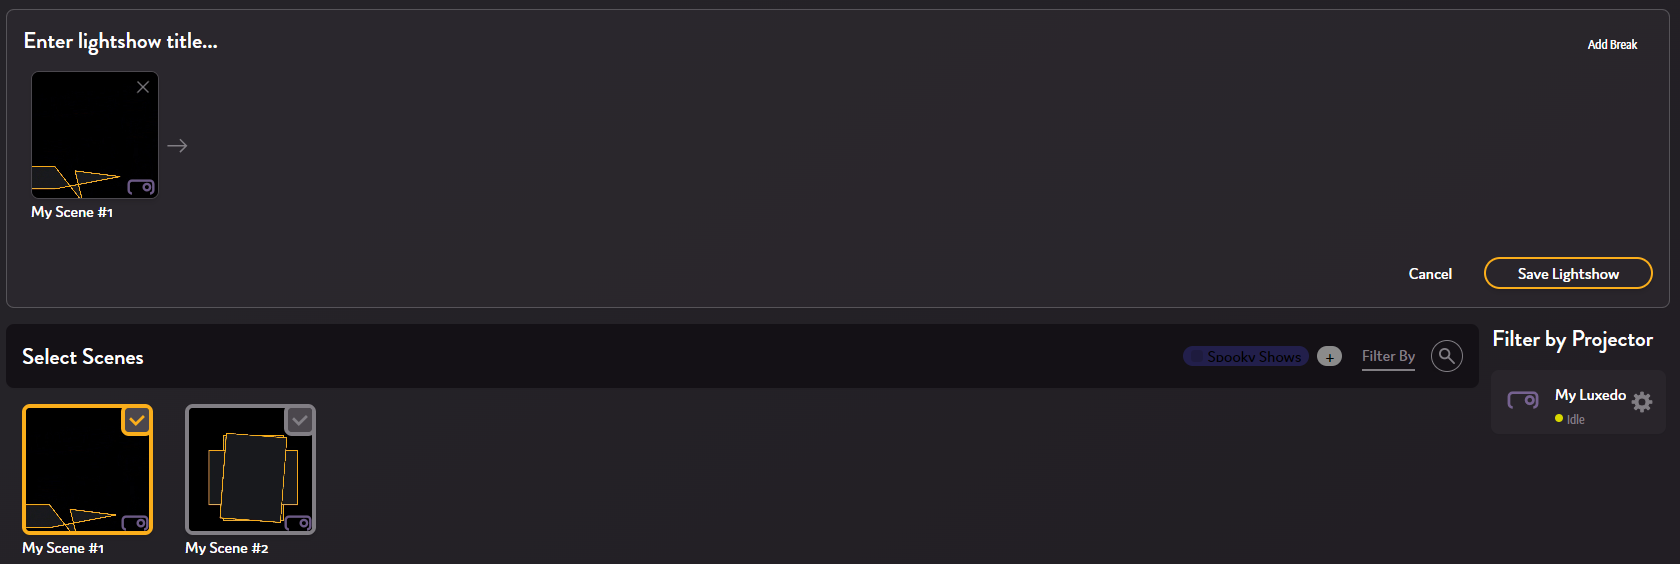
- Click the "Create Lightshow" button (
 ) - this will open the Lightshow Editor.
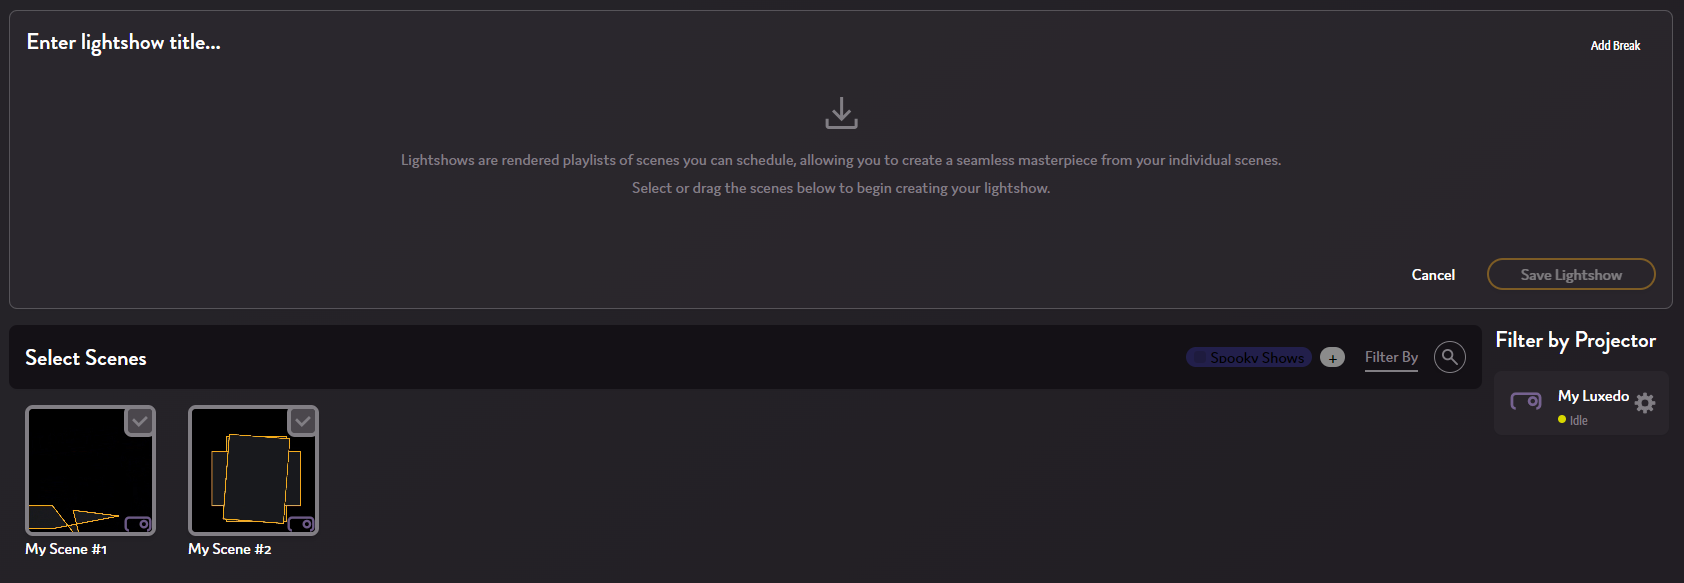
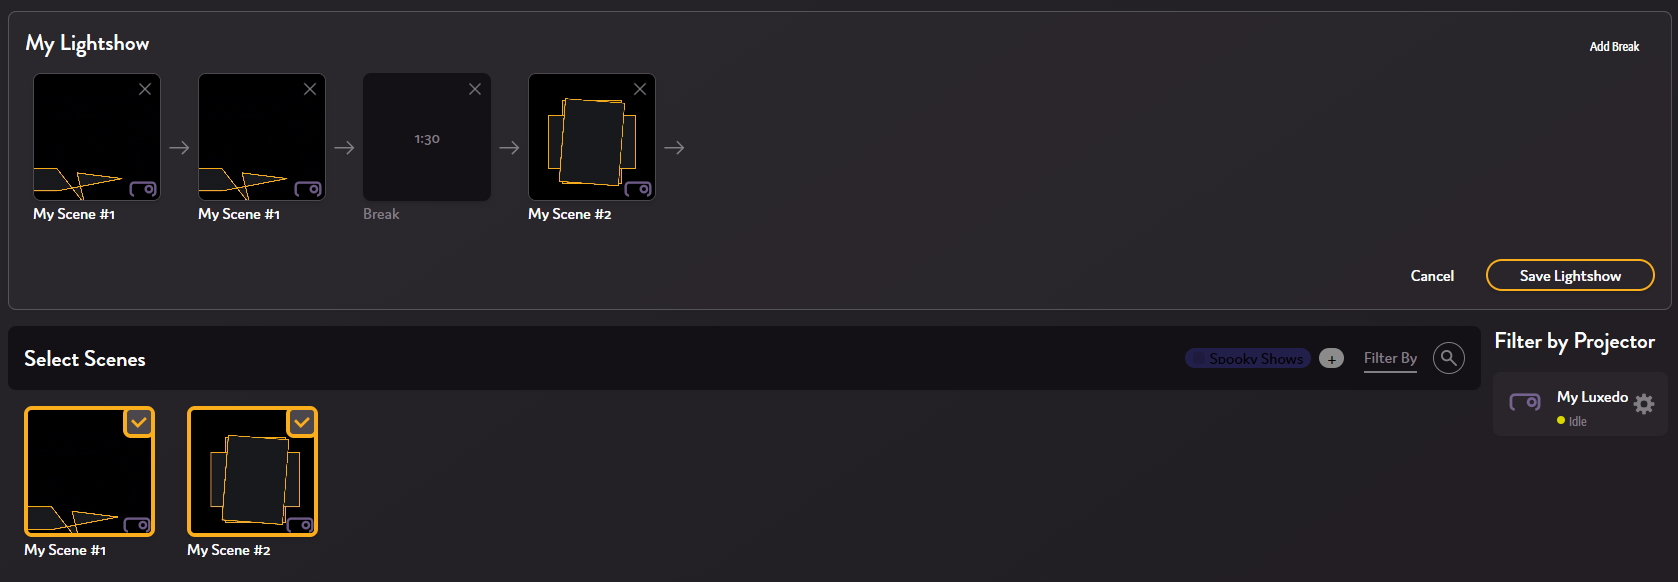
- Determine the scene you want to start your show and click on it - this will add it to the new lightshow. If you are using Luxedo Radio, the first scene will probably contain the Luxedo Radio QR code.
 If you want to use the same scene multiple times, hover over the scene and click the "Repeat" button.
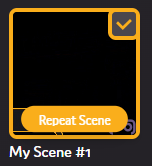
- Before saving your new lightshow, be sure to add a title. To do this, click the text "Enter lightshow title..." and enter a title.
 When you are finished, click the "Save Lightshow" button (
 ) - this will create the new lightshow and begin the render process.
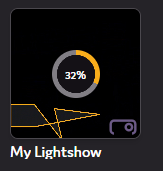
Once created, you can play it now or schedule it to play later.
Editing a Lightshow
To edit a lightshow, simply right click on the lightshow you would like to edit and click the "Edit" button - this will open the Lightshow editor, allowing you to edit an existing lightshow.