[Old Editor] How to Sync Multiple Projectors TogetherUpdated 6 months ago
Notice - This information is only relevant for users still using the old portal. If you purchased your Luxedo projection system during or after 2024, please consult this guide instead: https://luxedo-support.gorgias.help/en-US/blending-multiple-projectors-801048
Occasionally, you might find the need to project the same lightshow over multiple sides of a home or span a very large space. Allow me to introduce you to stitching. Stitching is the process of using multiple projectors for one light show in order to enlarge the projecting space.
Create a Projector Group
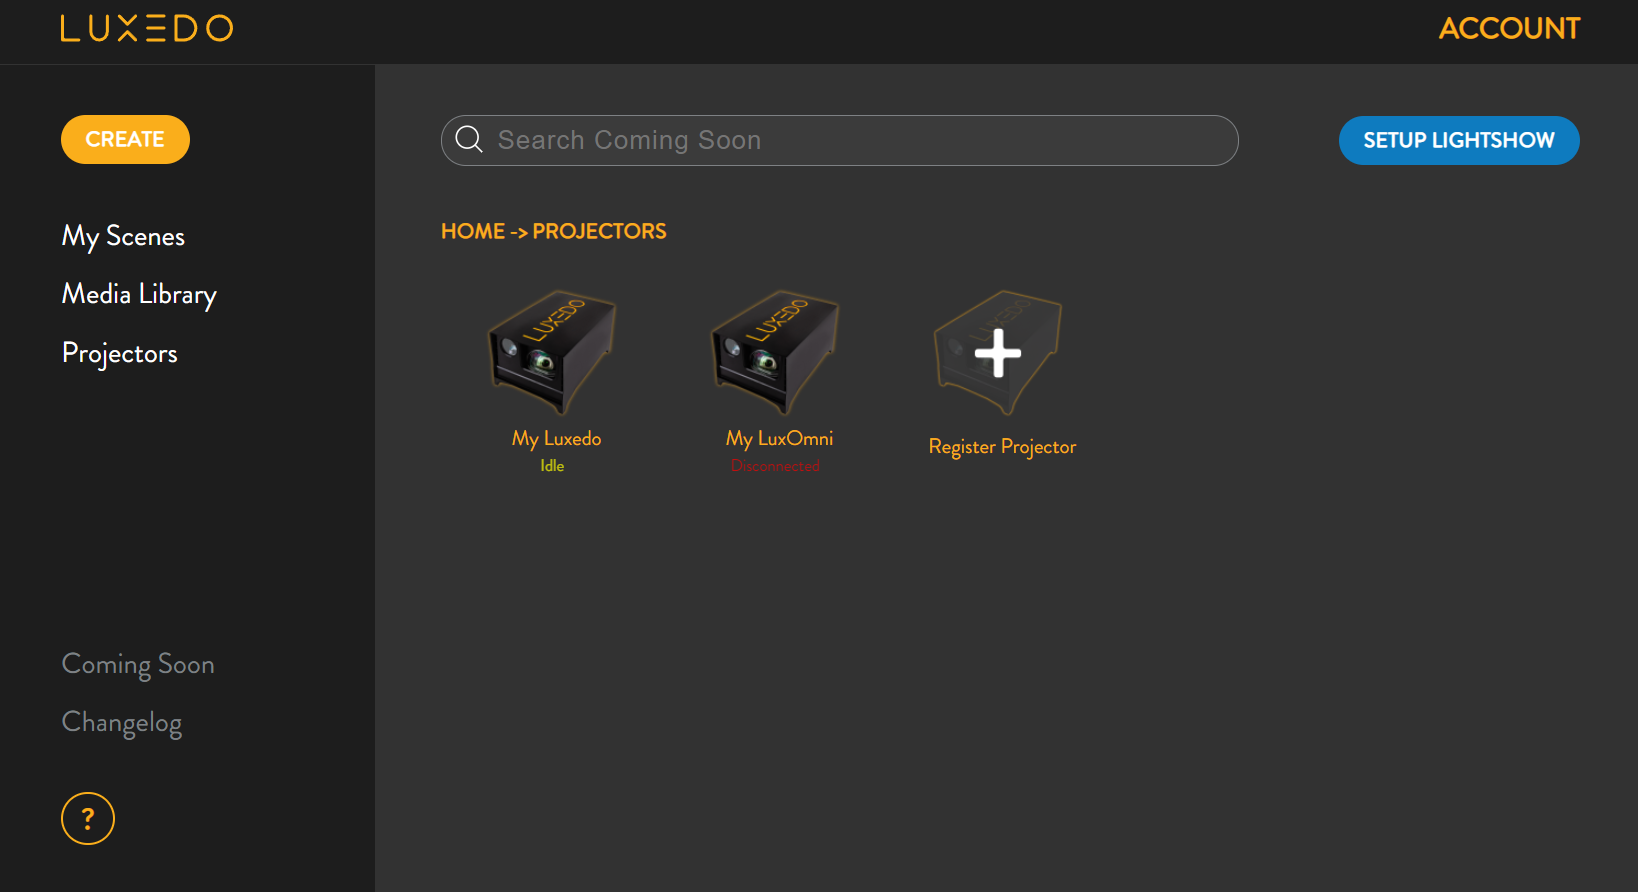
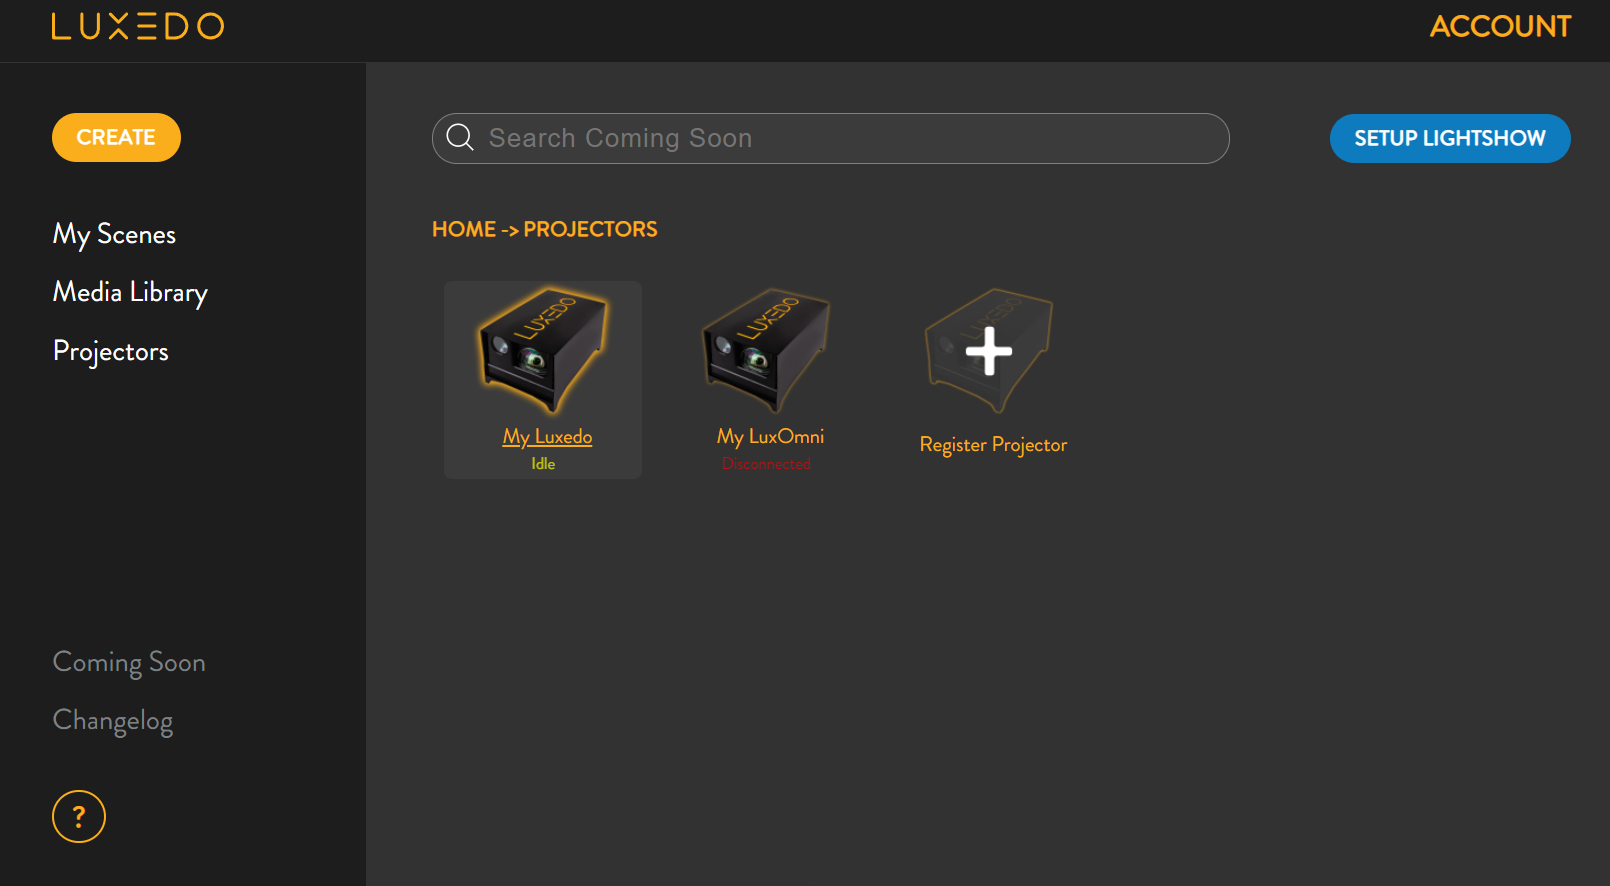
1. From the 'Projectors' section within the MyLuxedo dashboard, select one of the projectors you are adding to the group.
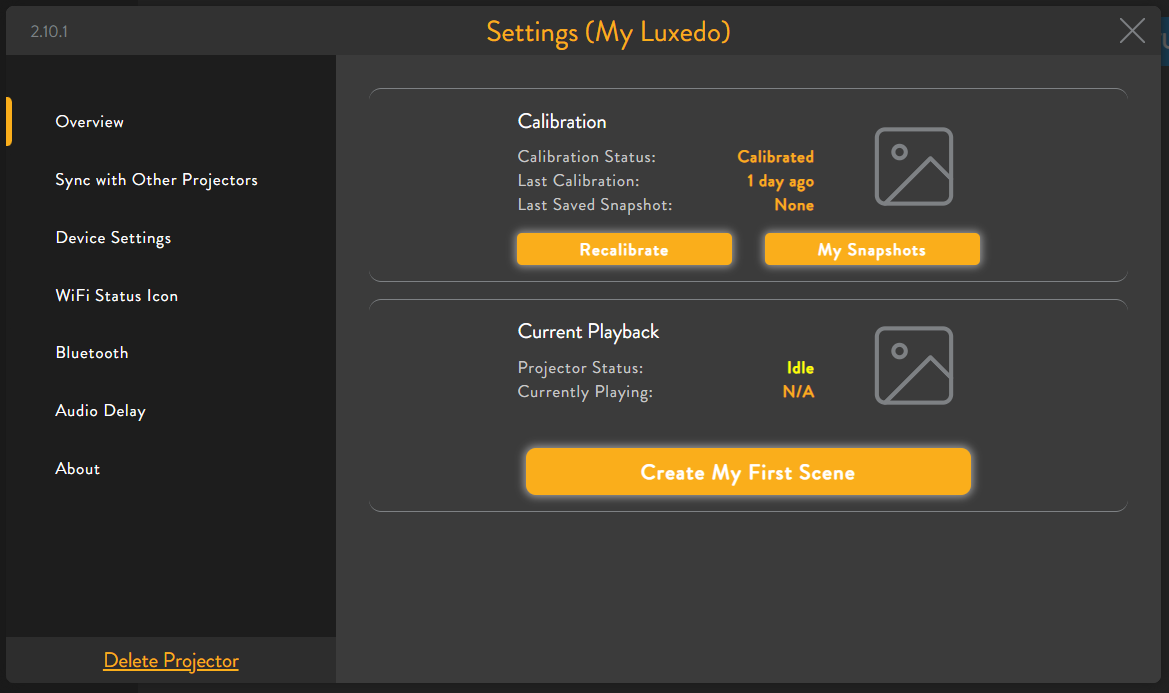
2. Now select 'Sync with Other Projectors' from the options on the leftmost side of the menu.
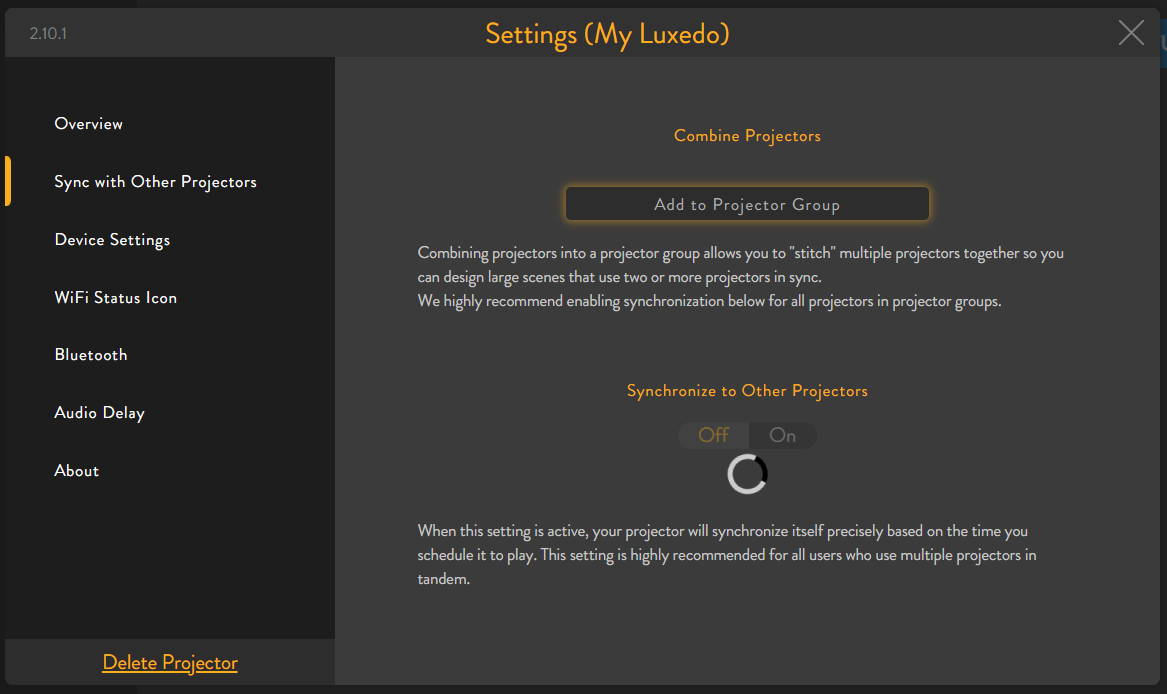
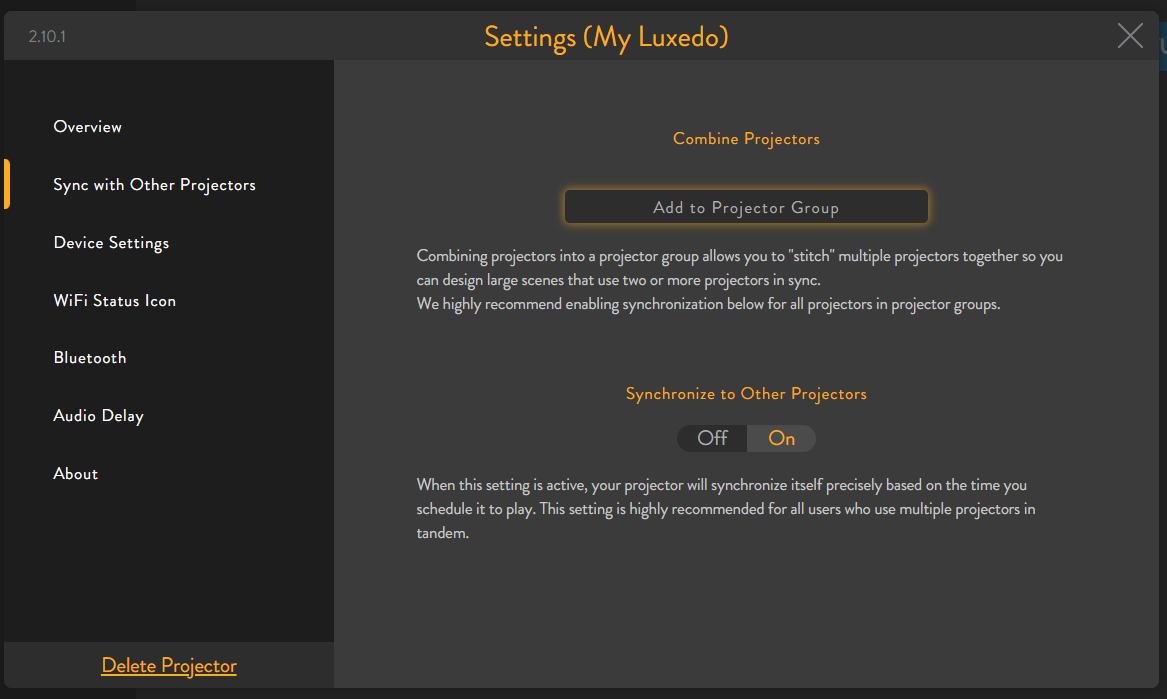
3. Within this menu, if the 'Synchronize to Other Projectors' option is currently off, click the 'On' button. This is recommended for those who are using multiple projectors on one lightshow. Note: This may take a moment to update on your projector.
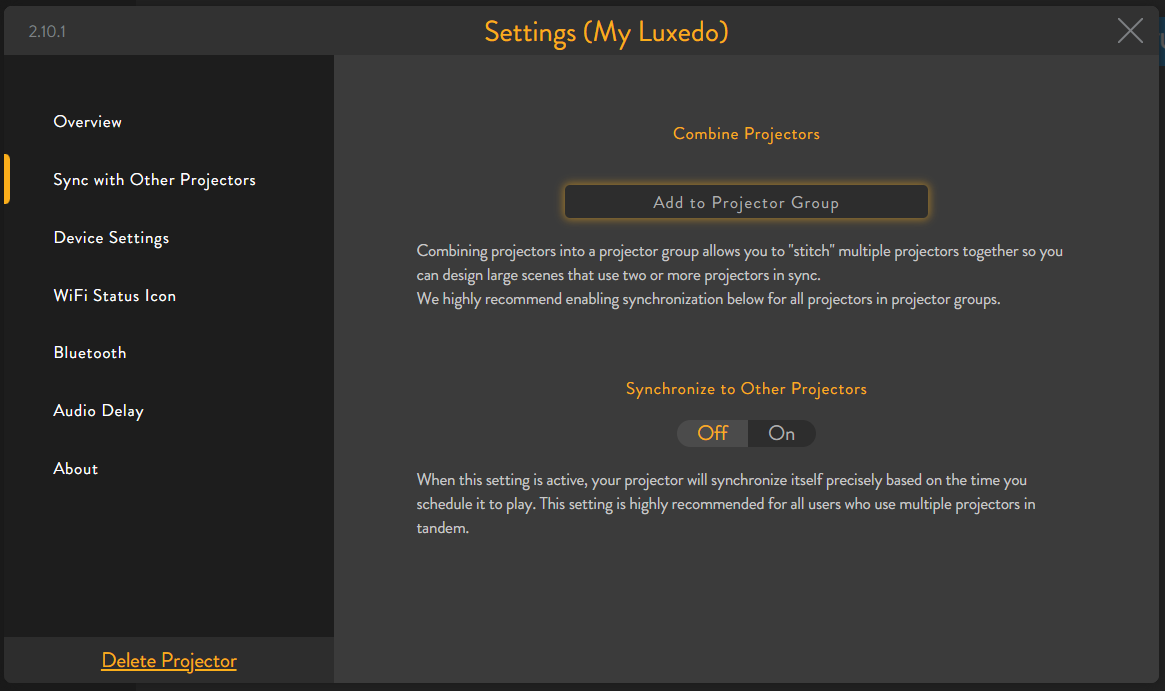
4. Now click the 'Add to Projector Group' button.
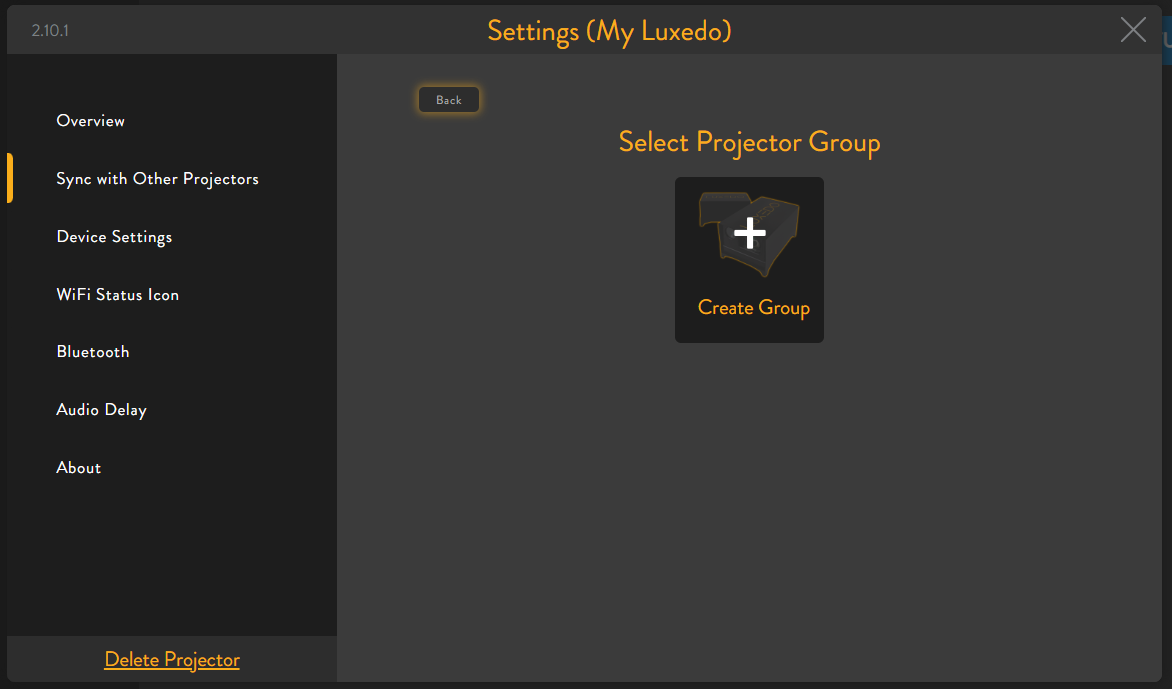
From here you will see any projector groups you have already made, as well as an option to create a new group.
5. Click the 'Create Group' option to create a new projector group.
6. You will be given the option to name your projector group. Enter any name to identify your new group.
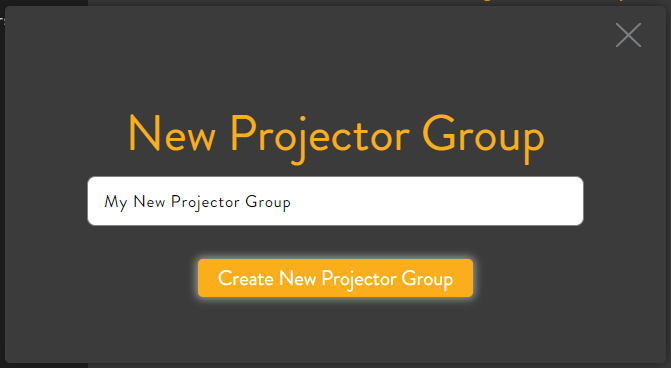
Now you will see your newly created projector group.
7. Select your new projector group from the menu.

Now you can assign the position of each projector within the context of your new projector group. Let's add two projectors to the new group.
1. You will now see the first projector automatically added. Lets add a new projector to the group. Click the 'Add Projector' button.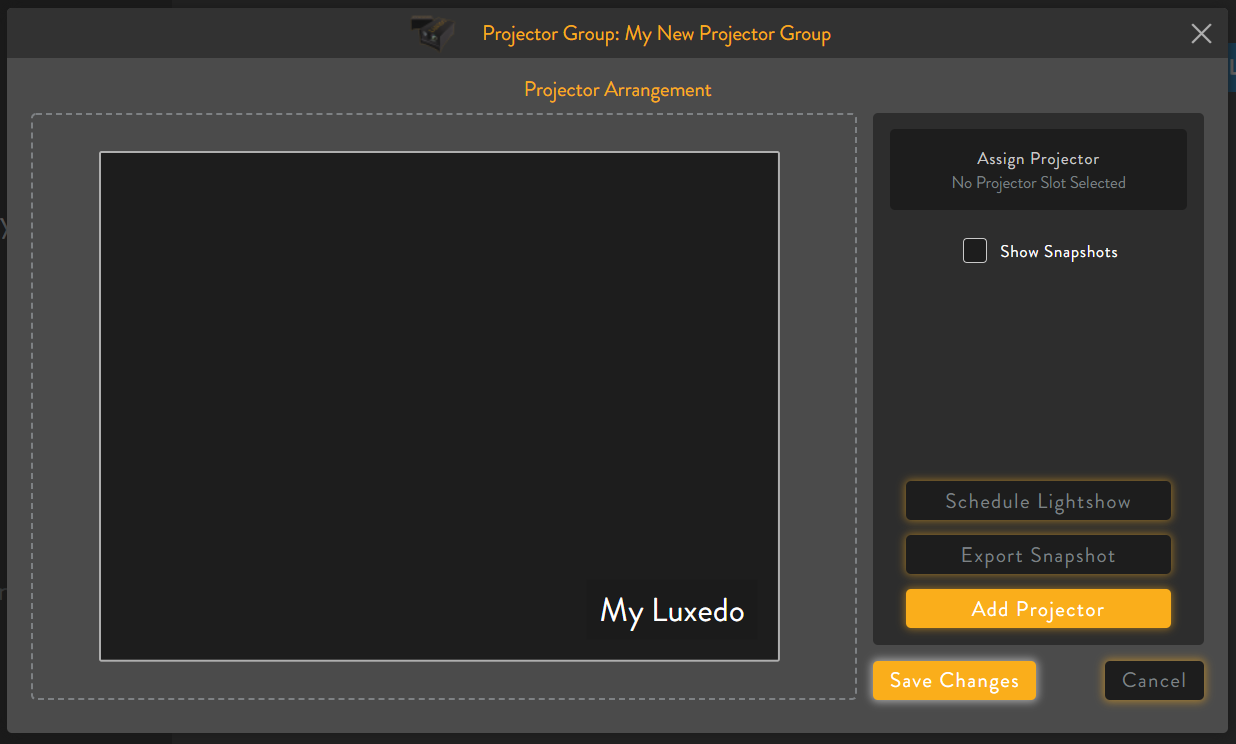
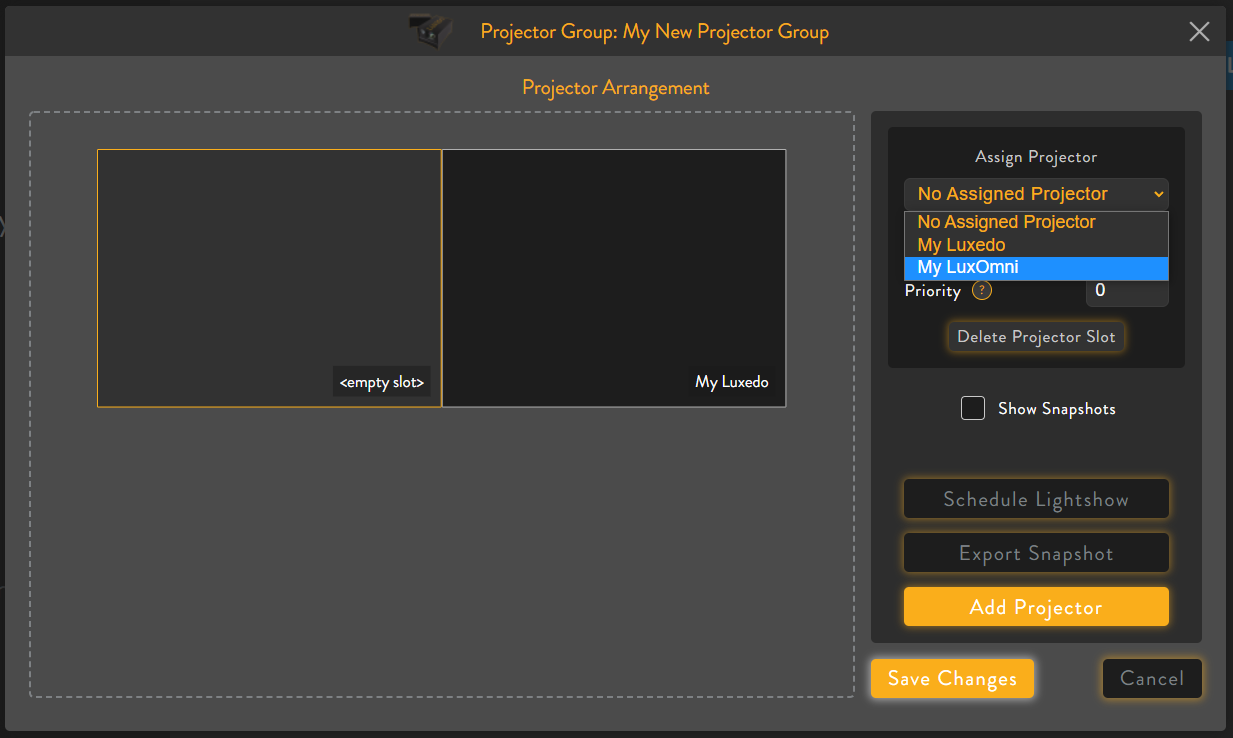
2. A new box labeled <empty slot> will be generated next to the first projector. Click the new box in order to assign it a projector.

3. Click the dropdown menu labeled 'No Assigned Projectors' and select your second projector.
4. Once two or more are added, click and drag each projector box to align where each will be projecting.
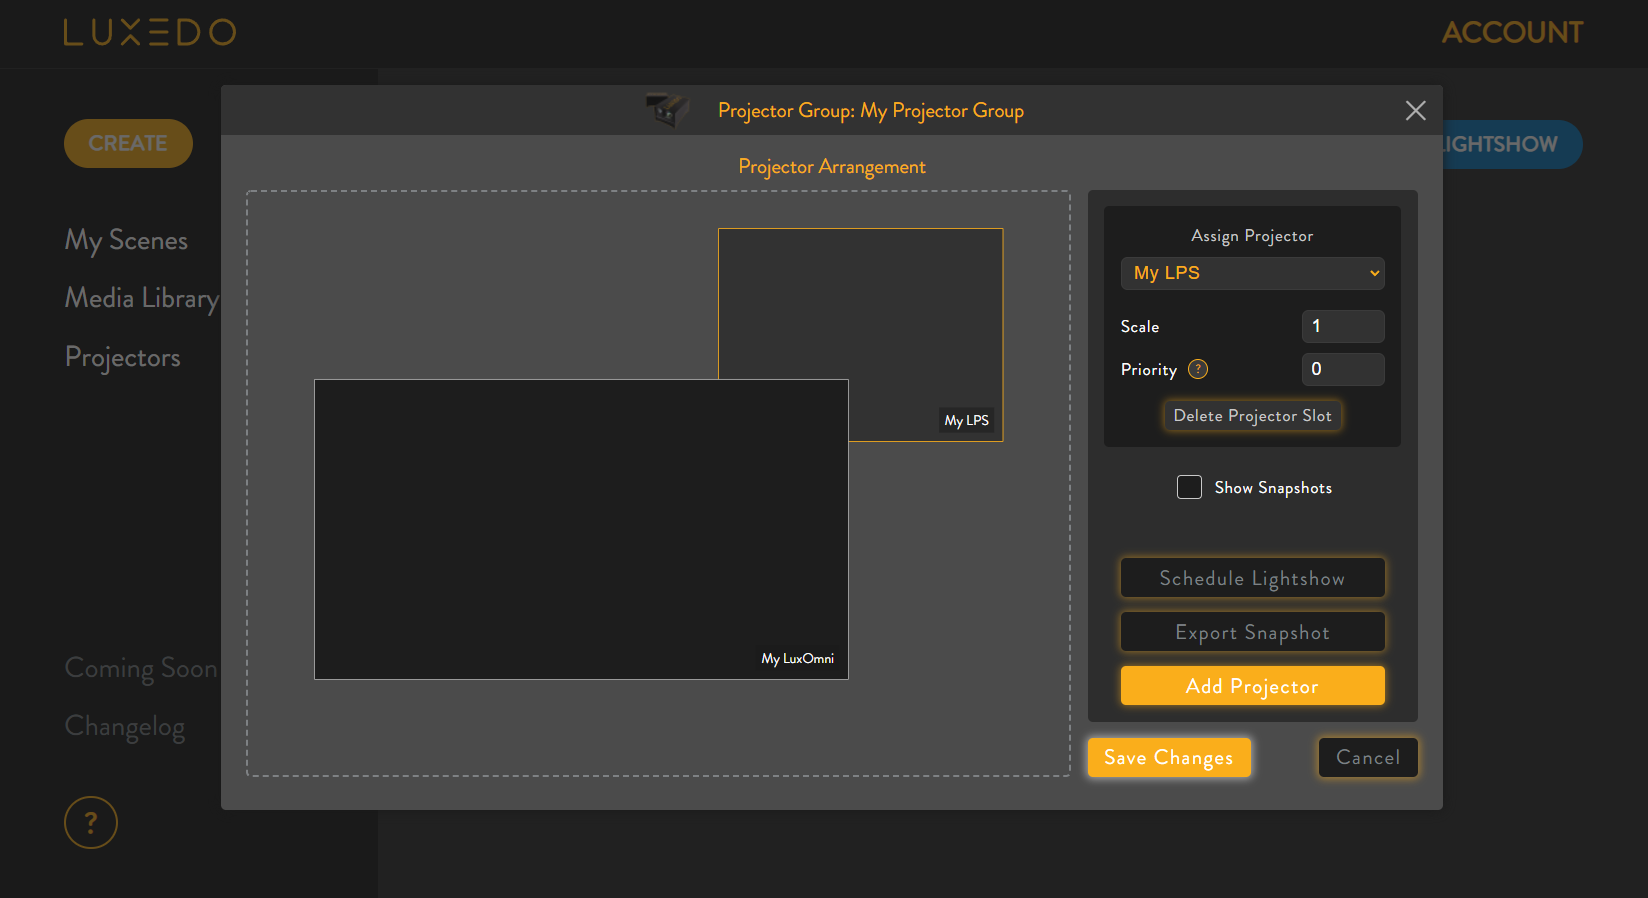
5. Edit priority to change which projector will be cast over the other(s) (This would be similar to layering them).
6. Edit scale to align the size of the projection space when viewing the lightshow.
7. Once everything is in place, click save changes.
From here you can schedule a lightshow or even export a snapshot to edit your lightshow using 3rd party software.
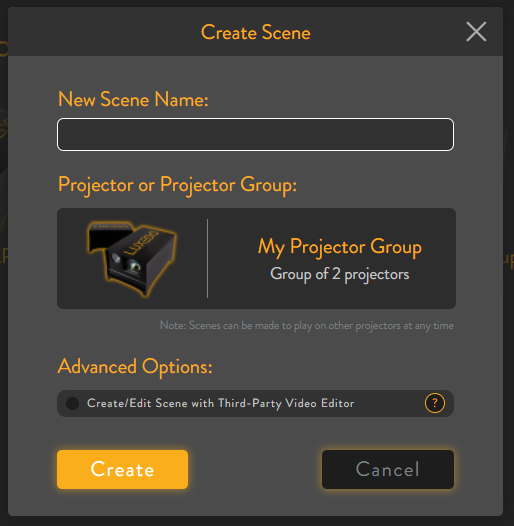
Now, when you are creating a scene, your projector group will show up under the 'Projector or Projector Group' section. Select your new projector group and click 'Create' to begin working on your new lightshow.