Get Started with LuxCastUpdated 4 months ago
This guide will take you through the setup process of the LuxCast and get you started with the provided projection mapping software.
Part 1: Setup Your LuxCast
To get started with your LuxCast you will first need to connect all the required components.
STEP 1
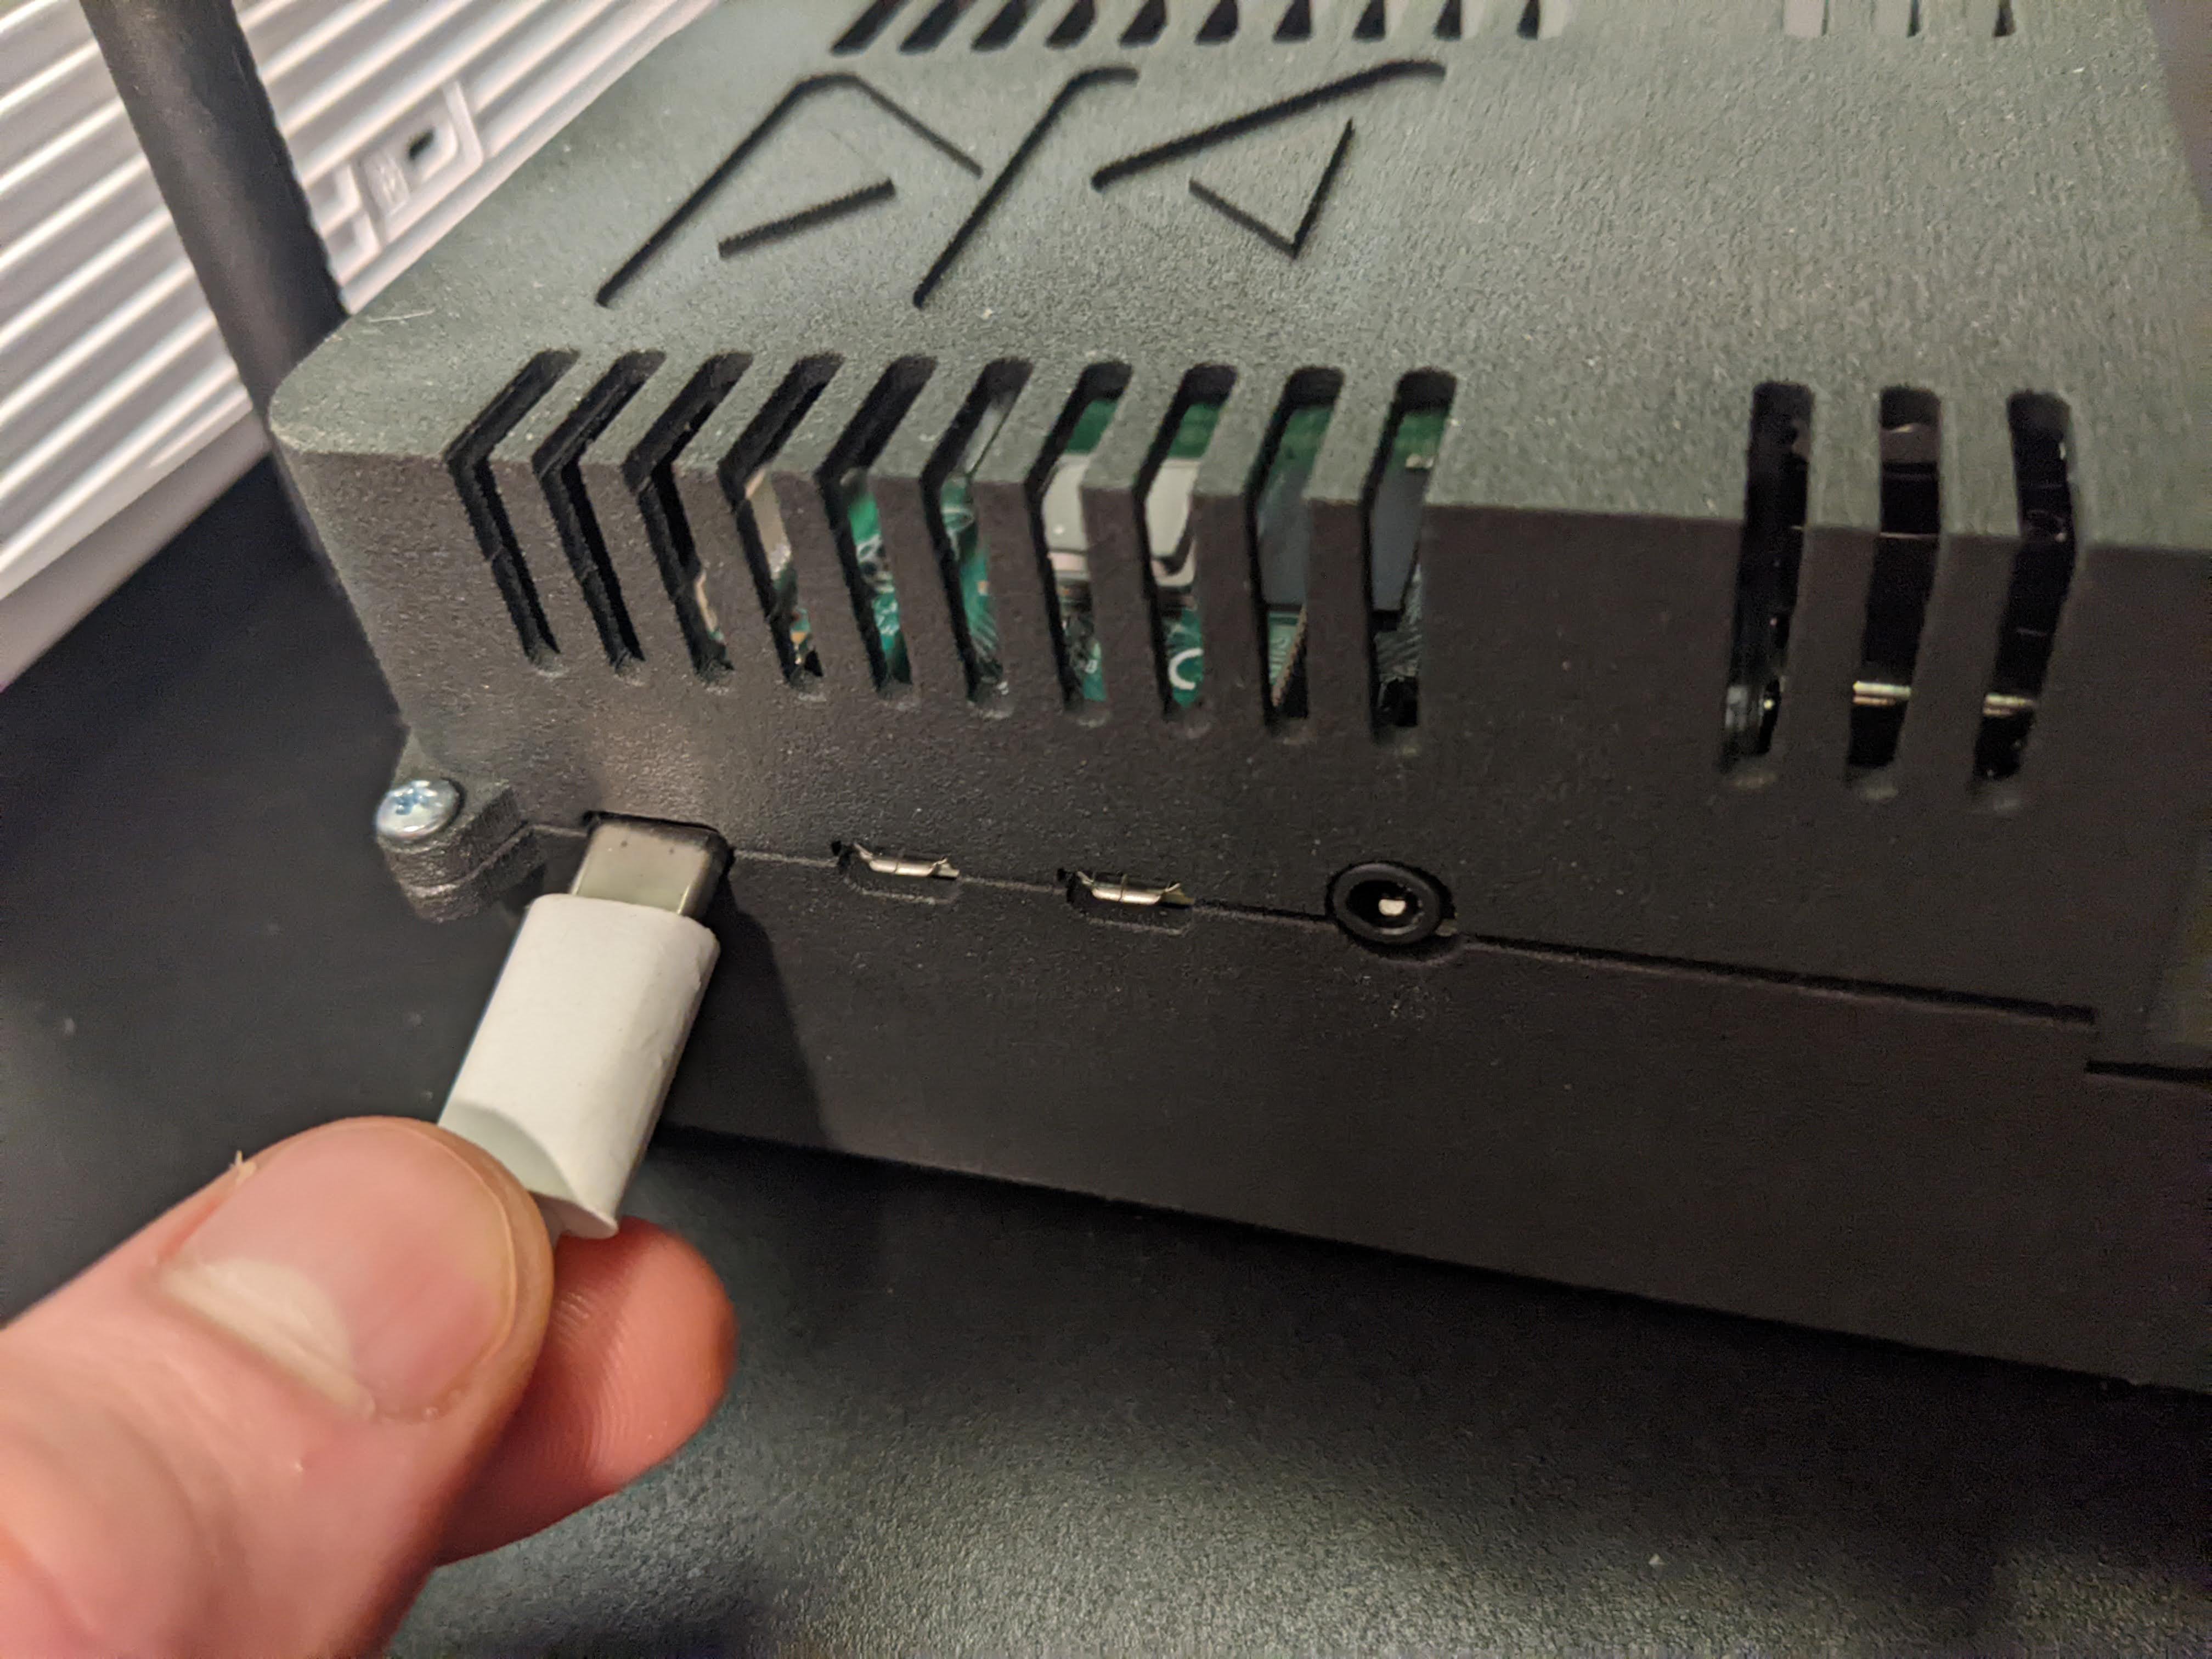
Starting with the projector, use a Micro HDMI cord to connect the LuxCast to the projector (be sure you are connecting it to the port closest to the USB-C port). Then, use a USB-C cable to power the LuxCast device.

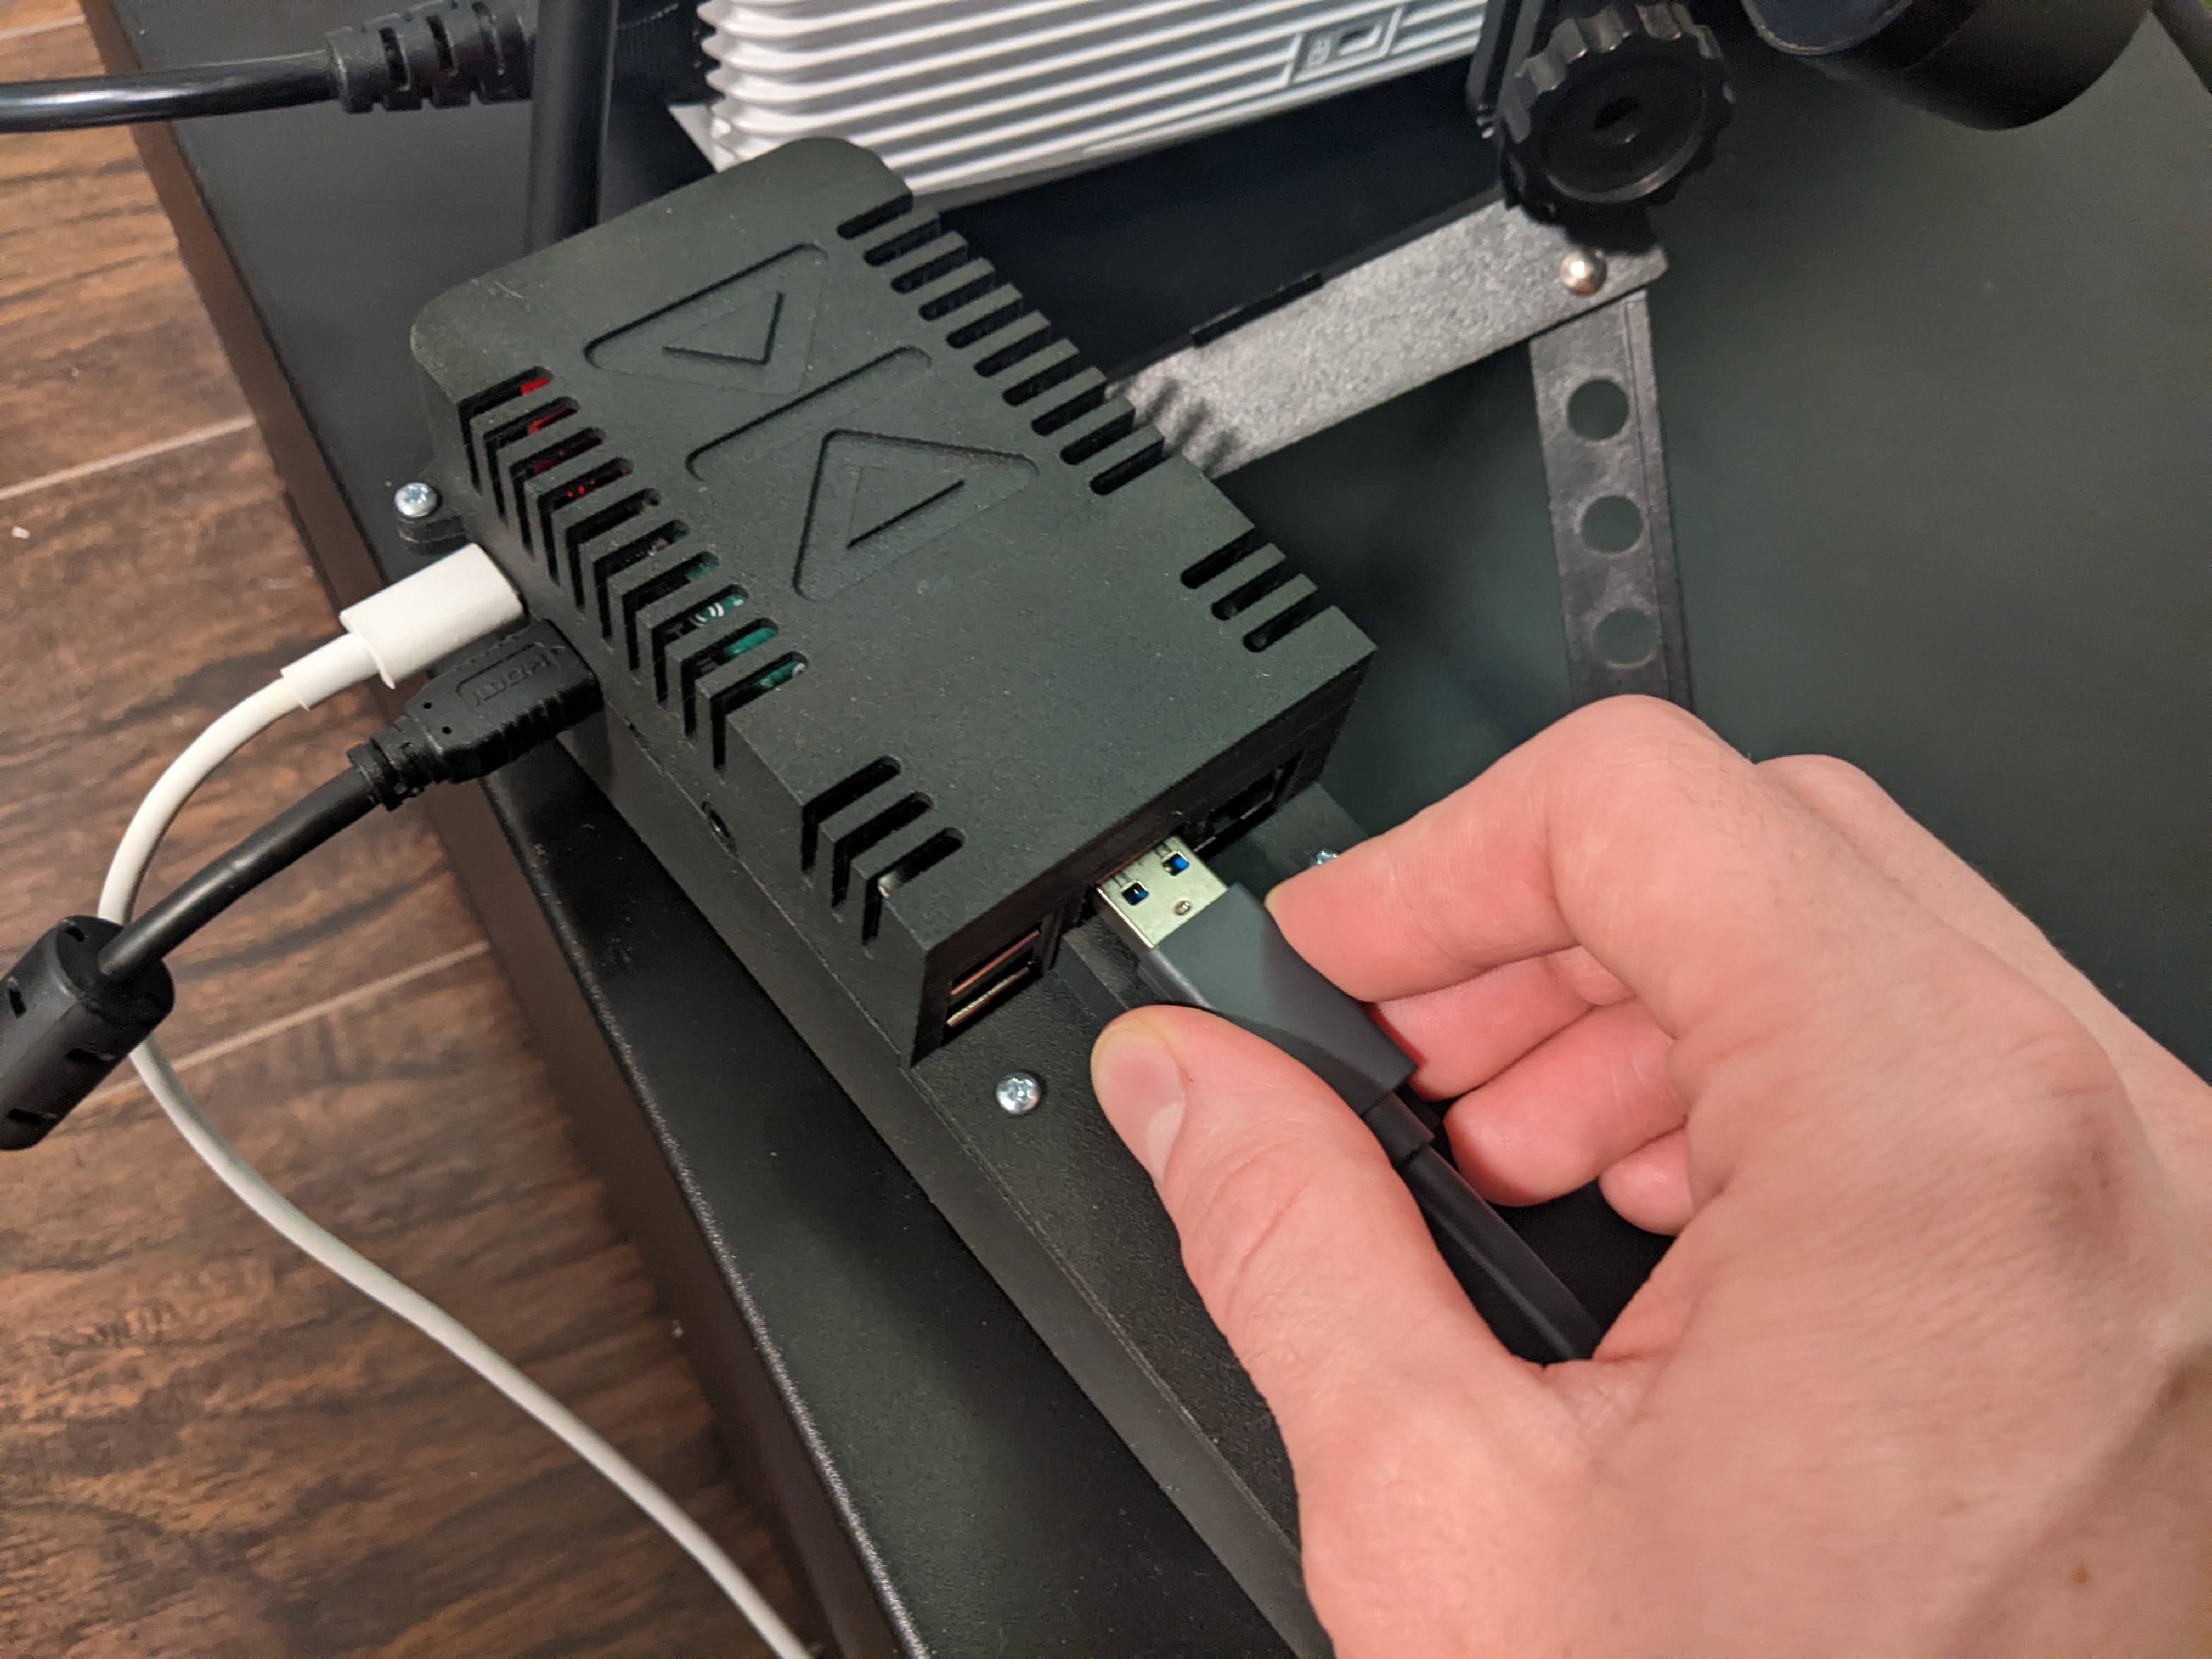
Connect your webcam to the LuxCast with the proper USB connection and place the webcam near the projection lens.
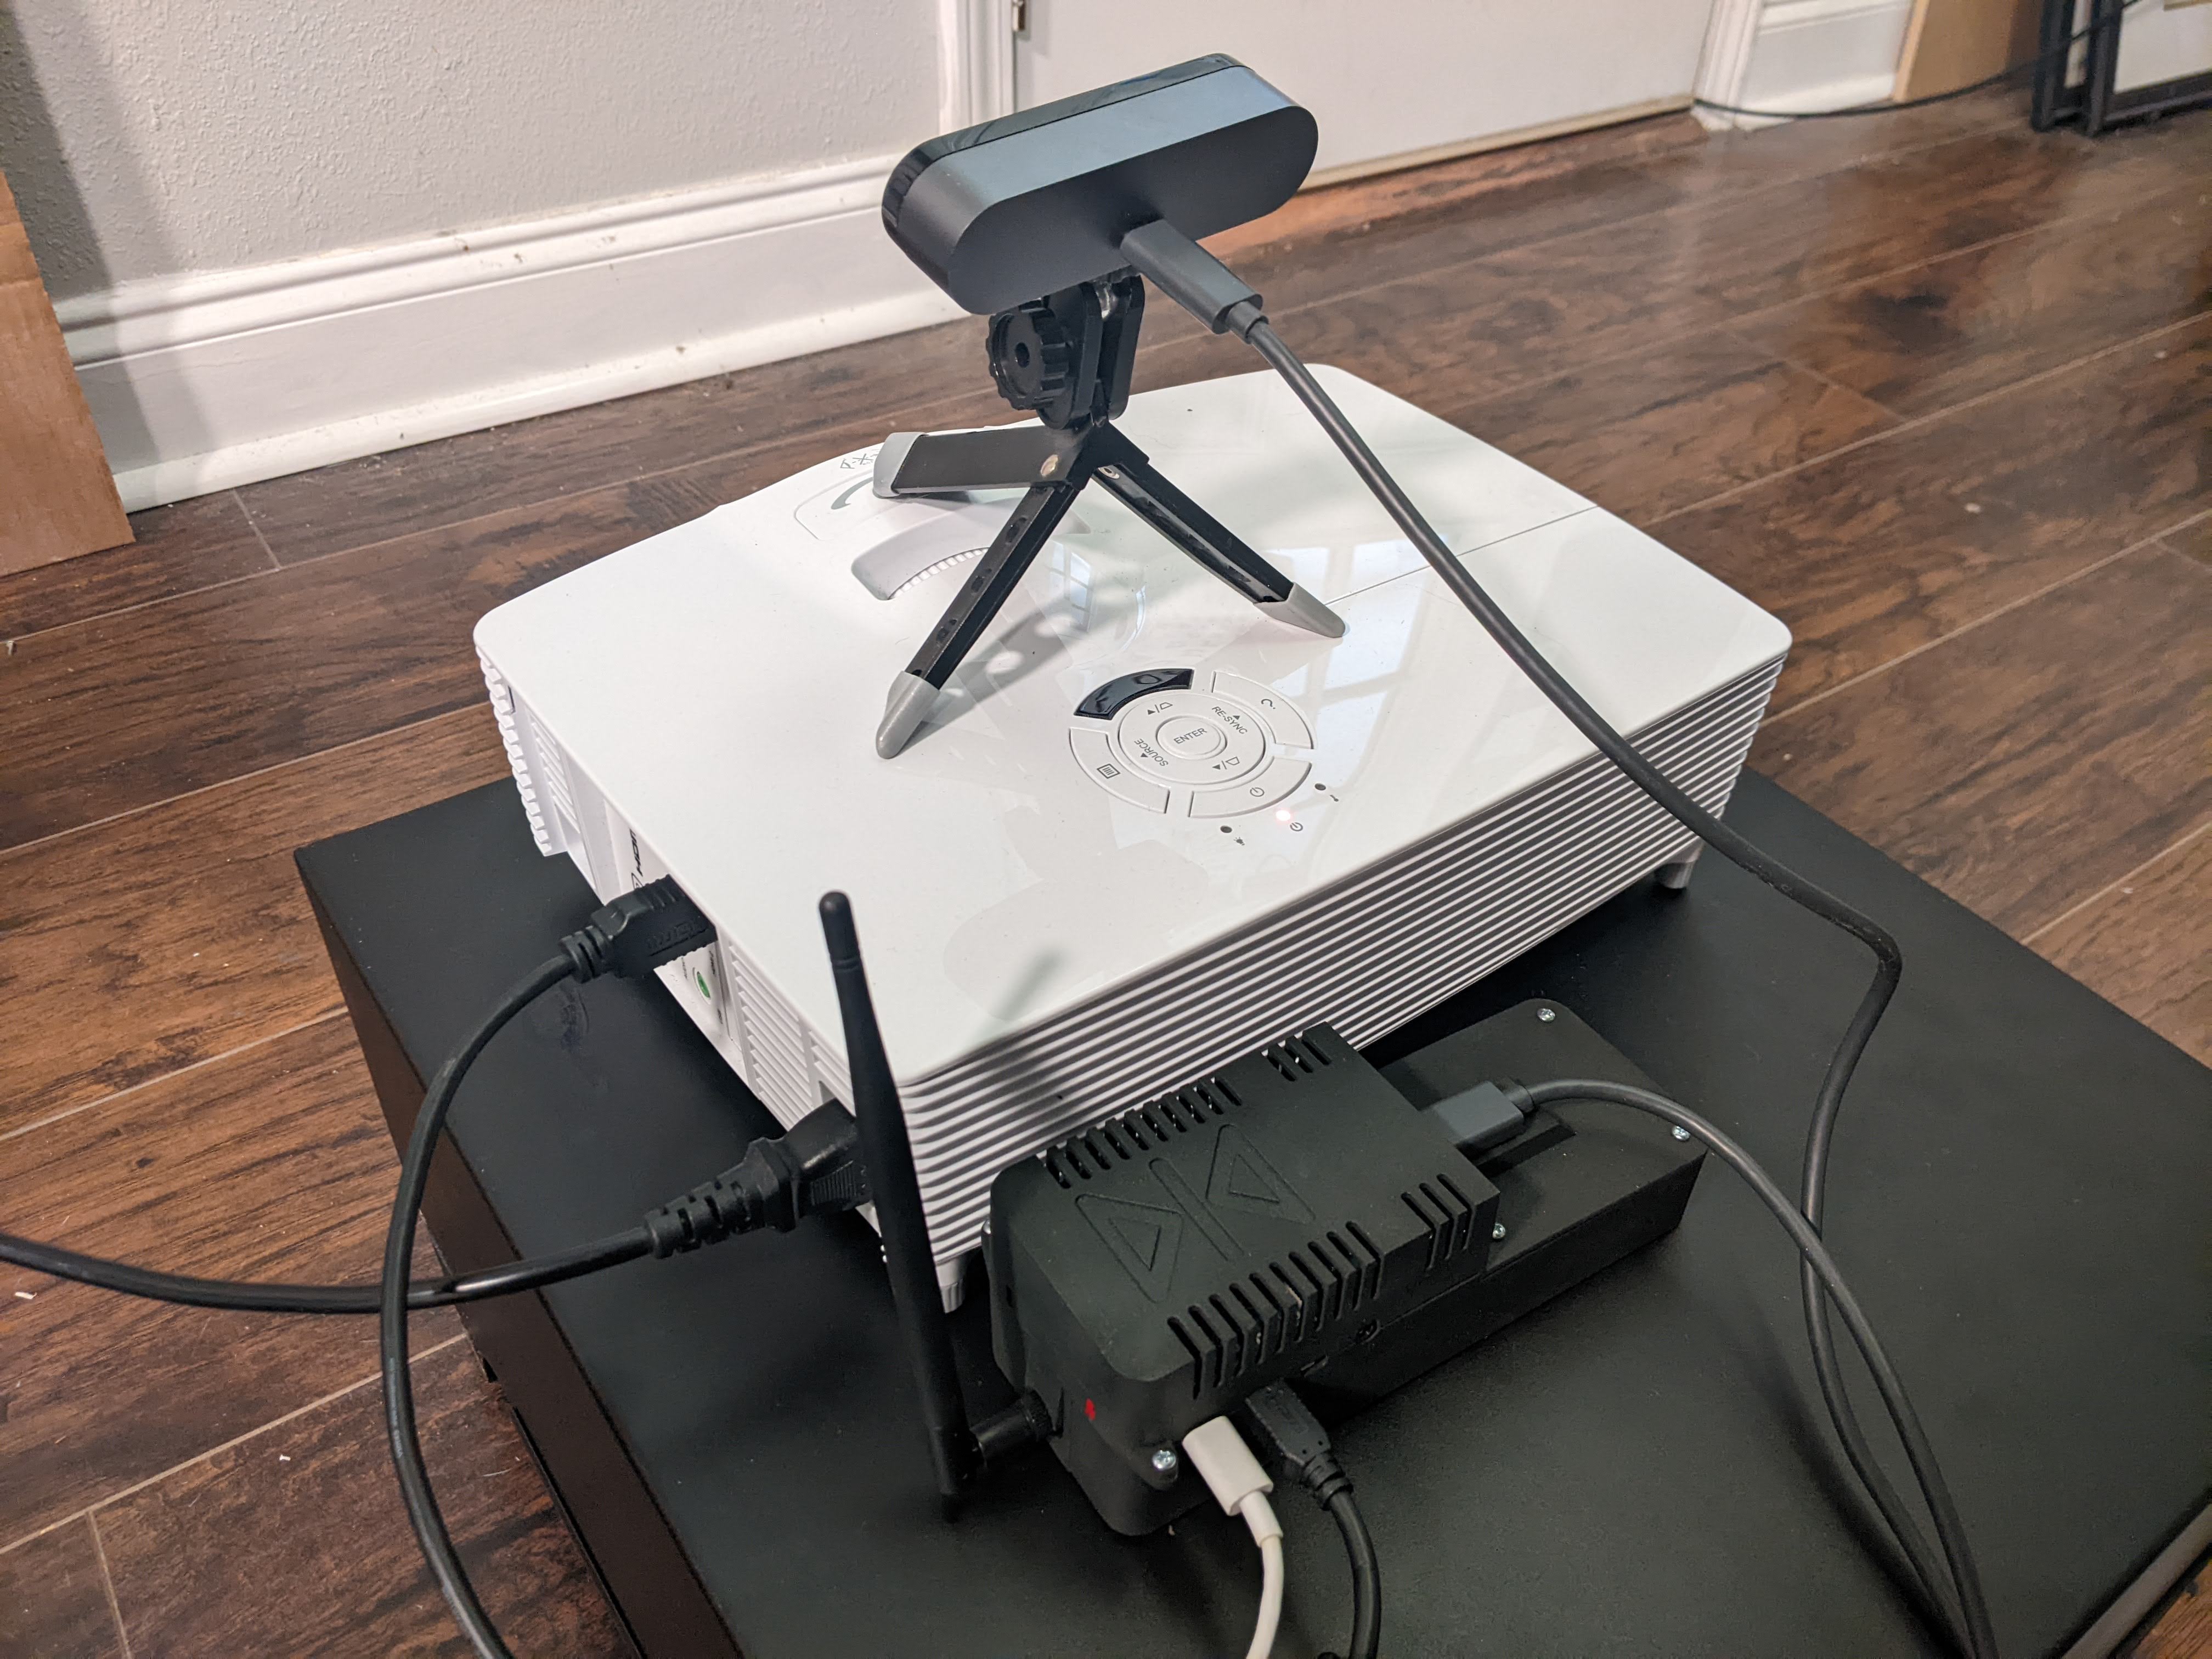
Following these steps should look something like the following image.
When your unit first powers on, you will see a boot-up screen for a few seconds this may vary depending on the model of your projector. When the projector is finished booting up, you will see a plain white rectangle as pictured below. This image may be faint and hard to see if you are in a bright room. There may also be a black overlay with some text notifying you that the projector has no Wi-Fi connection.
Next you will need to connect your LuxCast to Wi-Fi with the following steps:
STEP 2
Download Google Chrome from your cellphone’s app store. Skip this step if you already have Google Chrome downloaded.
STEP 3
Every Luxedo projector broadcasts its own hotspot network so that you can get the projector connected to WiFi. This hotspot network does not actually connect to the internet and only exists so that you can control the projector with your phone.
Connect your phone to the LuxCast device using your cellphones WiFi connection. Open the phone's WiFi settings and let it scan for networks. You should see a network named LuxedoXXXX (where XXXX is your projector's ID number) after a few moments. Make sure you are close to your projector when you are trying to connect to its network.
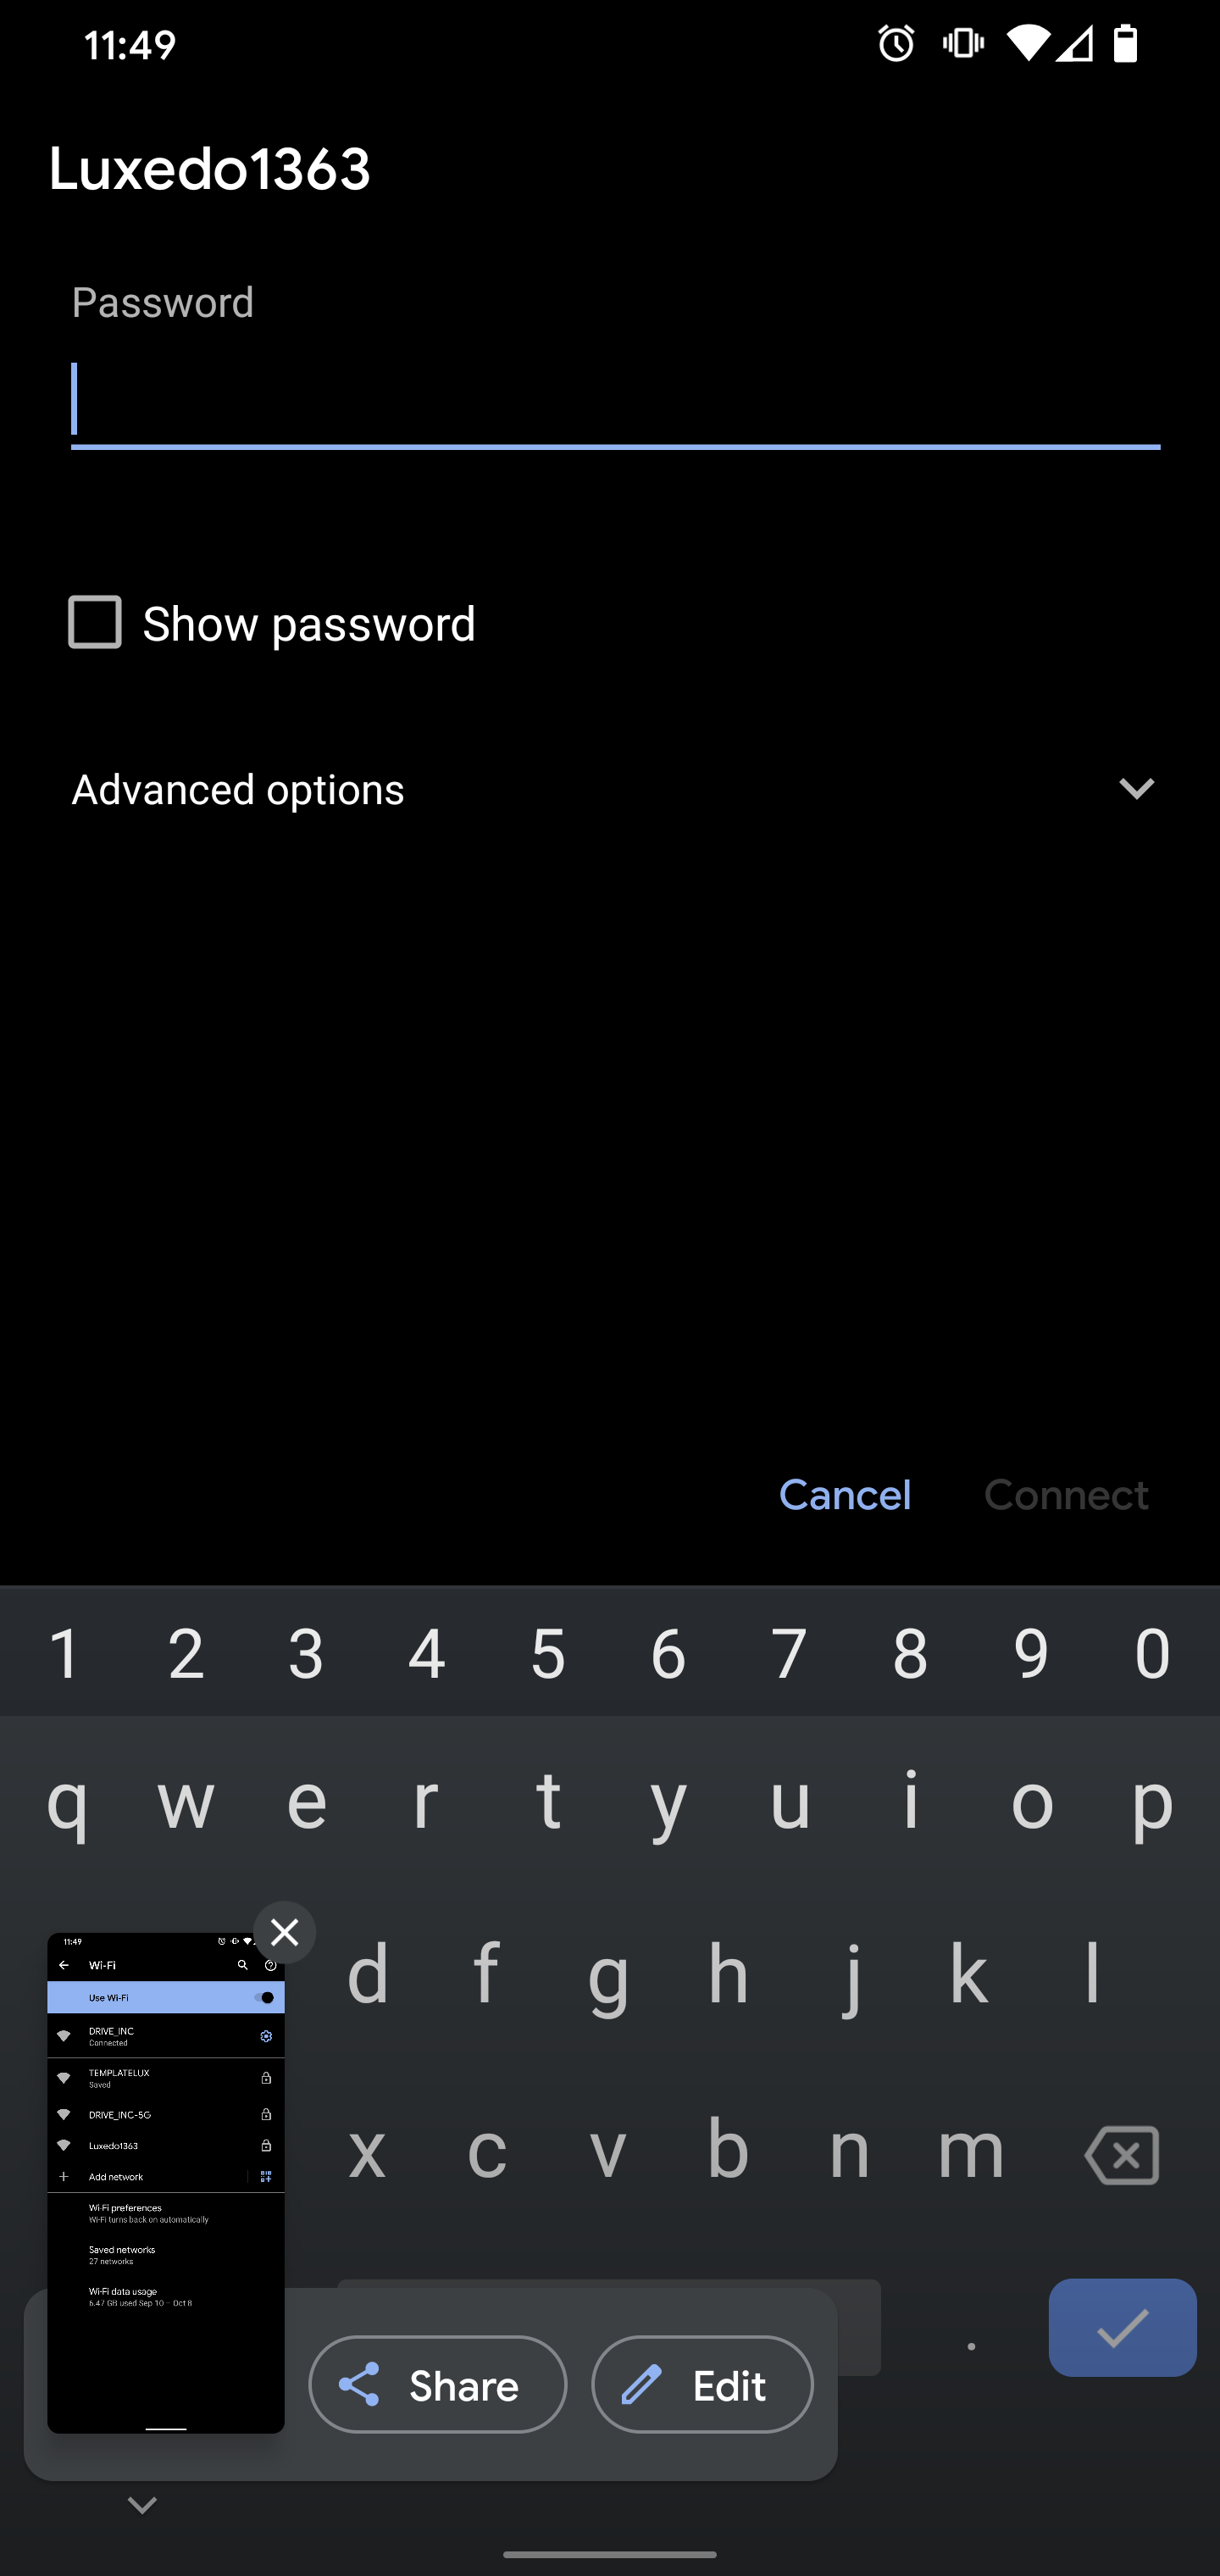
Connect to the LuxedoXXXX network and enter the password that is printed on the pamphlet that is included in the box with your Luxedo device.
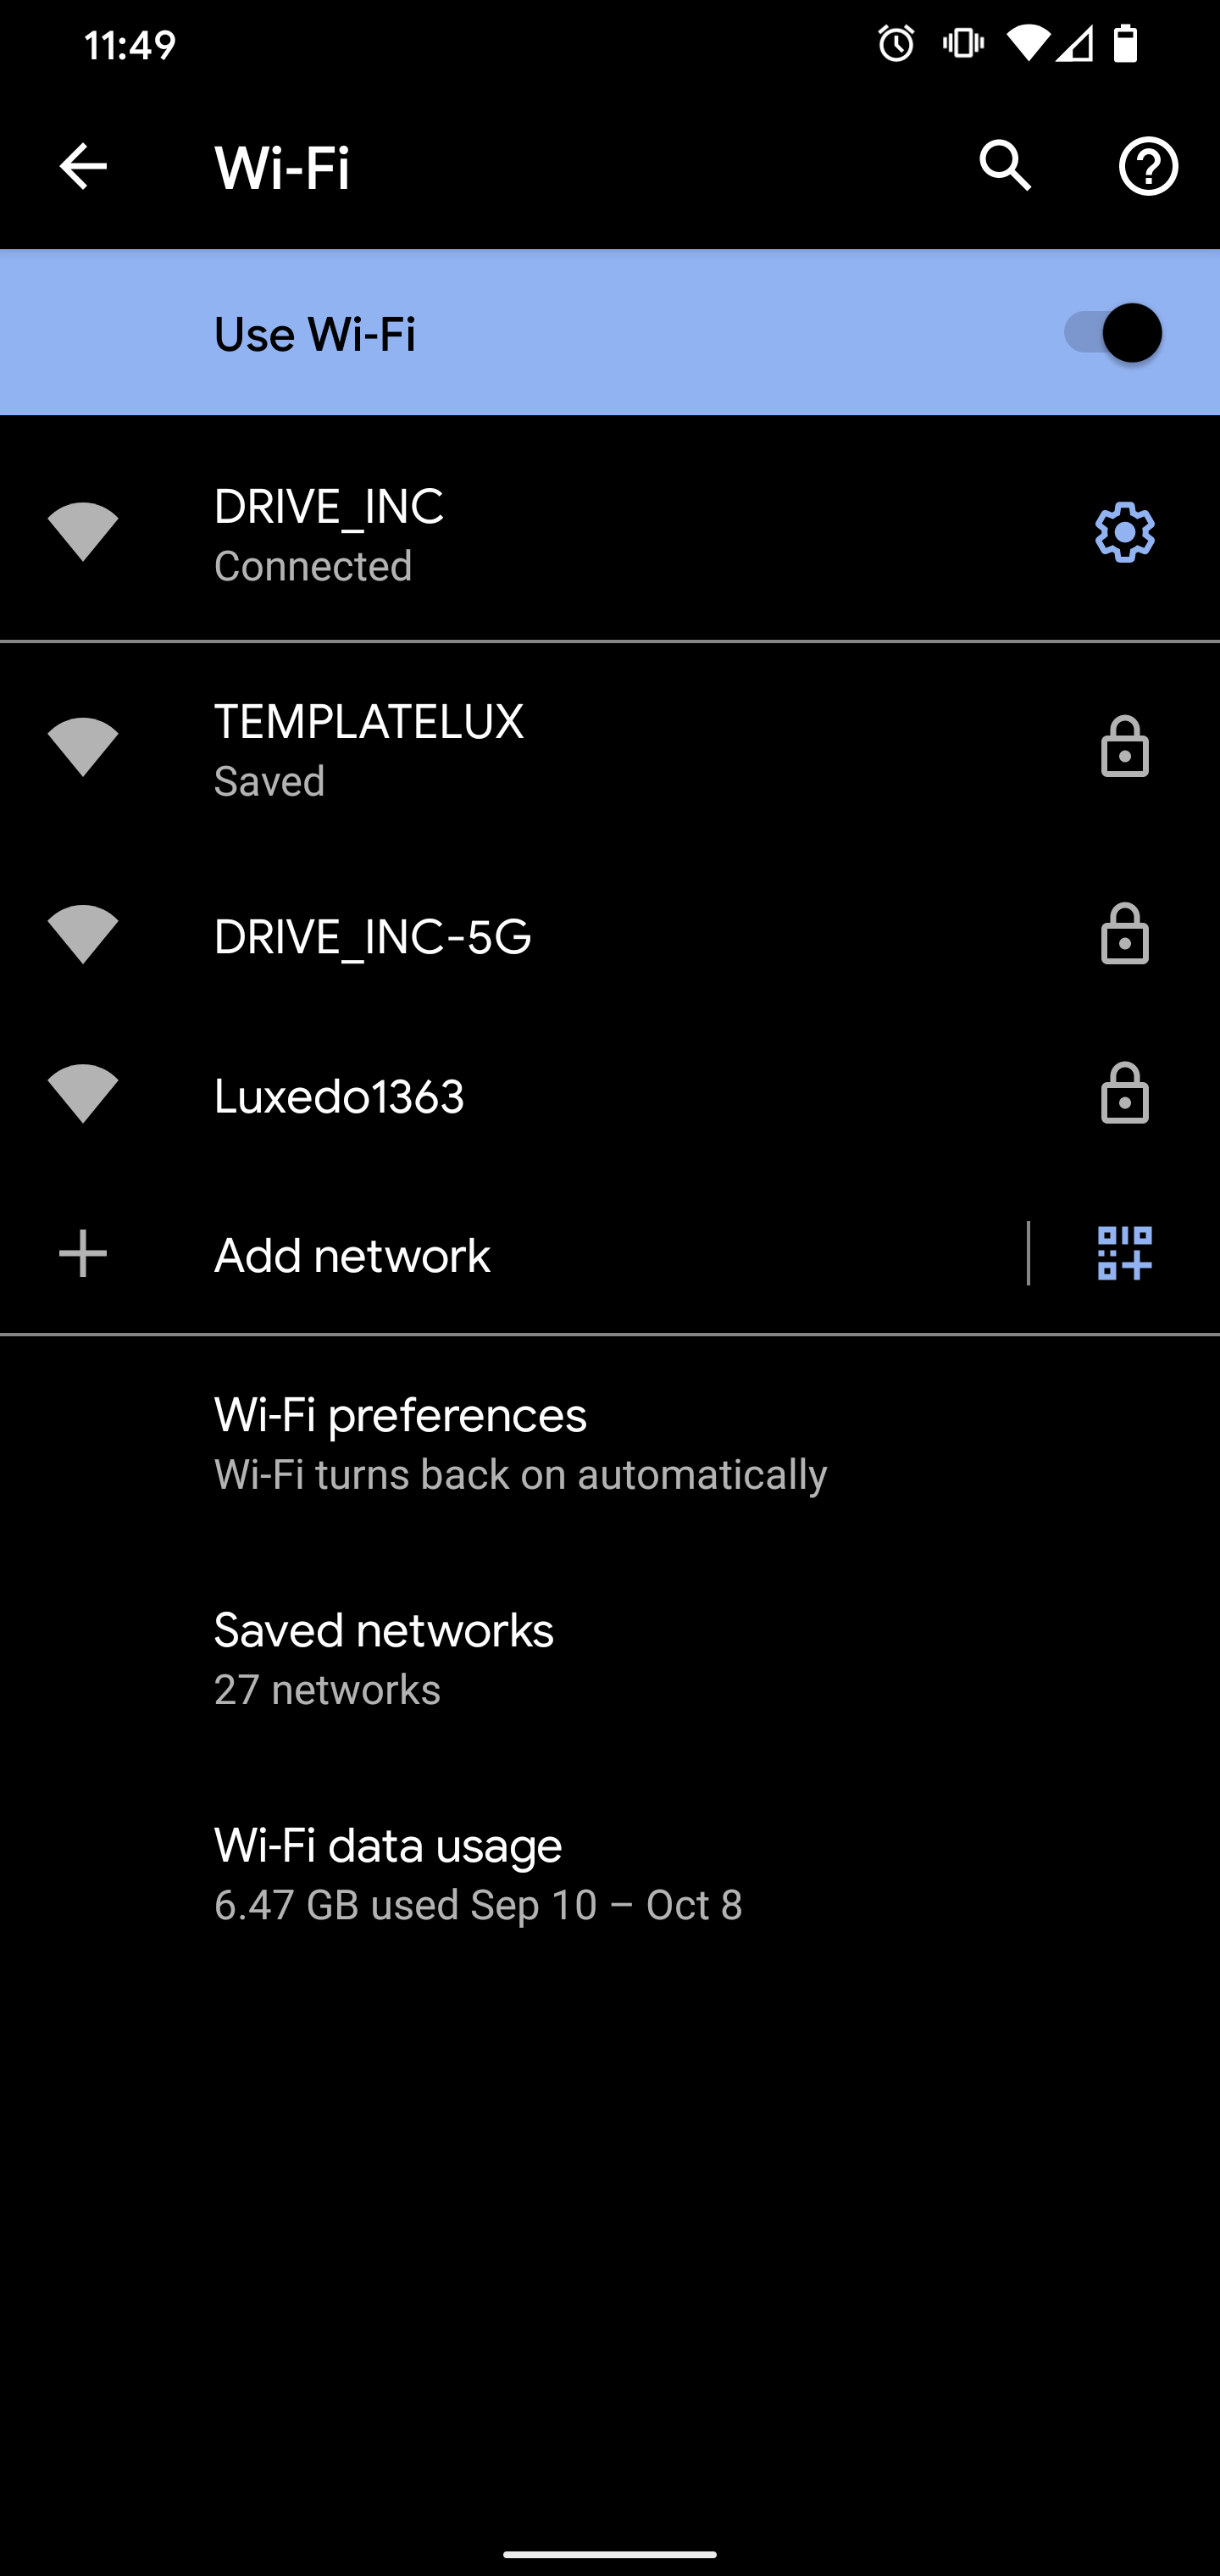
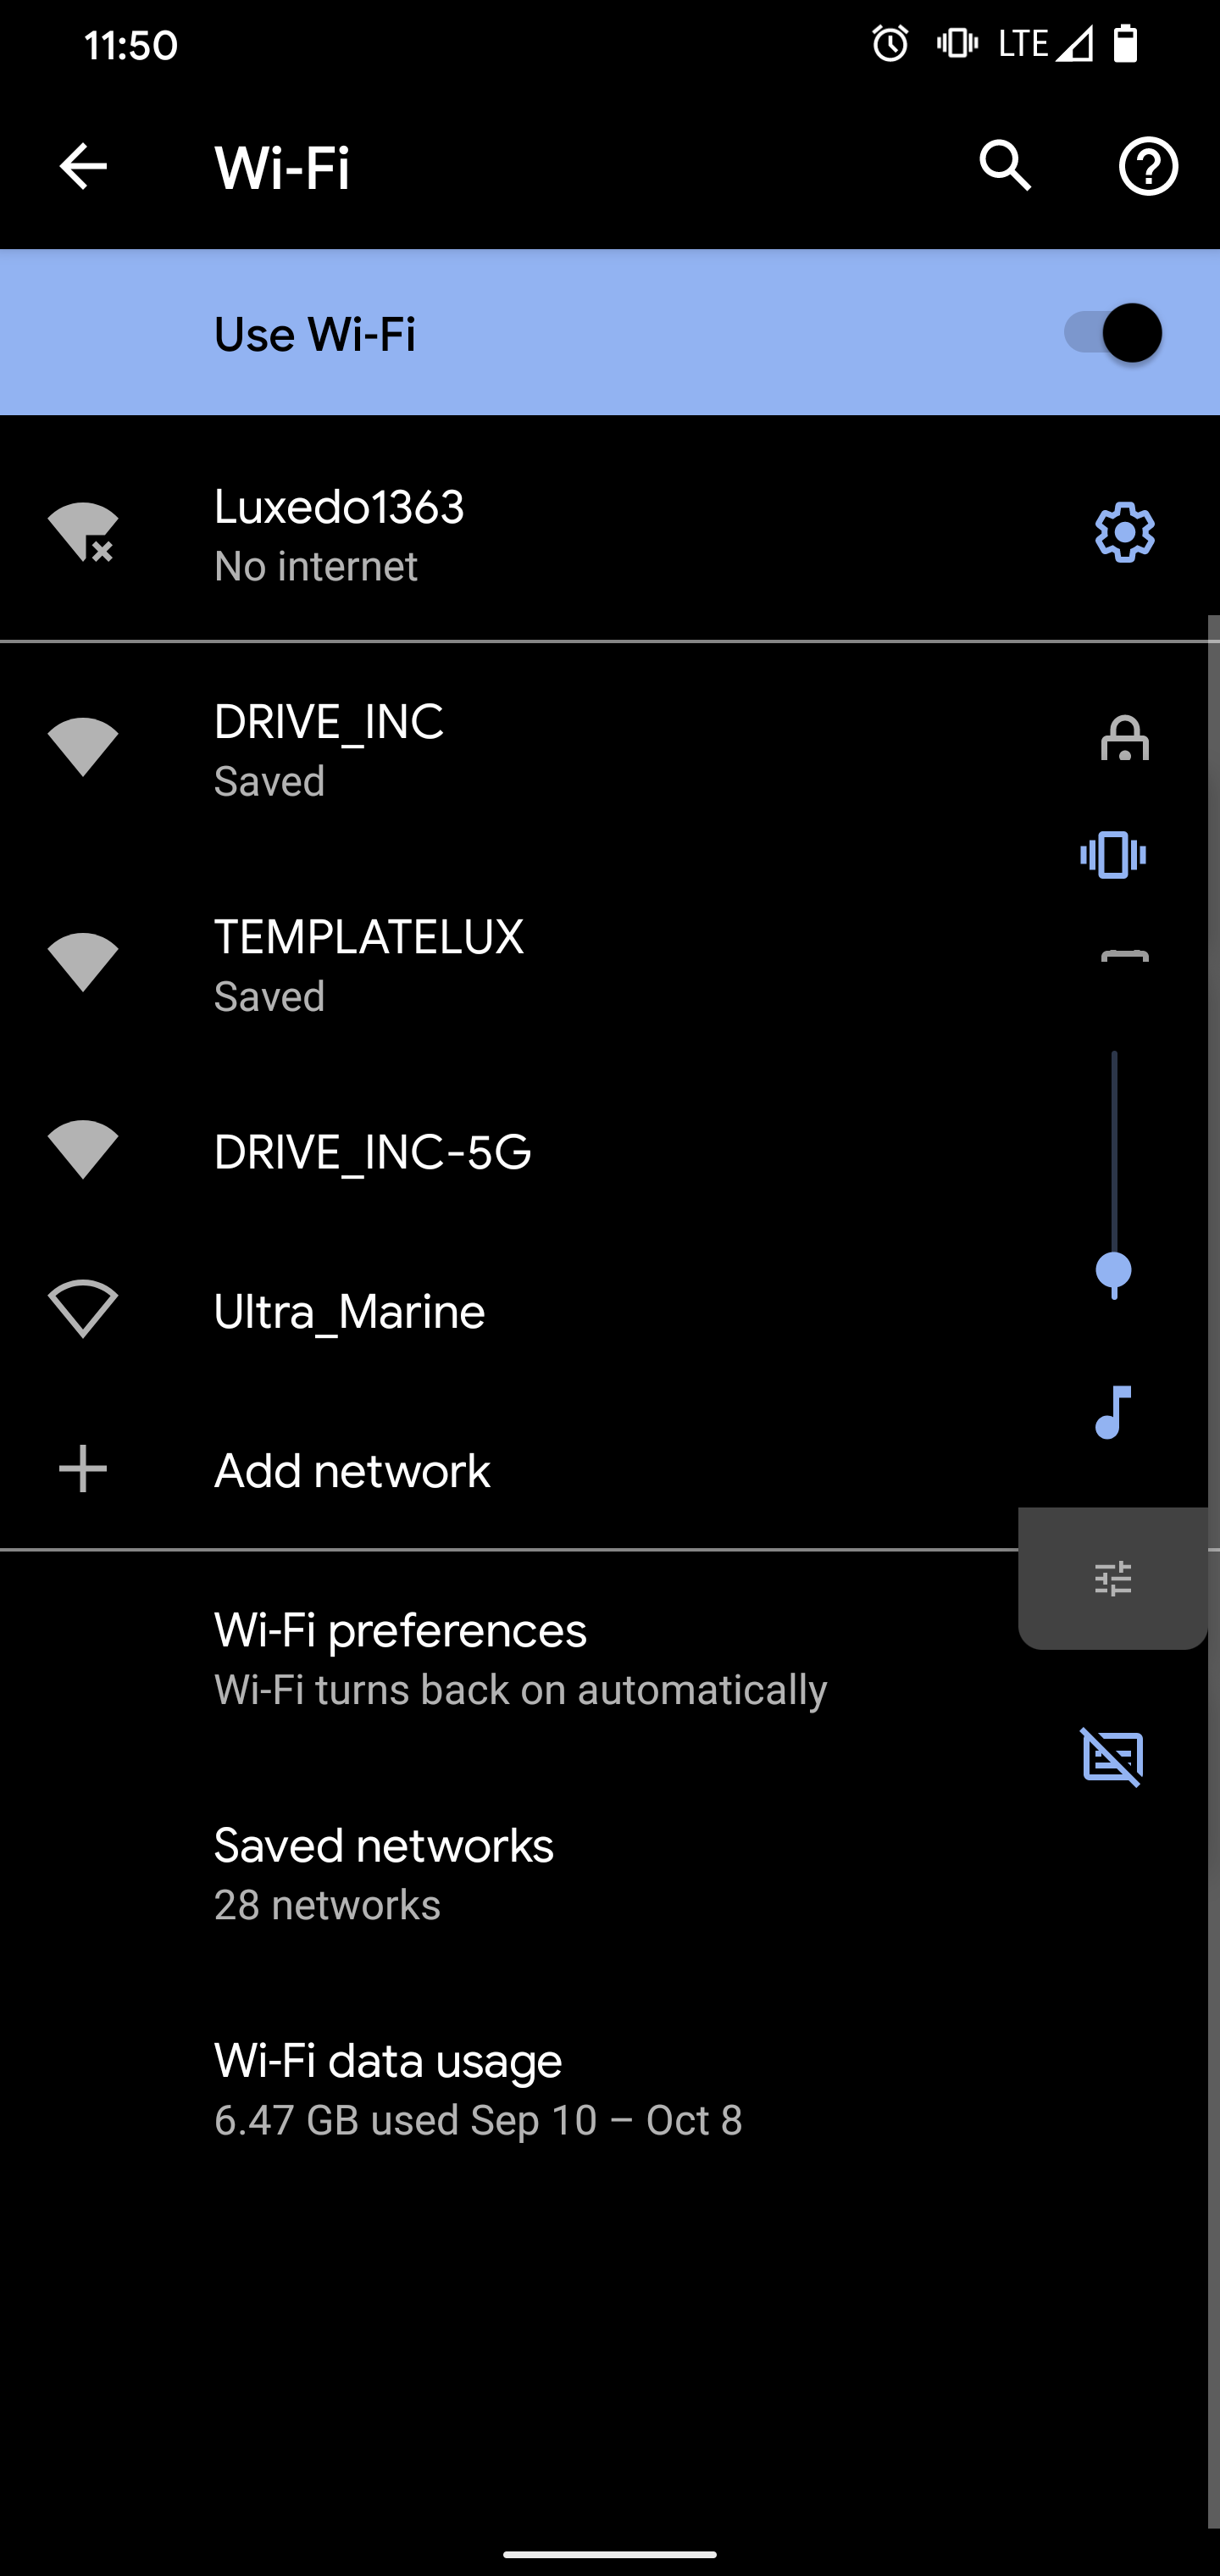
When you are connected, the network will appear at the top of the list and will say 'No internet' just under it.
WARNING: Android in particular often will try to avoid connecting to a network without internet. You may have to tap on a banner that pops up and expressly allow connection to the network. You may even have to temporarily disable your cellular data. See our troubleshooting guide for more info.
STEP 4
Open the Google Chrome app on your cellphone.
STEP 5
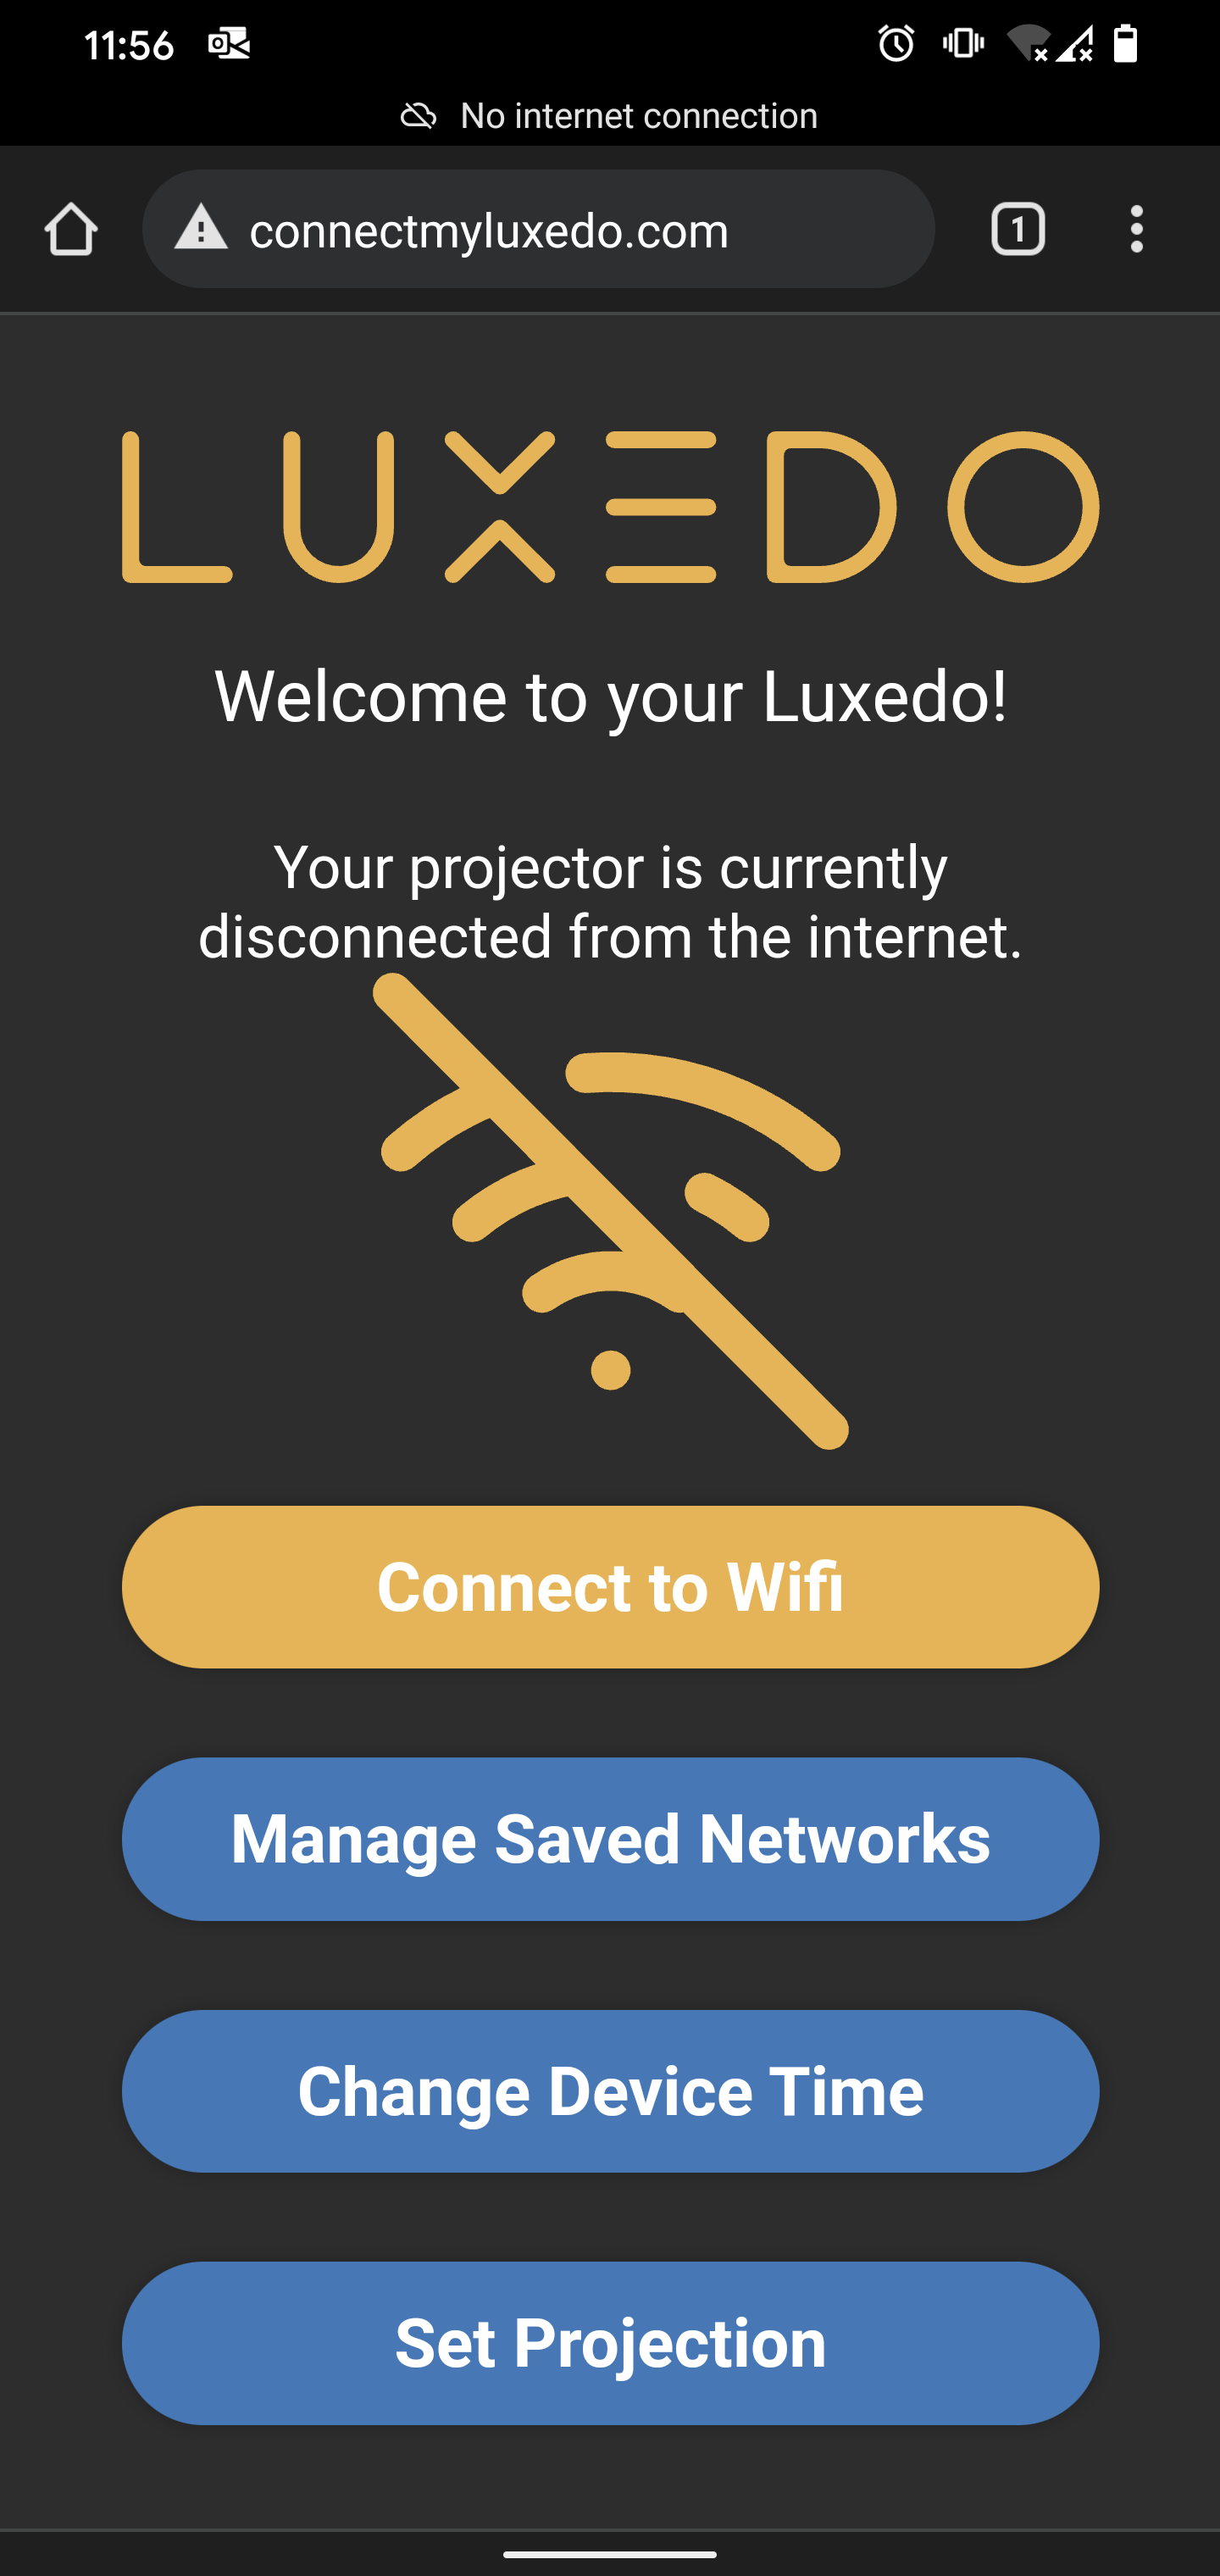
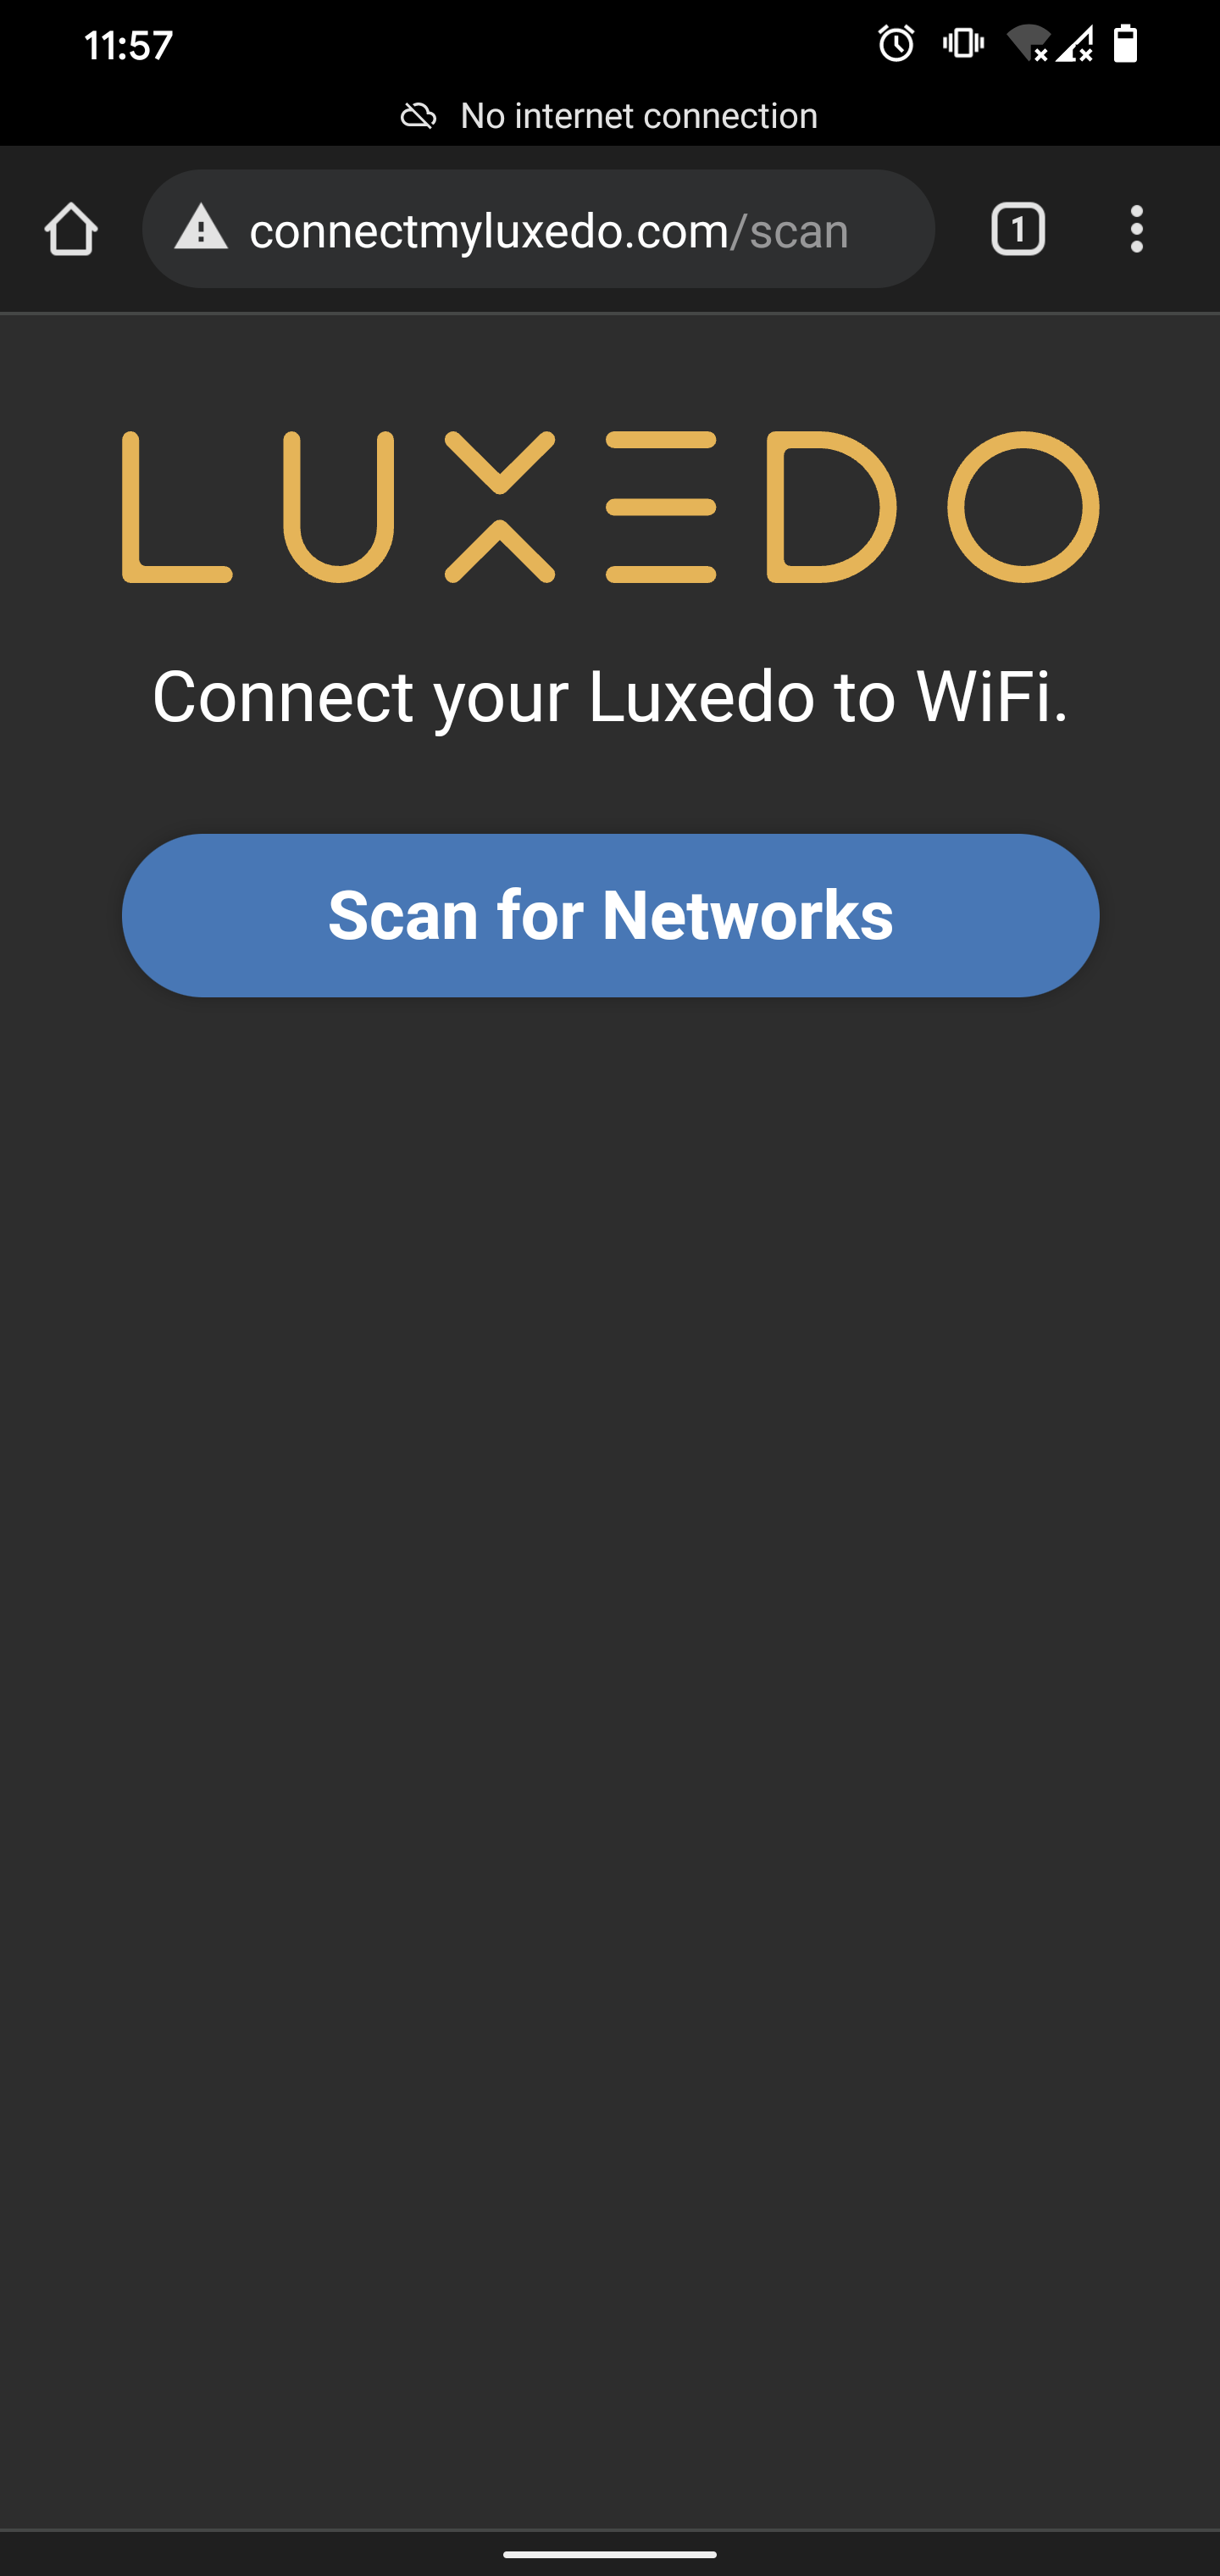
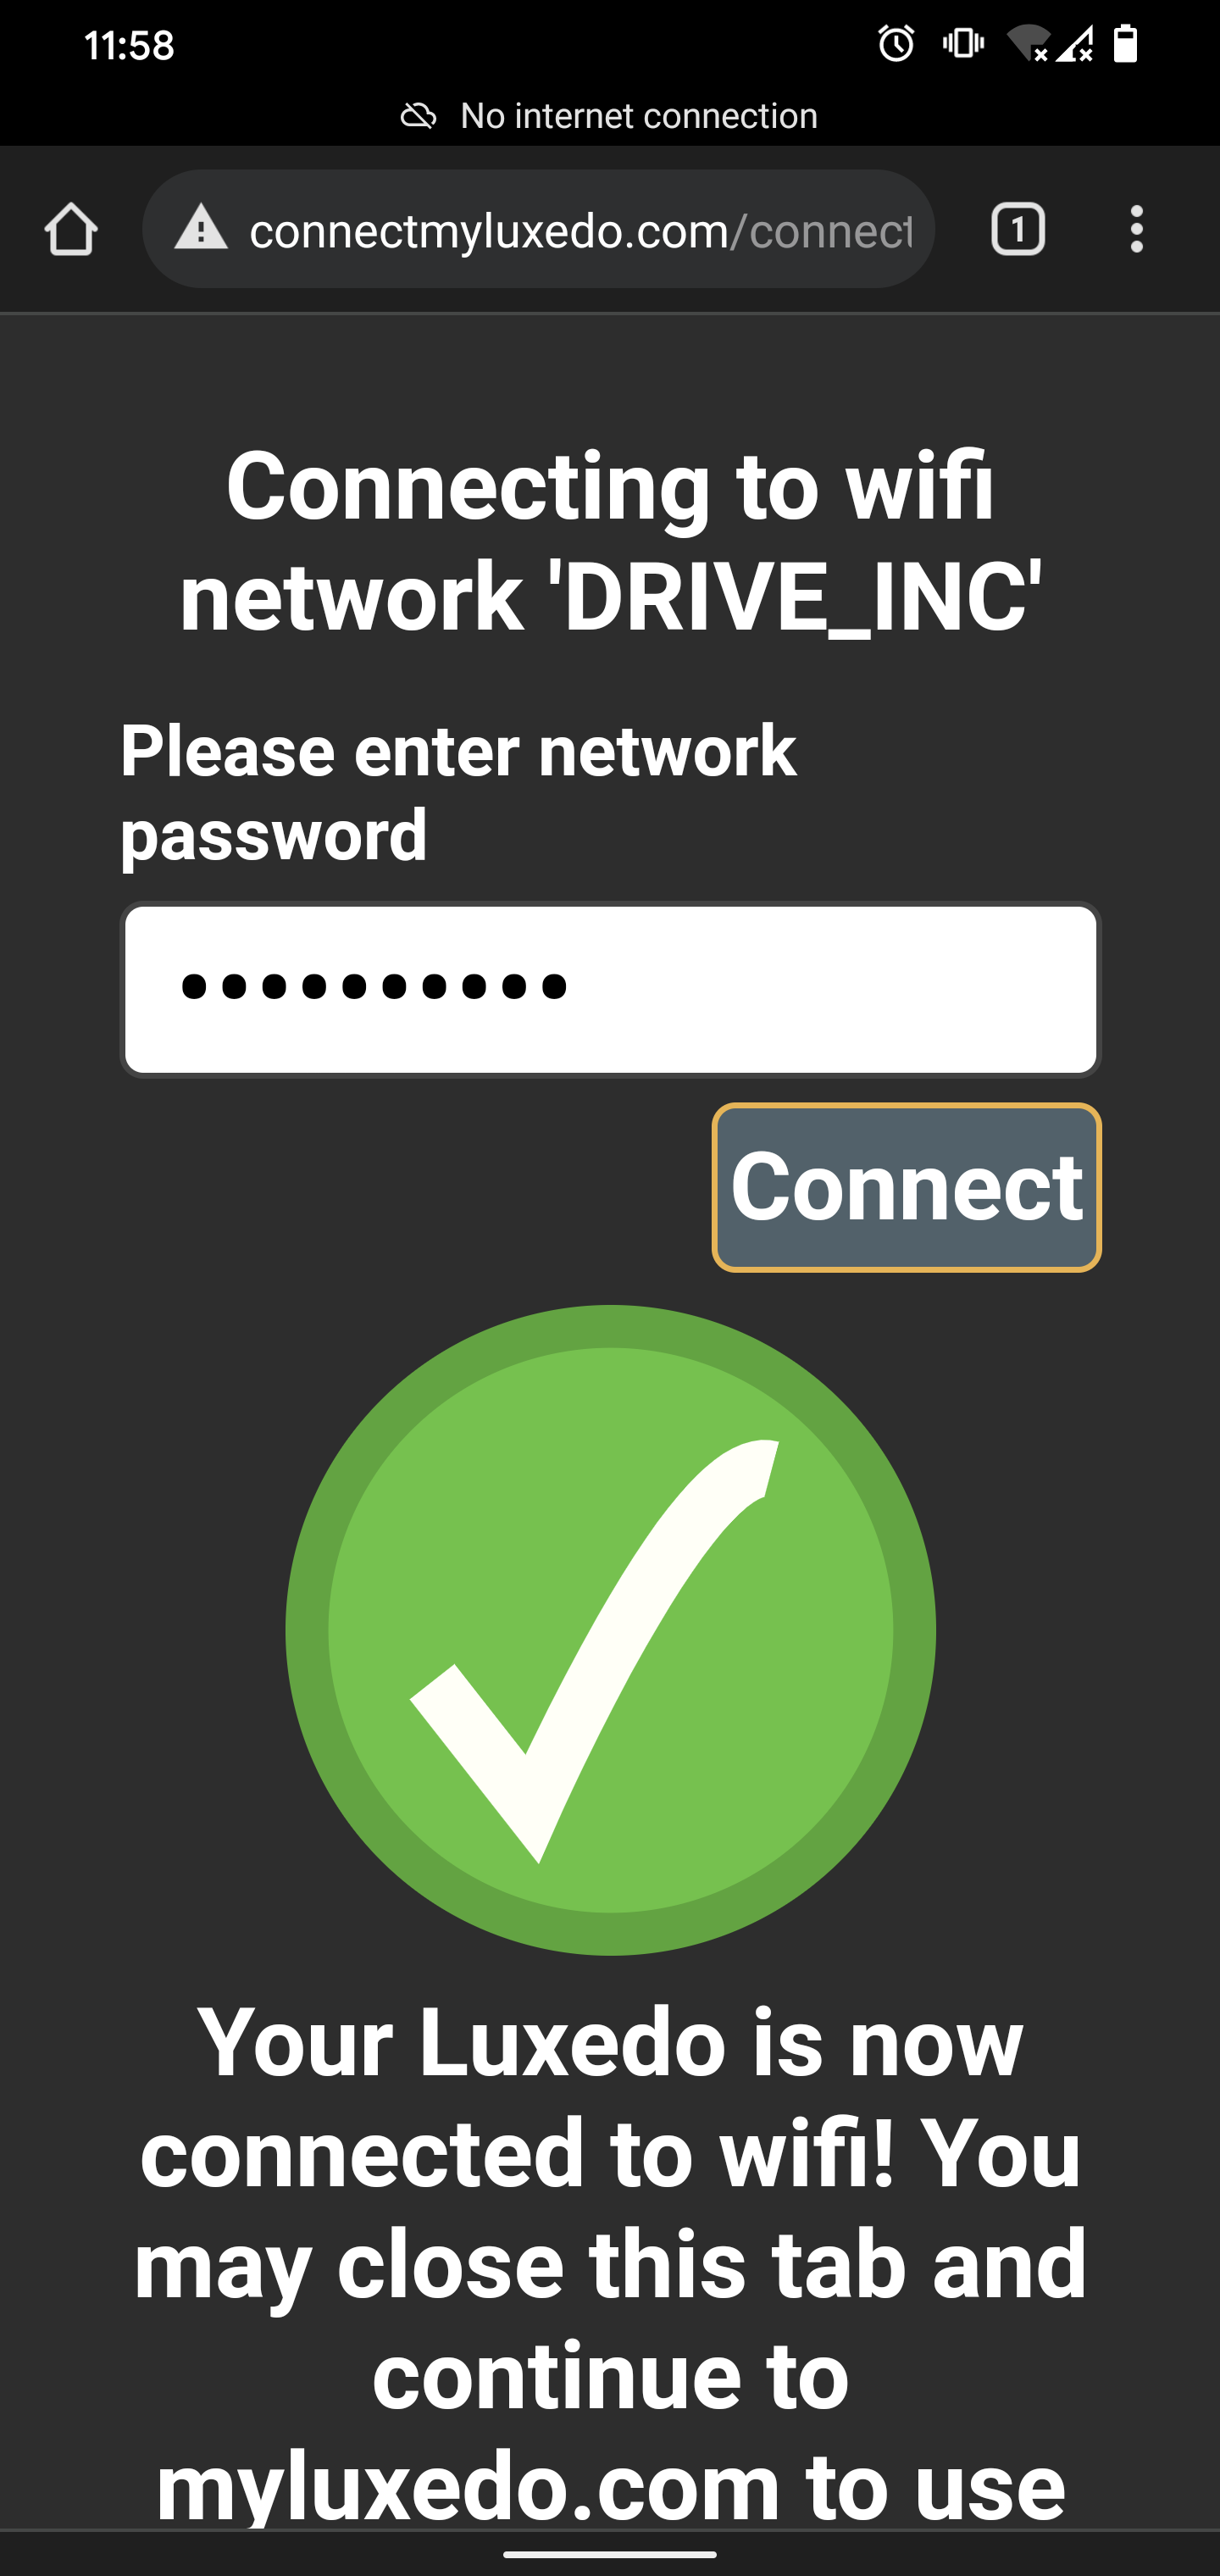
Navigate to 'connectmyluxedo.com' by typing it in the URL slot of the browser. The Luxedo connection page (pictured below) should load (if it does not, see the troubleshooting guide). Then press 'Connect to WiFi'.
STEP 6
Press 'Scan for Networks'
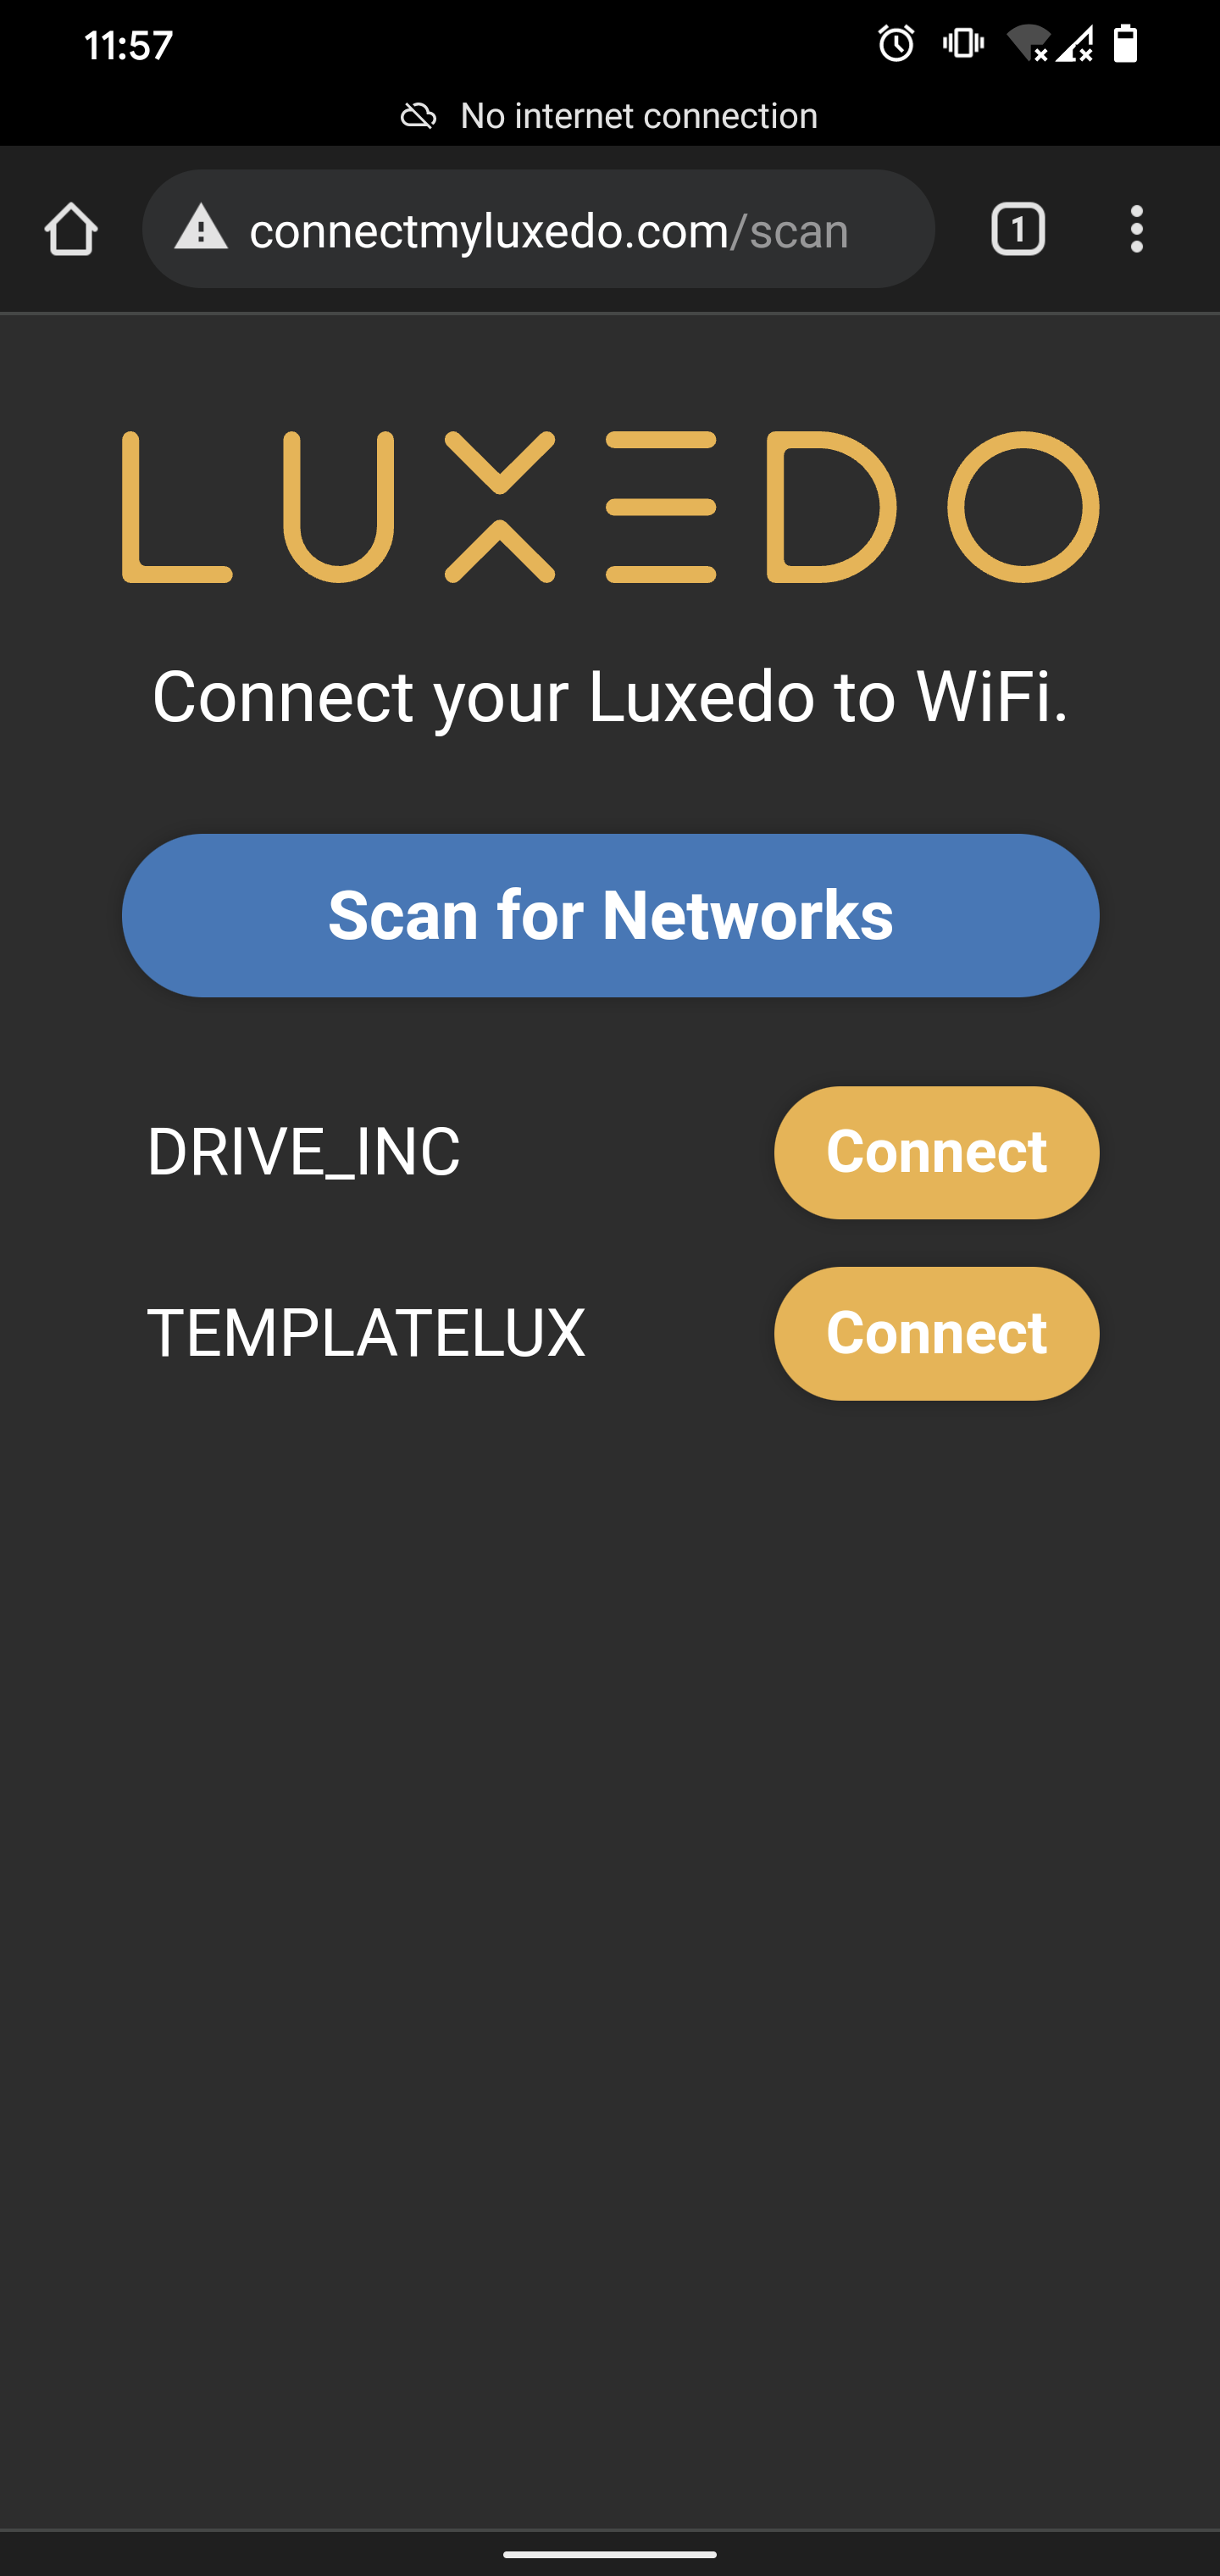
STEP 7
Select the network you want to connect to. In our case, it's 'DRIVE_INC' - yours will be whatever your home WiFi is named.
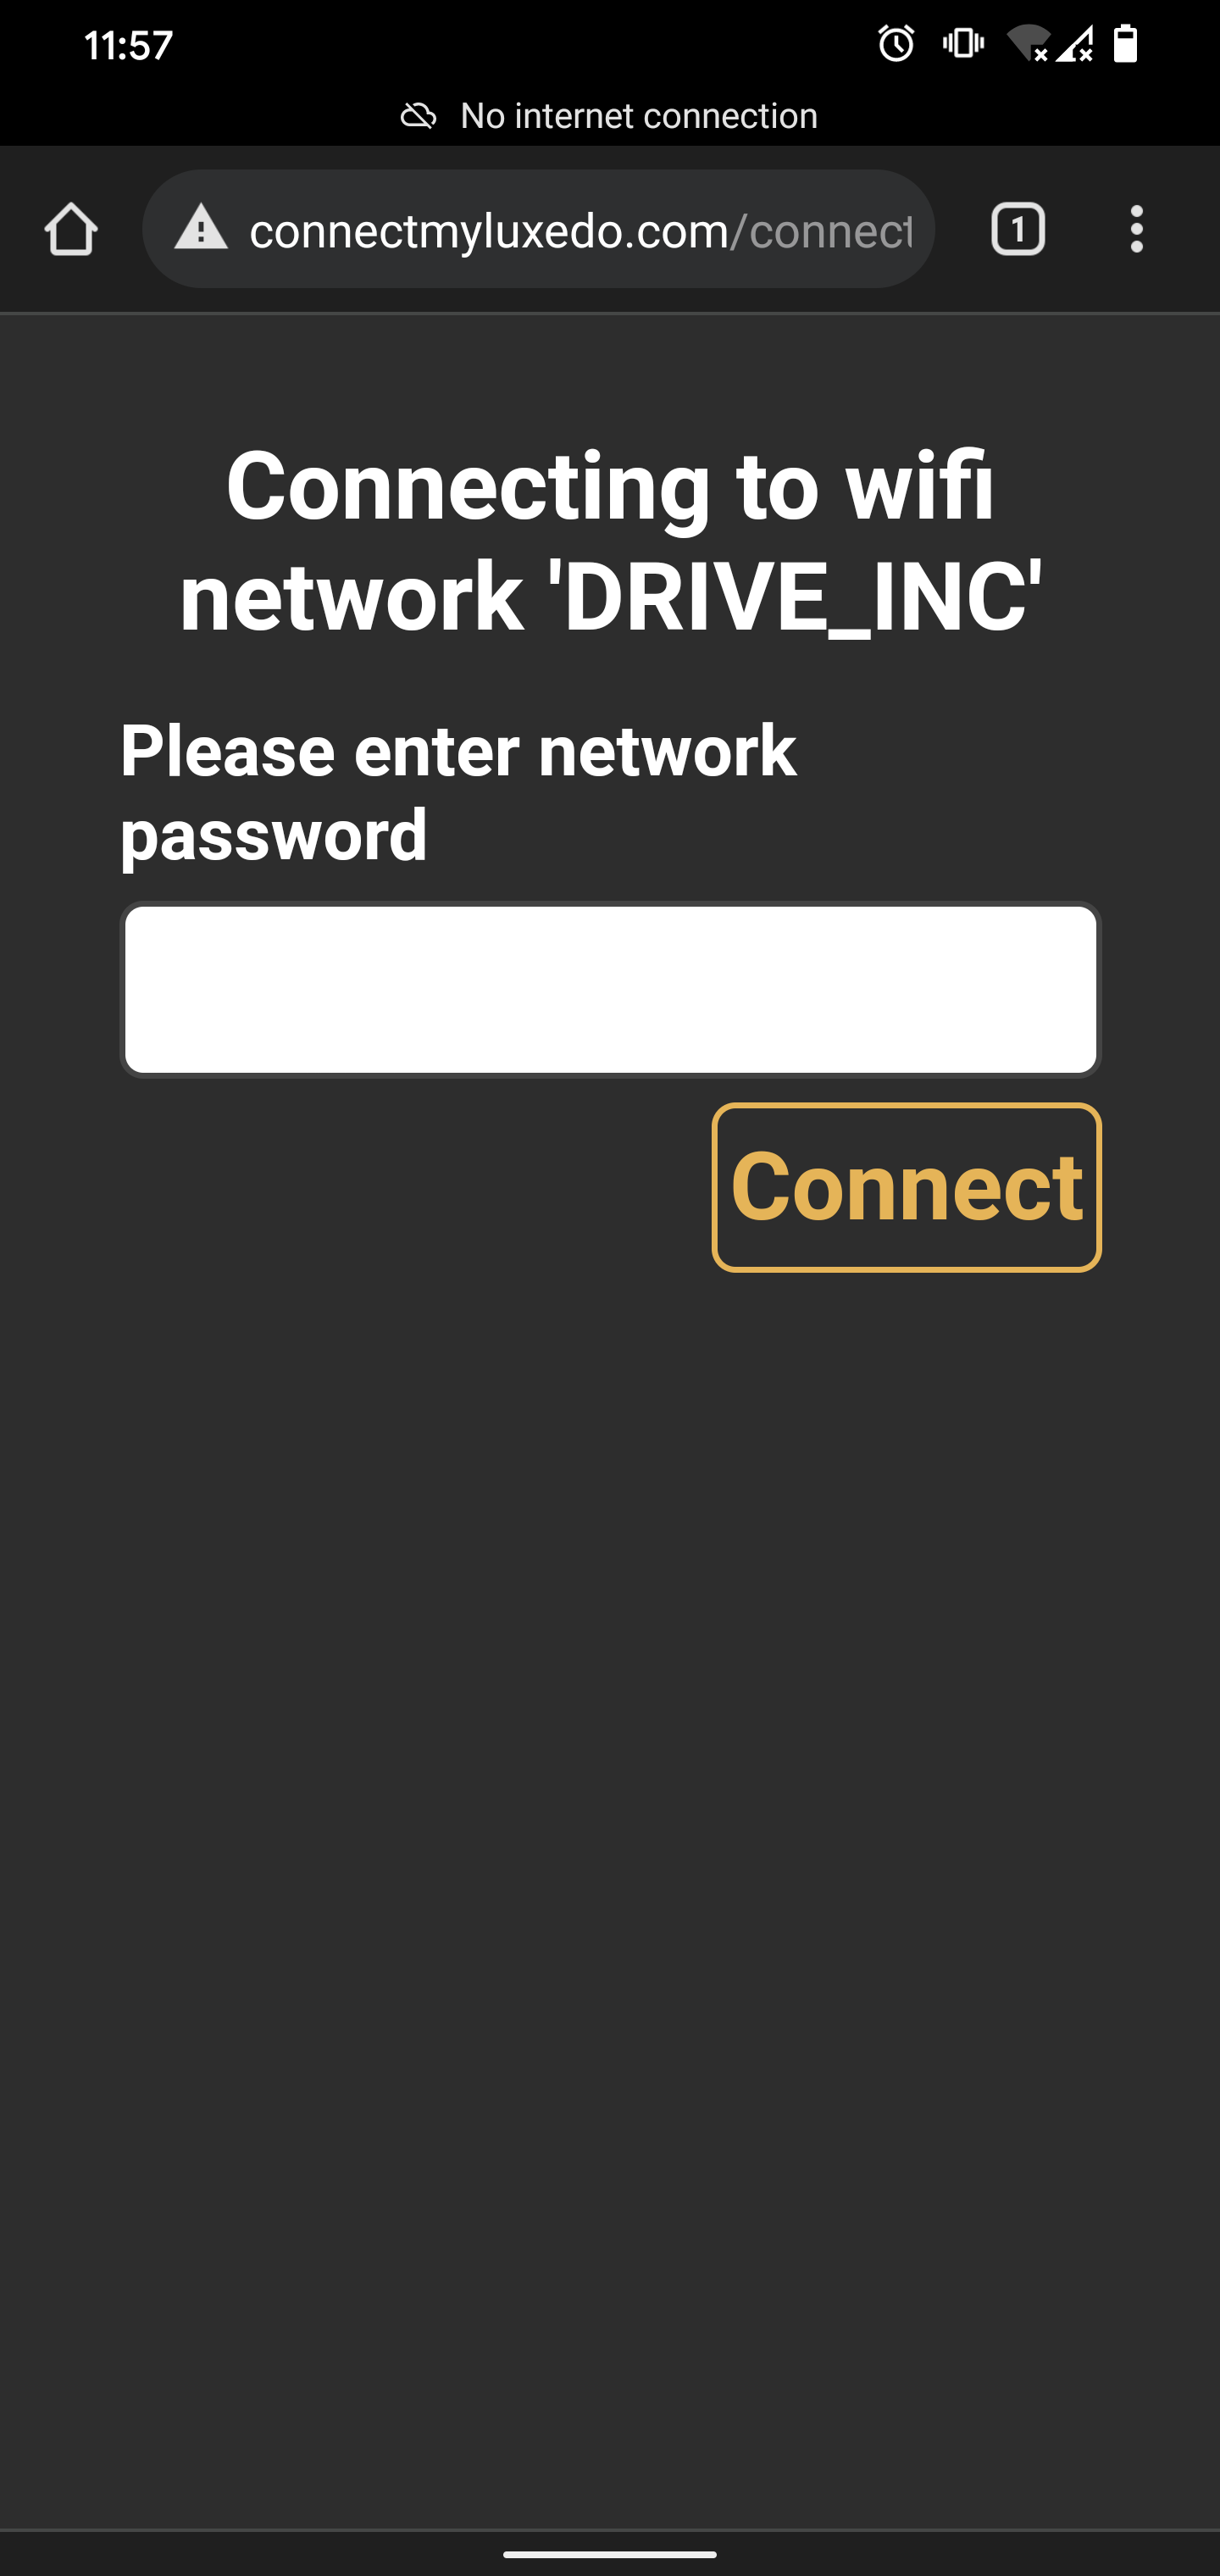
STEP 8
Type in the password to your network and press 'Connect'
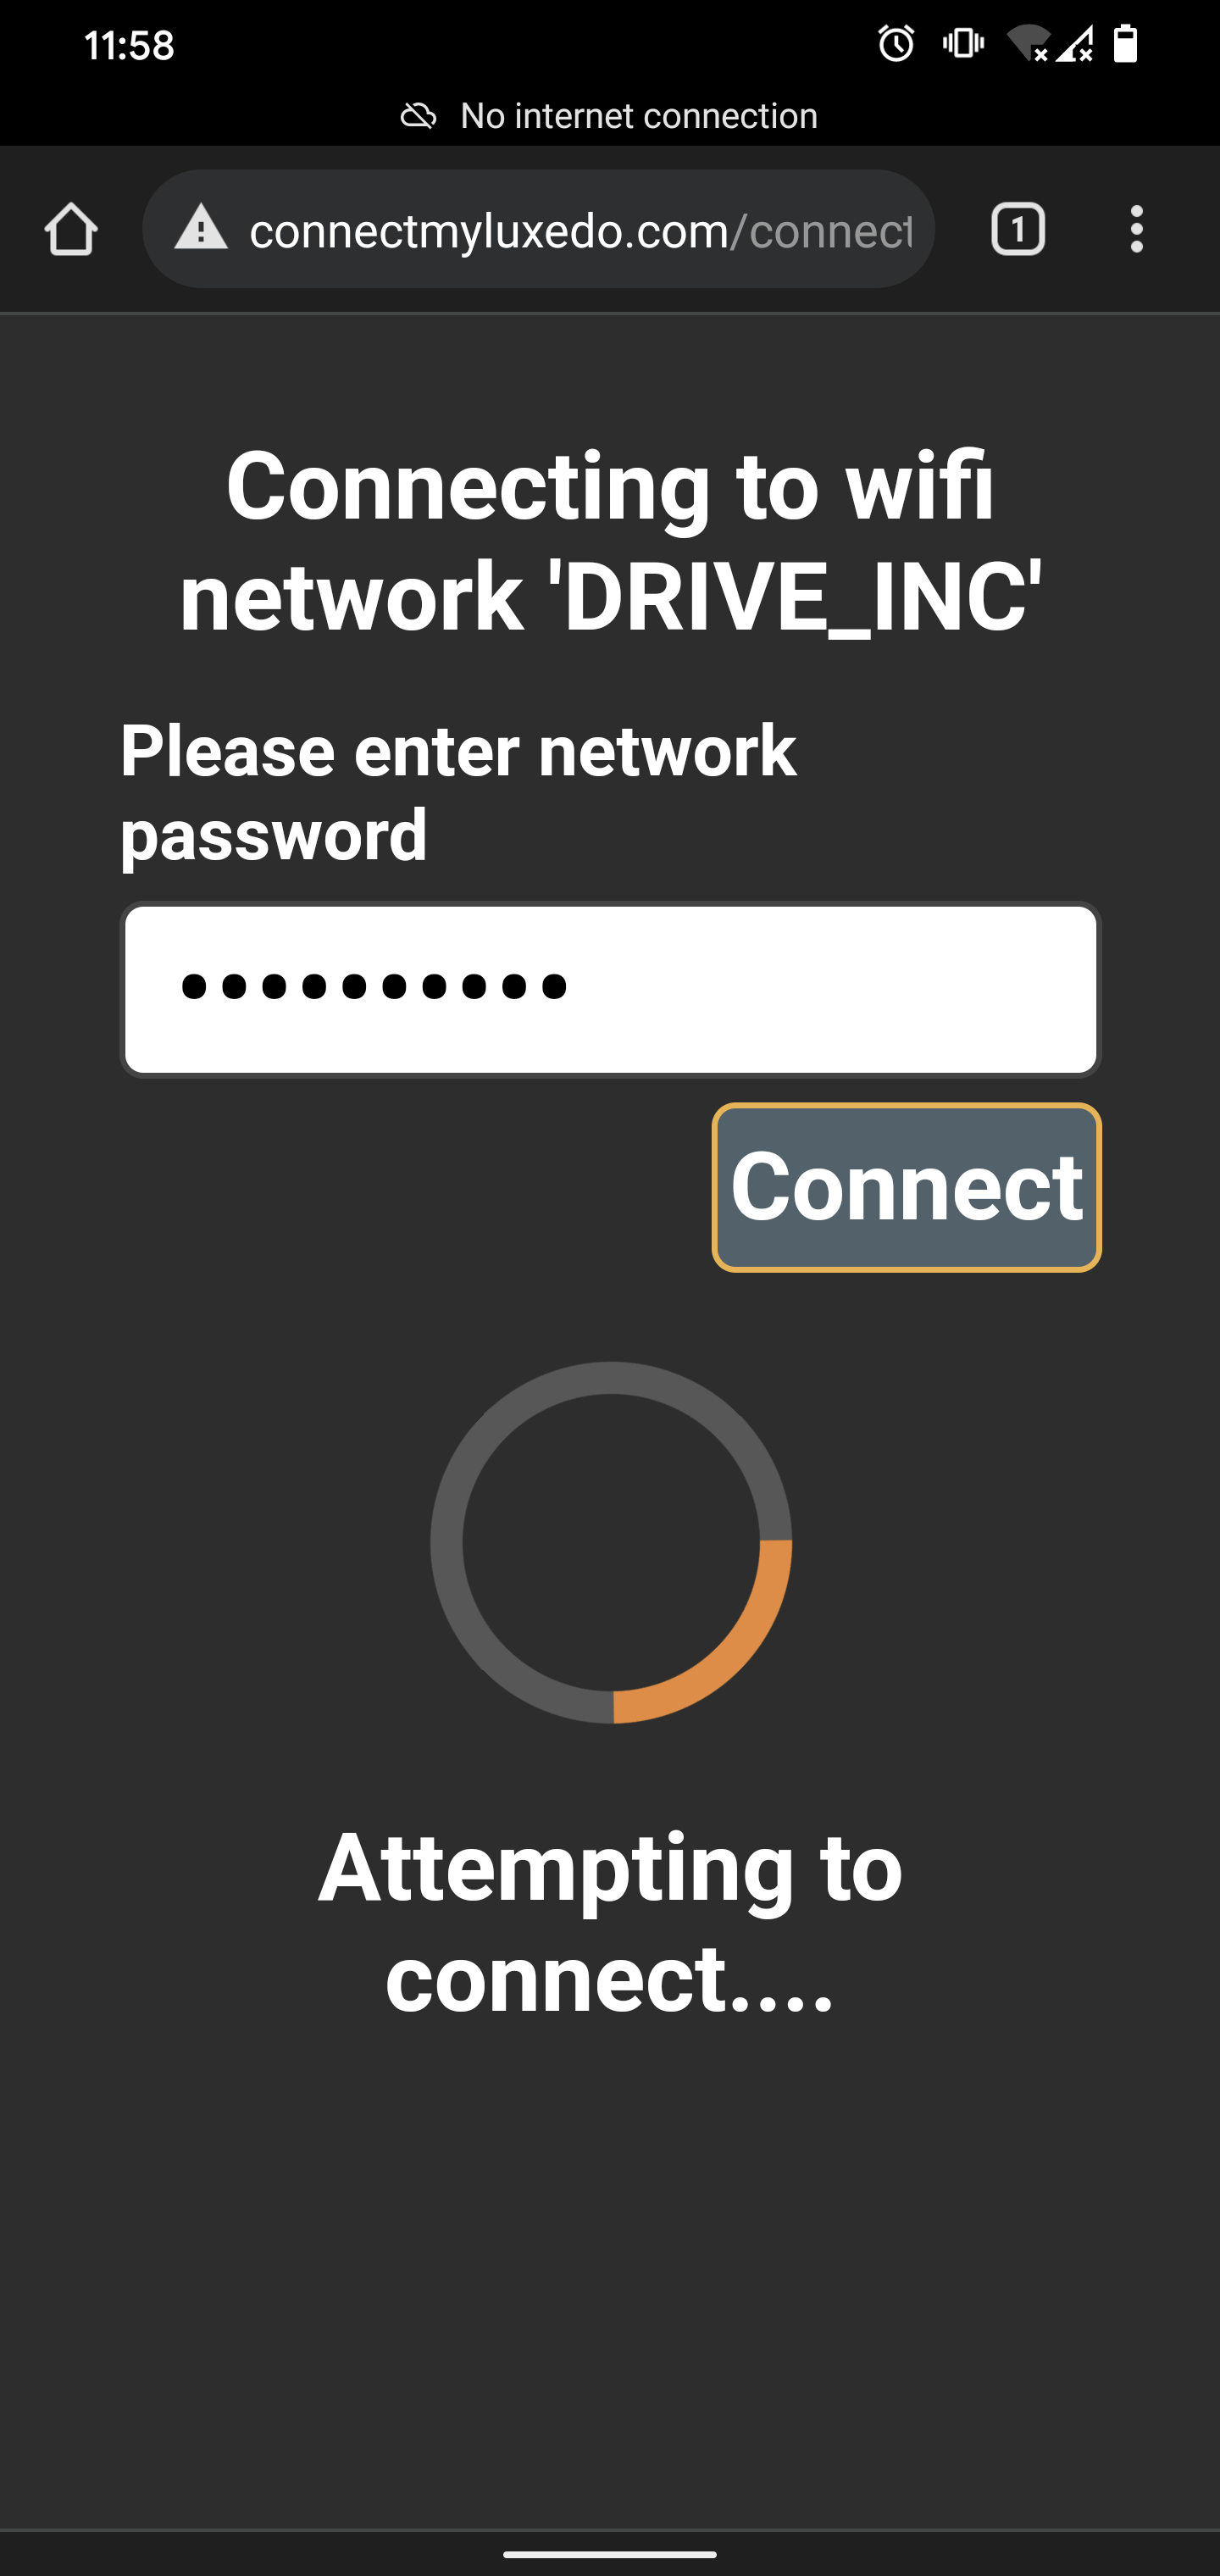
STEP 9
If your device has successfully connected to the internet, you will see a large green checkmark. If connection fails, ensure your password is correct, refresh the page and re-enter your password. If your connection continues to fail, see the troubleshooting guide.
STEP 10
Disconnect from the Luxedo hotspot network (LuxedoXXXX) on your phone - this process is different depending on the phone being used. All successive control of your projector can now be done through the internet from anywhere and any device.
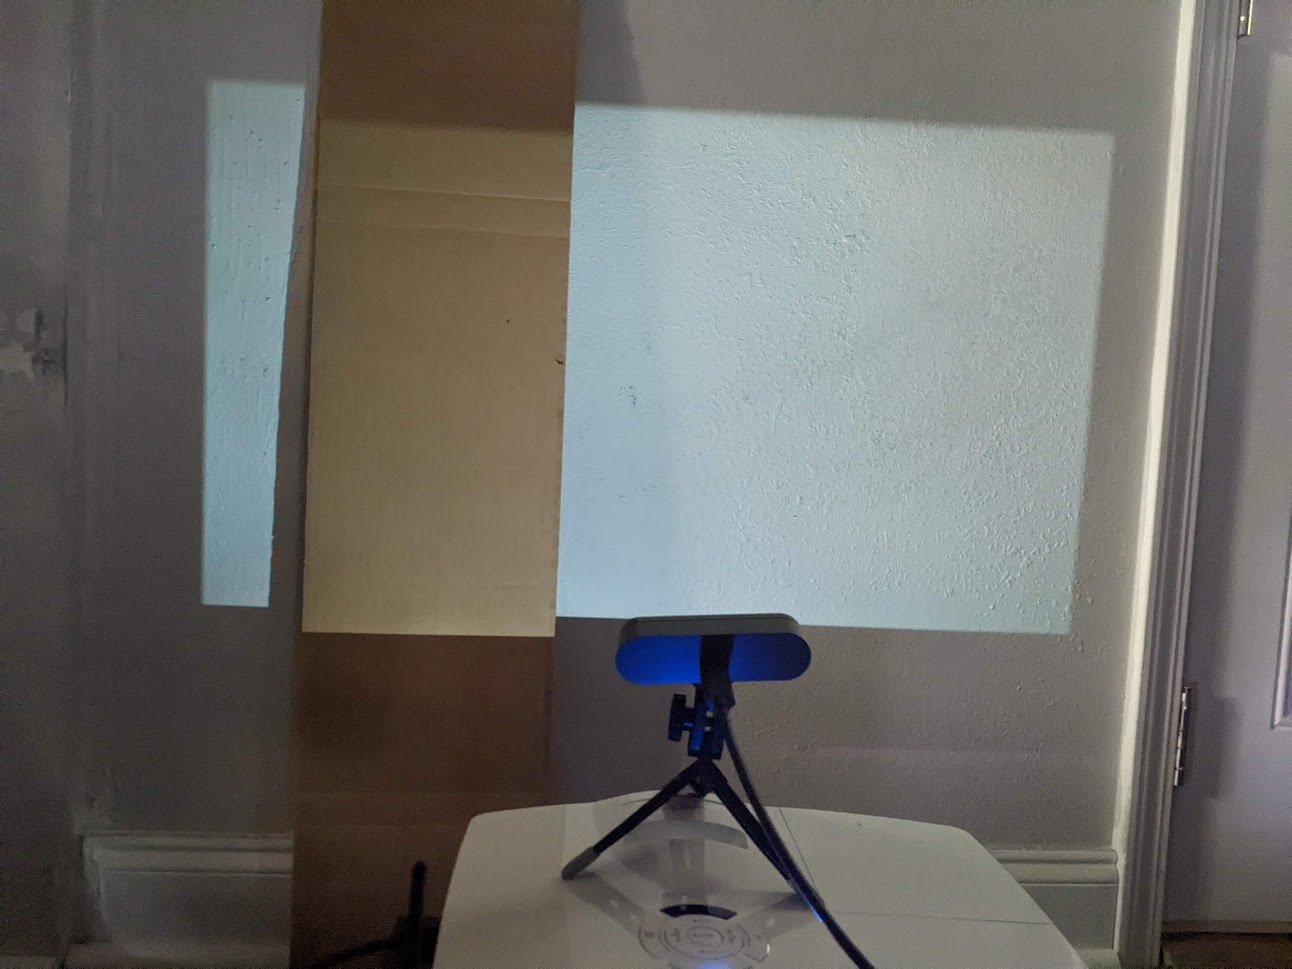
Now, before proceeding to the next part, ensure the projector is in the position which you want to test. In order to get started projection mapping we suggest your first test be inside, aimed at a relatively plain wall as pictured below.
Part 2: Register Your Projector To Your MyLuxedo Account
The next step is to link your Luxedo projector to your account in the MyLuxedo Portal.
1. Log into the MyLuxedo portal on a computer. If you do not have an account yet, go ahead and make a new one.
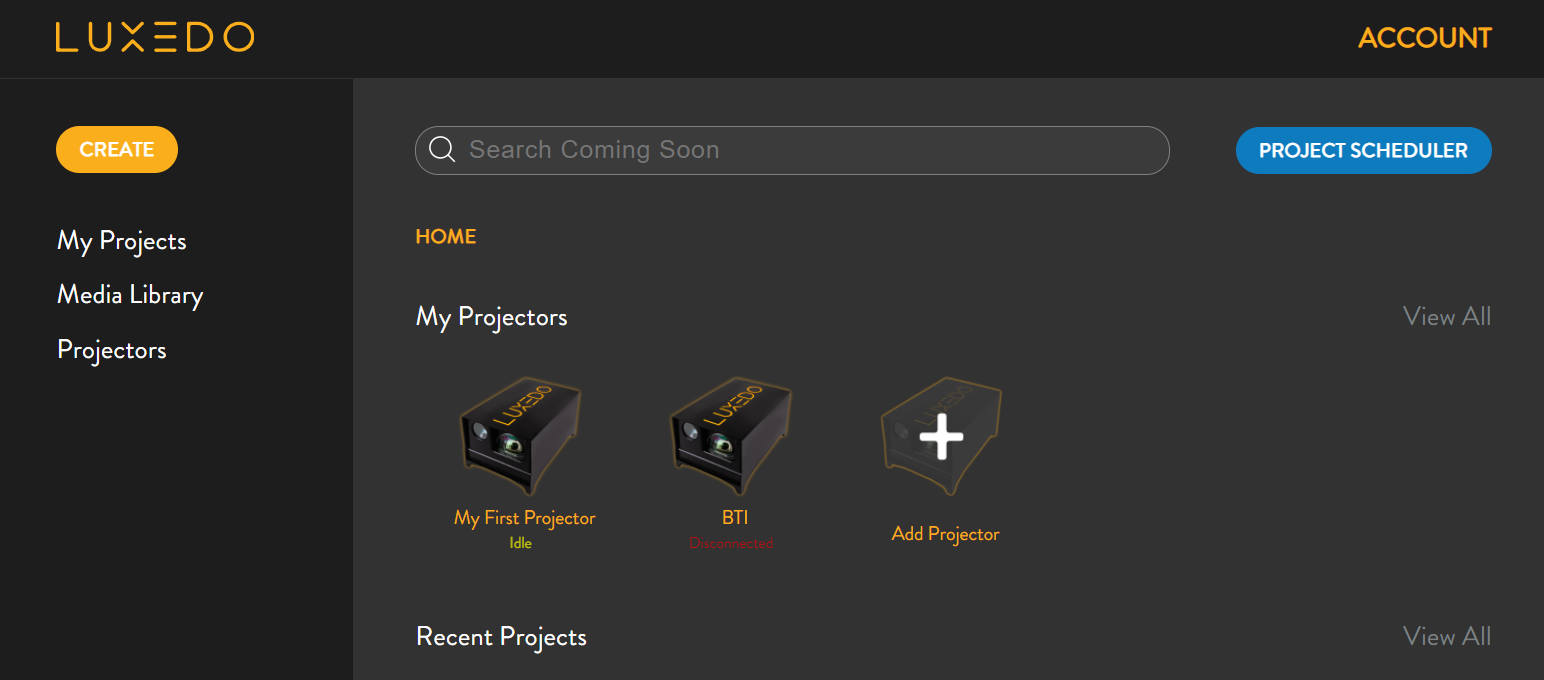
2. Once logged into the portal, click on “Projectors” in the left-hand column list
3. Click "Add Projector"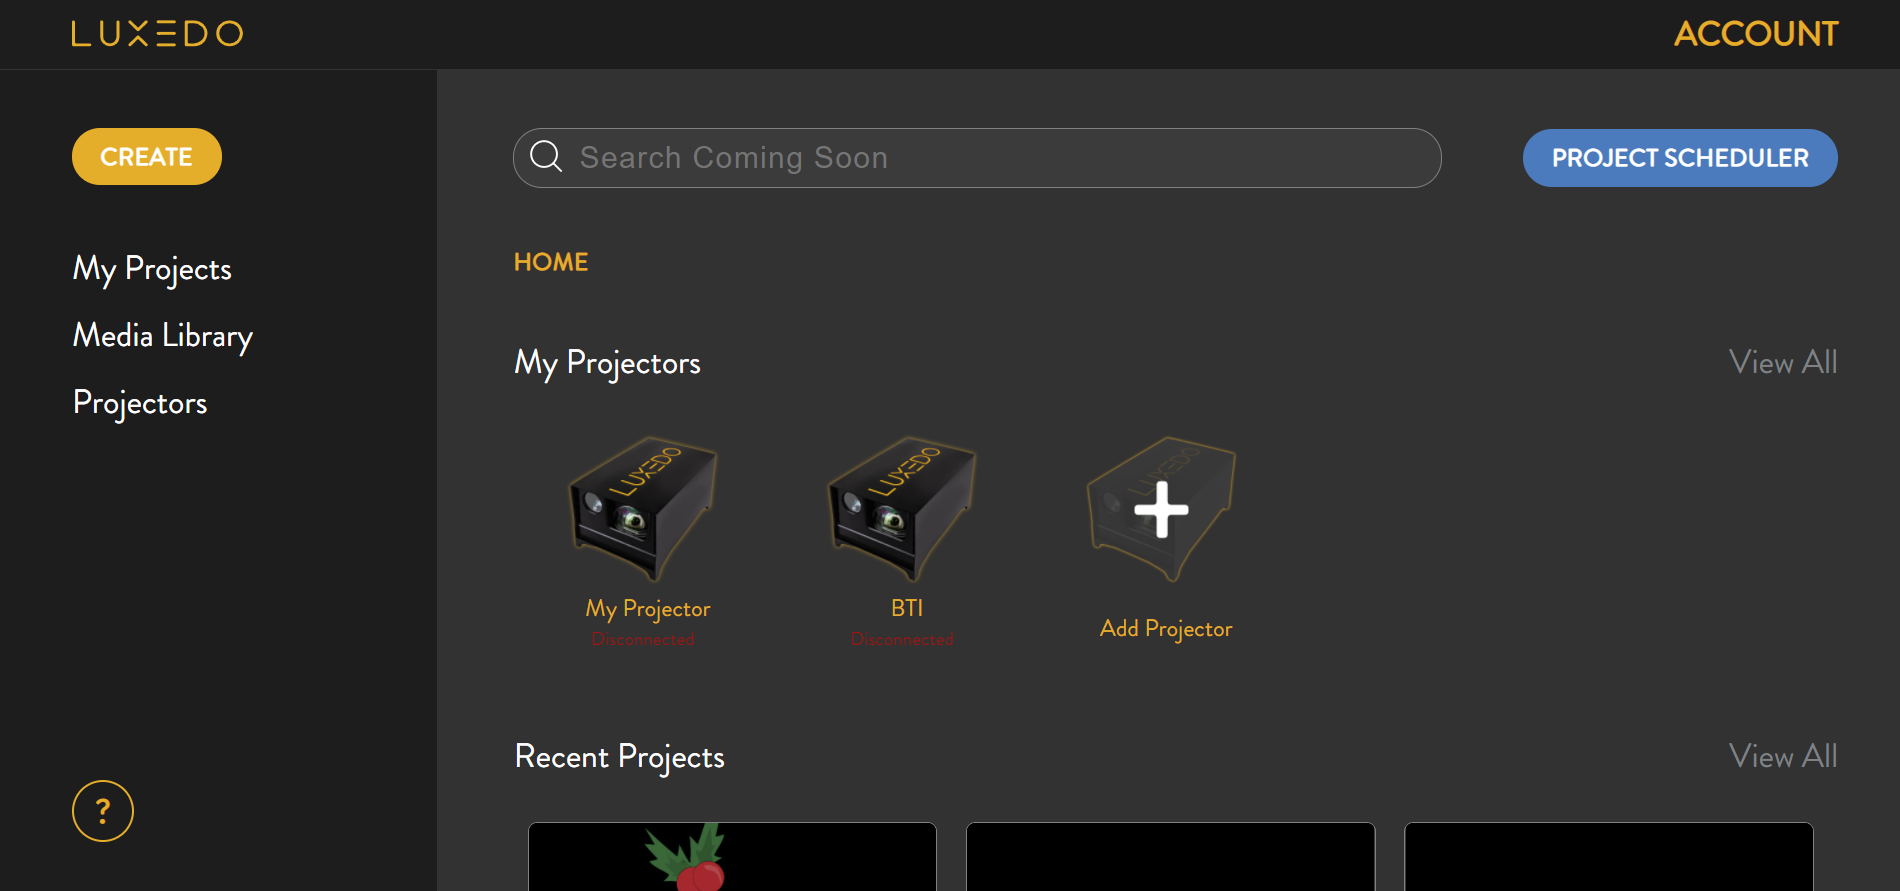
4. Click 'Register LUXEDO Device'
5. Give your projector a name and input the ID and password that are printed on the documents which shipped with your projector in the box.
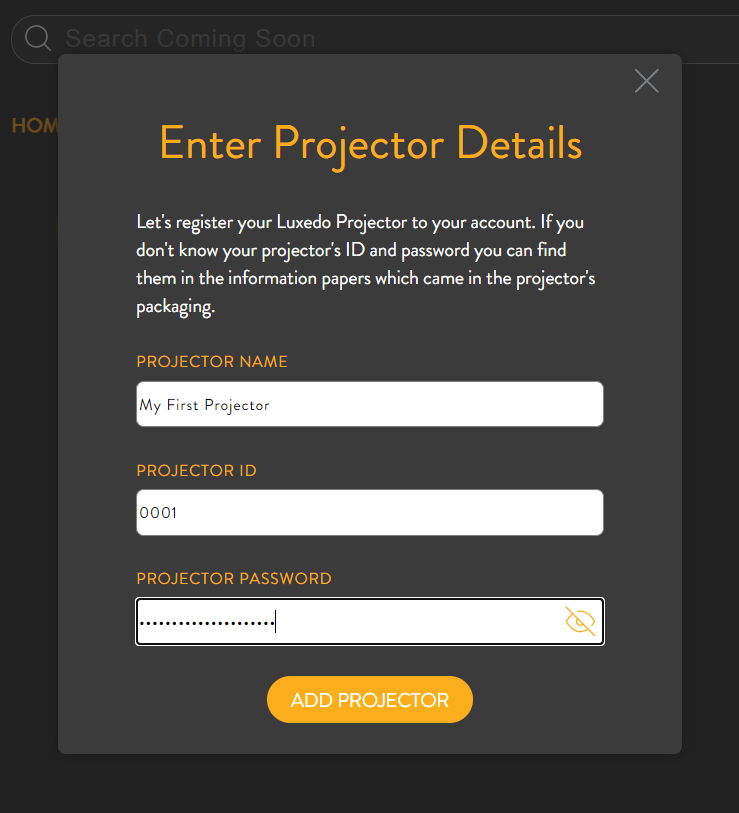
6. Click 'ADD PROJECTOR'
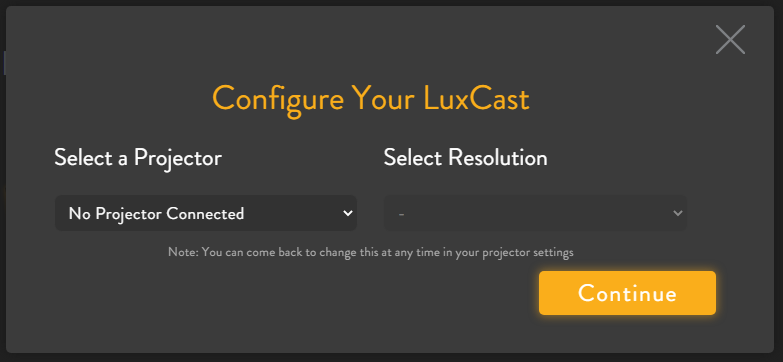
7. Select the projector you intend to use with your LuxCast, if your projector appears on the list of projectors choose your specific projector from the dropdown menu, otherwise choose 'Other Projector'. Then choose your resolution, in most cases it is best to choose the 'native' option for the best picture. Click 'Continue'.
Part 3: Calibrate Your Luxedo Projector
In order to ensure your project creations will project into the real world correctly, you will first need to calibrate your projector and camera. This calibration is dependent on the relative position of the camera, projector, and environment, so make sure that your projector and camera are in their final positions before proceeding. If you move either of them after calibrating you will have to re-calibrate again.
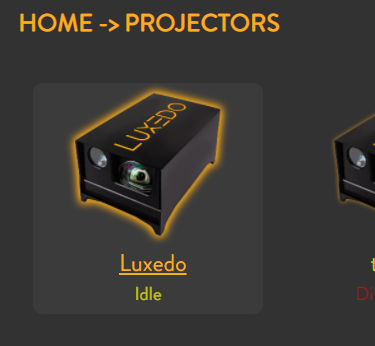
Go back to the MyLuxedo portal page and click on the 'Projectors' button in the menu on the left.
- Position your projector in the location which you will be displaying your projects. Remember, if your projector is moved later it will have to be recalibrated. (Tips On Projector Positioning)
- To begin calibration, click on your projector to open your projector settings, then click on "Calibrate".
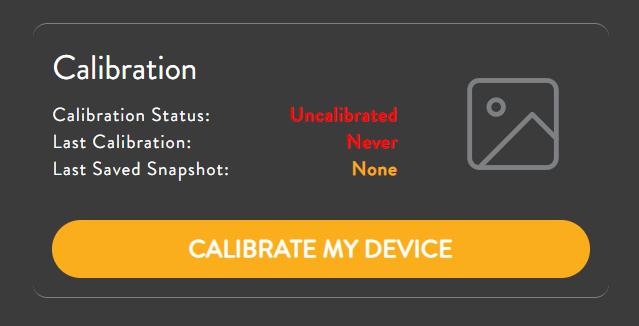
You can also begin calibration from the project editor by hovering over the projector menu then clicking 'Calibrate Projector'.
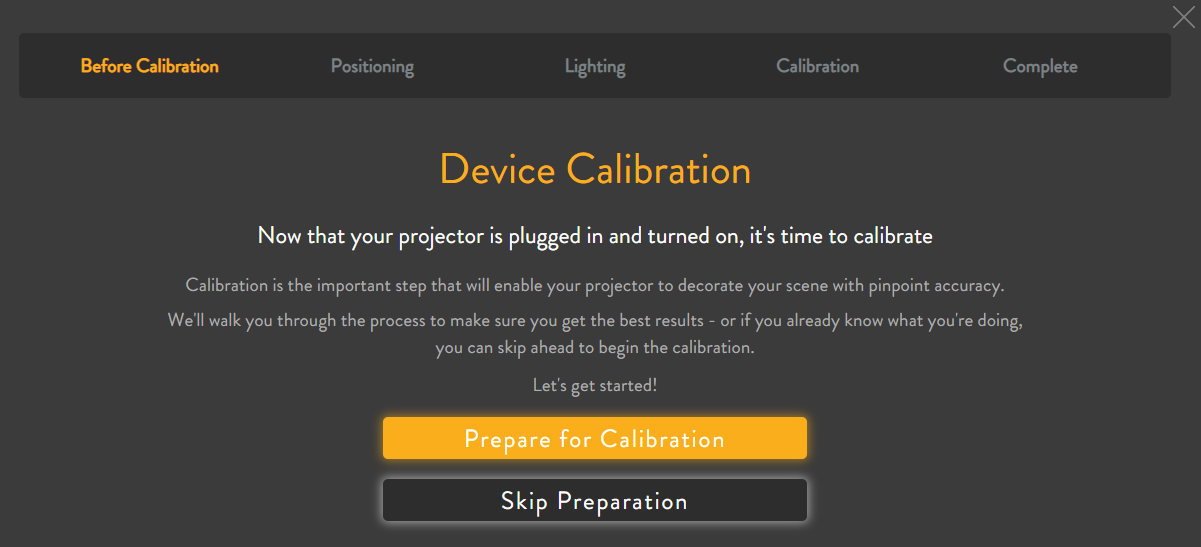
- You will be presented with the calibration screen. For your first few times calibrating, click on "Prepare for Calibration" for a detailed guide to set up your projector for optimal calibration results. Please follow this guide closely to get a good calibration!
a) If your scene is often lit up unpredictably by things such as car headlights, you can check the box pictured below. We find that even in such cases this option is usually unnecessary, and it will make your calibration take longer. We recommend trying this option only if other calibrations seem to fail consistently.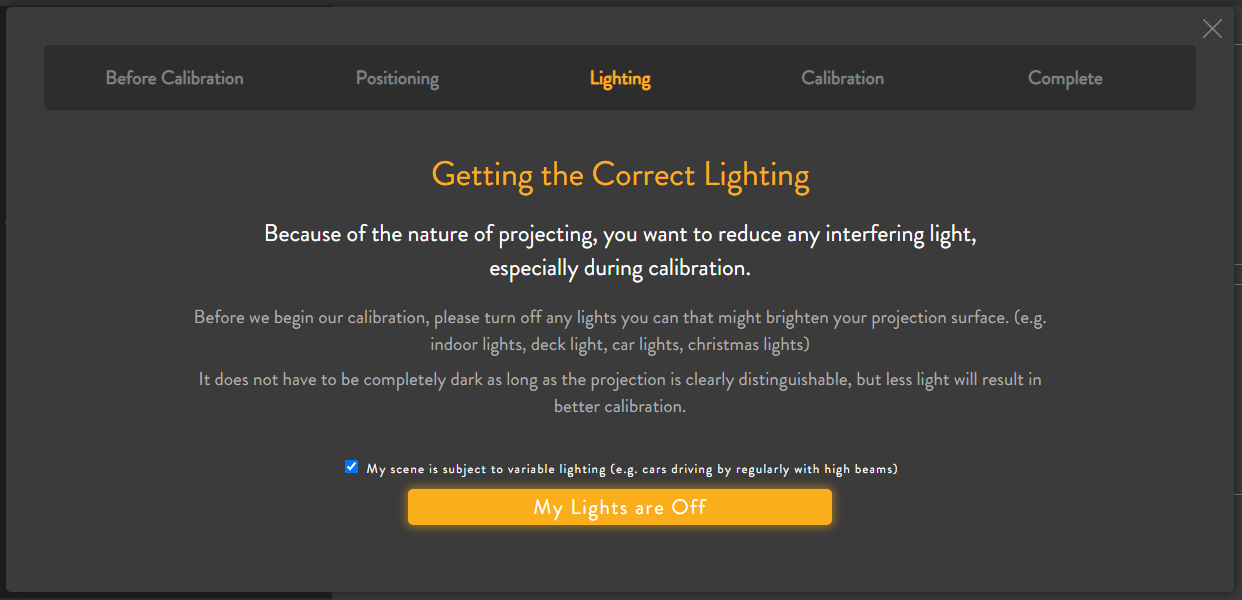
- Click "Start Calibration"
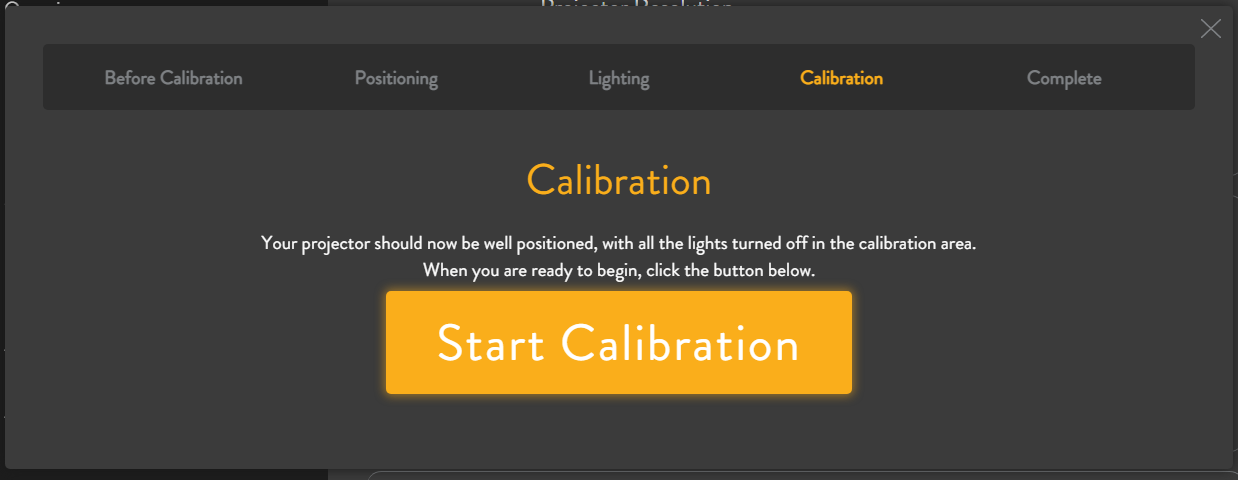
- The projector will then begin projecting and capturing a series of images it needs to perform a calibration. This process usually takes several minutes, but can take considerably longer if lighting conditions are poor.
- Once it is done, a snapshot will be automatically generated, which will operate as a canvas for you to paint your scene with light! If you are having trouble calibrating, disconnect and reconnect your device. Click "Take Another Snapshot" to use your new calibration settings to generate a different snapshot or click "Create a Scene" to start creating your light show. NOTE: This image may look distorted, but this is intentional in order to properly place your media when creating a light show.
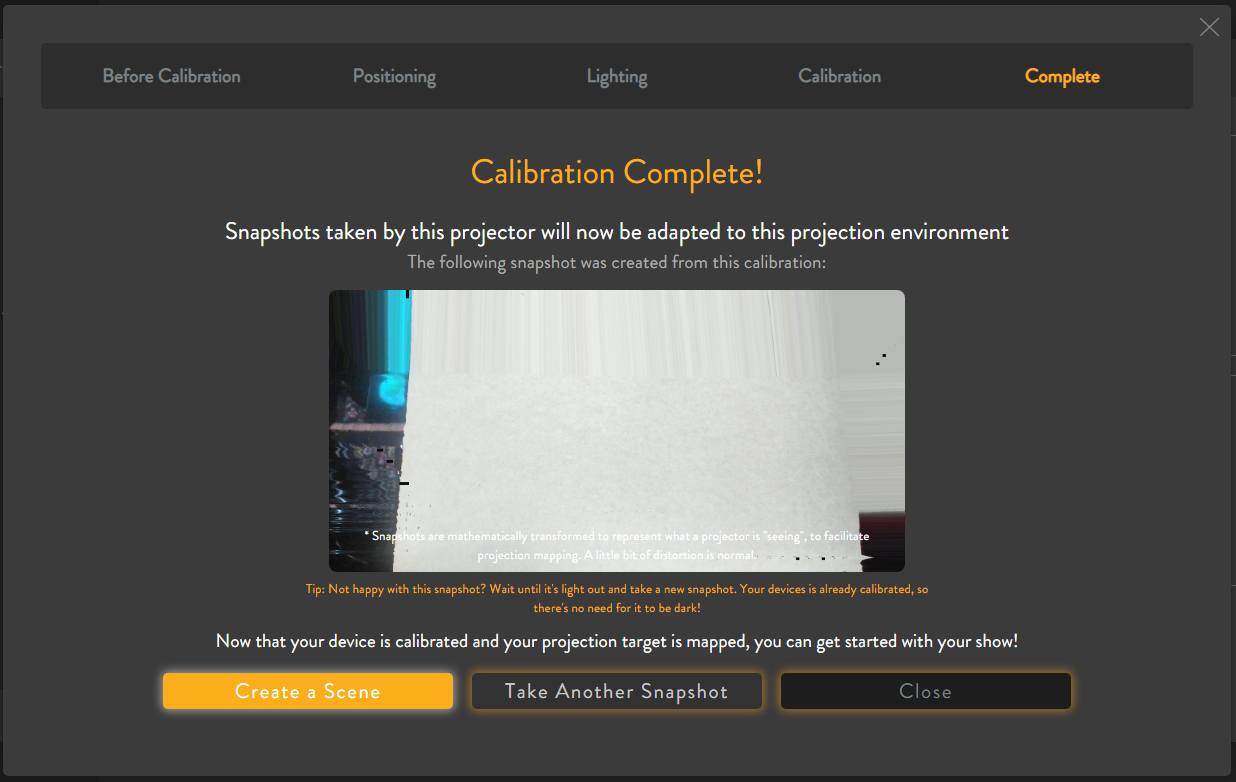
- Once the snapshot has been captured, continue to your projects to start working on your scene!
Part 3: Create Your First Project
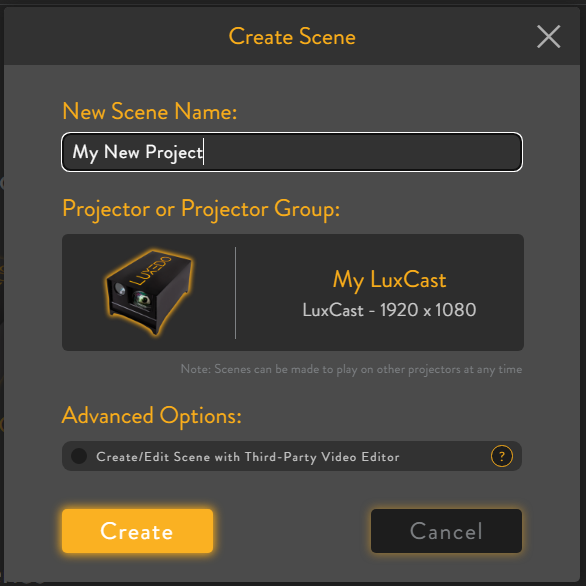
Return to the MyLuxedo portal home page and click the 'CREATE' button in the top left corner.
Give your project a name and select your new LuxCast from the 'Projector or Projector Group' section. When you have finished your selections, click 'CREATE' at the bottom left.
This will create your first project and take you to the project editor. This is where you will do the bulk of your creative work with our software.
NOTE: There are many features in the editor which we will not cover in this tutorial. Check out our other Zendesk articles to learn how to make more advanced projects.
First off, let's take a snapshot of our projection surface.

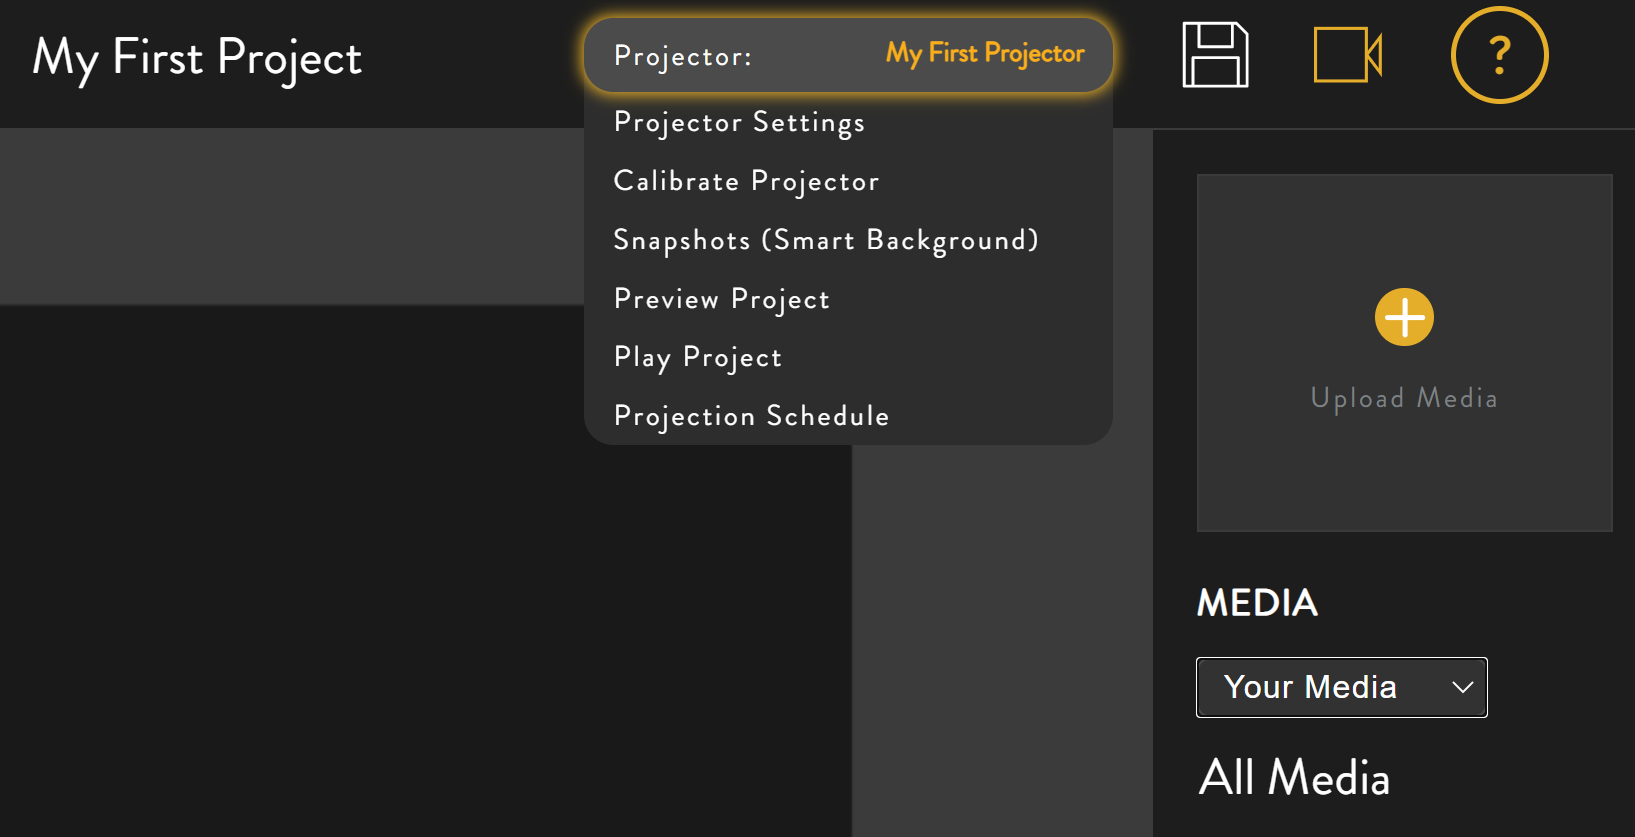
Hover over (but do not click) the projector menu in the top right of the editor. This will show you the various operations you can perform with your projector from within the project editor.
Select 'Snapshots (Smart Background)'
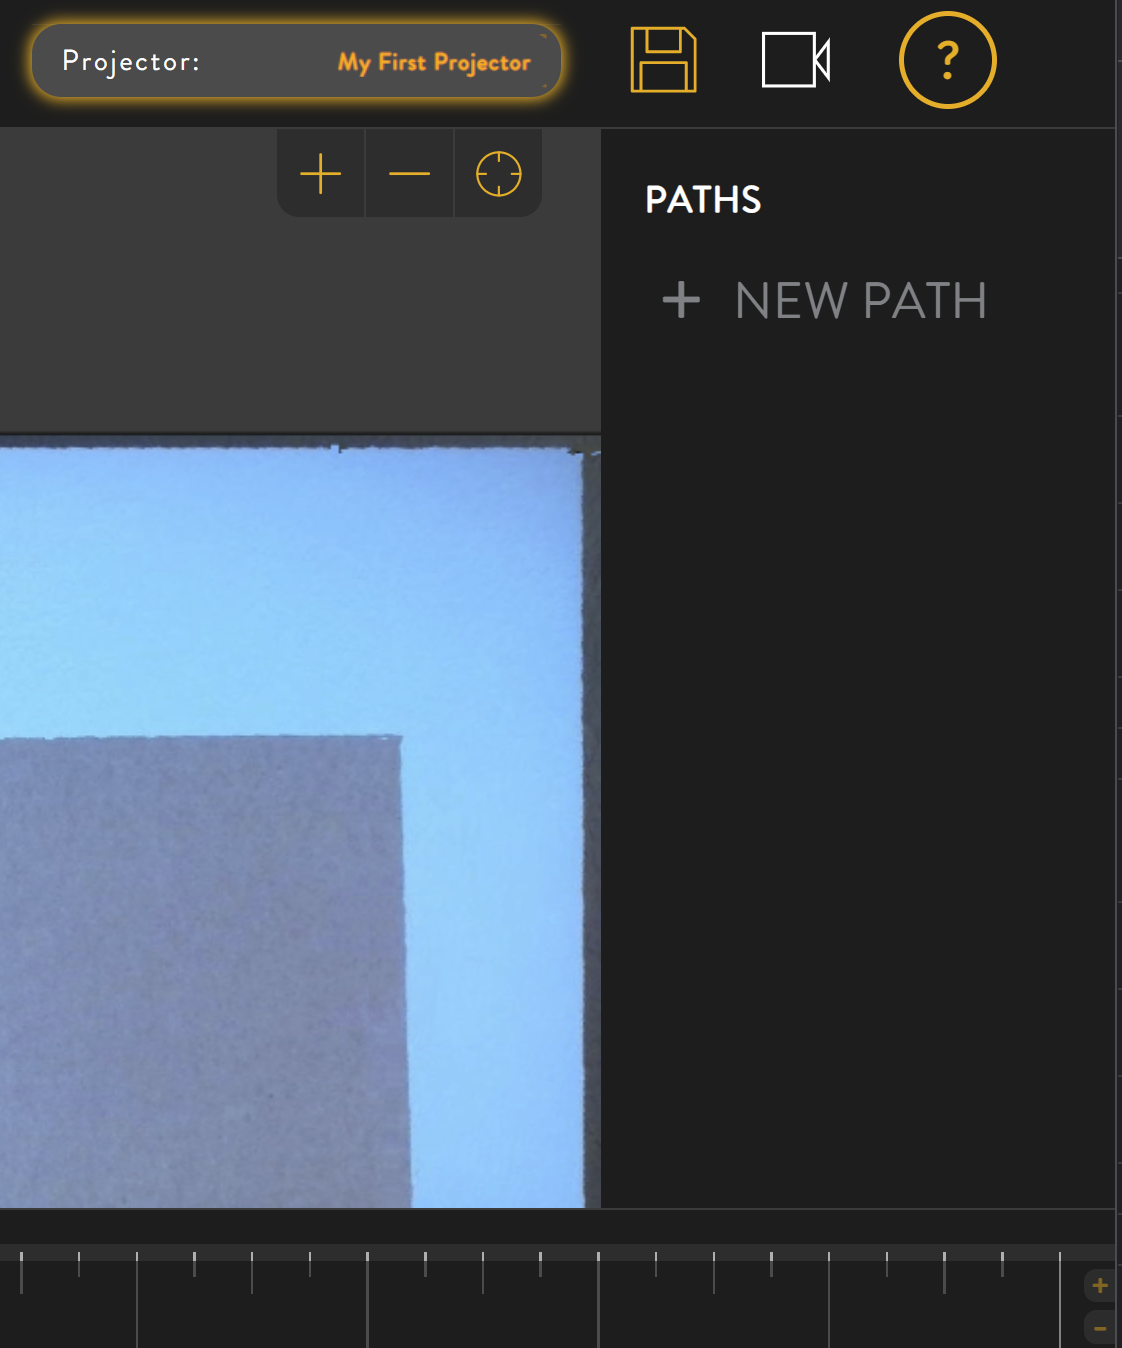
This will bring up the snapshot overlay. Click 'CAPTURE' to take a new snapshot.
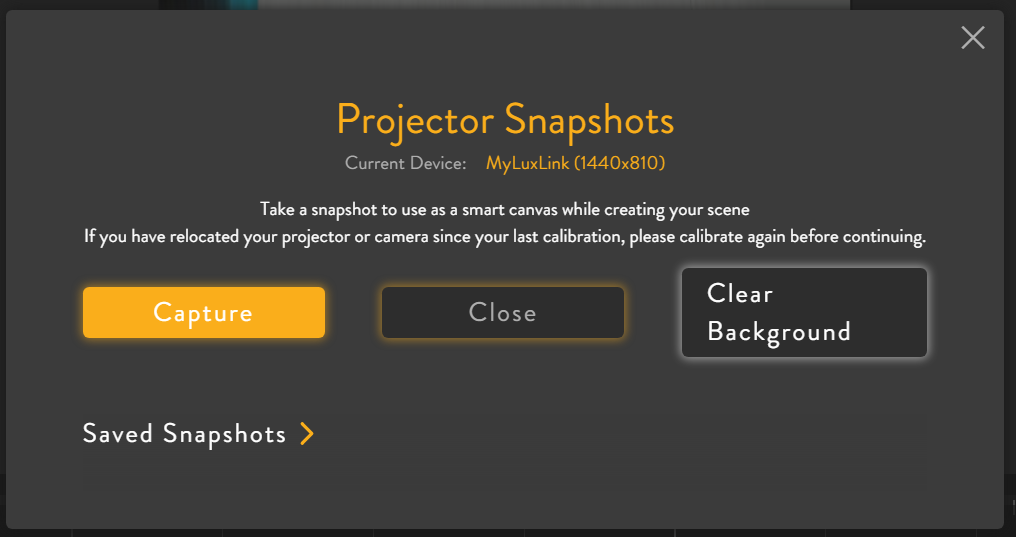
Wait a few moments as your camera takes a snapshot of the environment and use your projector's calibration to map it to the screen. When it's done, it will load itself as the 'background' for your project.

Naturally, when you perform this step you will be looking at your own environment, perhaps the wall of your house. In this tutorial we are looking at a flat wall with a board propped up against it. It's certainly no work of art - let's see if we can dress it up a little.
Click the 'media' icon in the top left: 
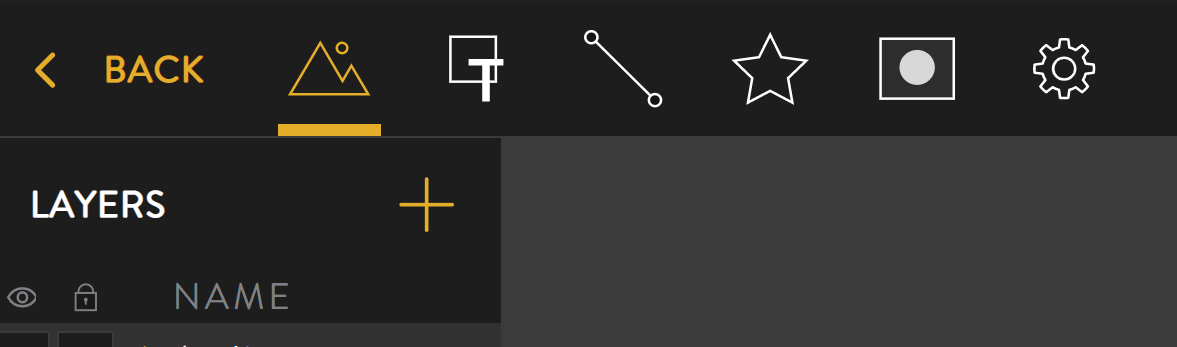
This will open the media toolbar on the right side of the editor as pictured below. The media toolbar allows you to add images, video, and audio resources to a project.
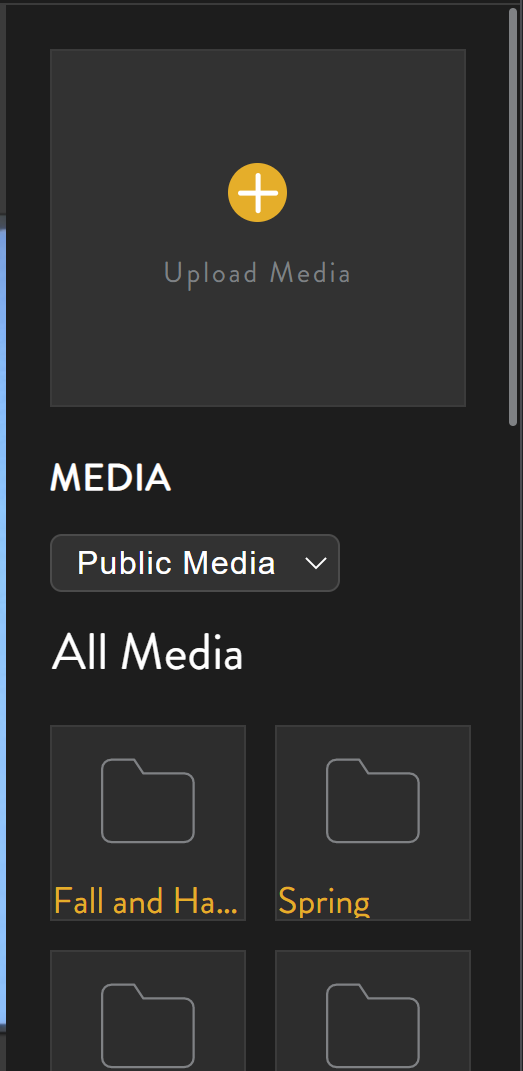
Click the source dropdown and select 'Public Media'.

This brings up some folders containing media resources which are available to every Luxedo user.
Scroll down to the 'Christmas' folder and double-click it to open it.
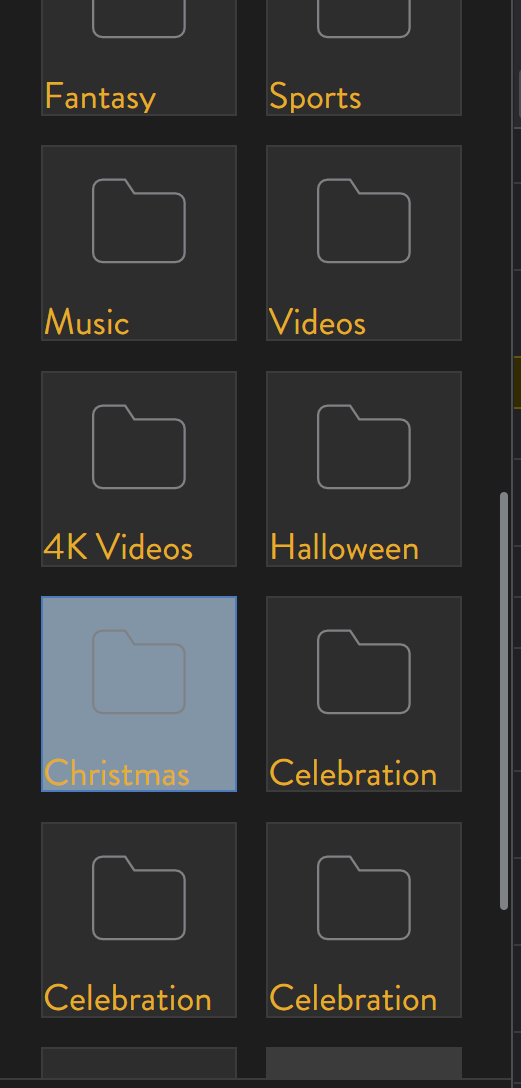
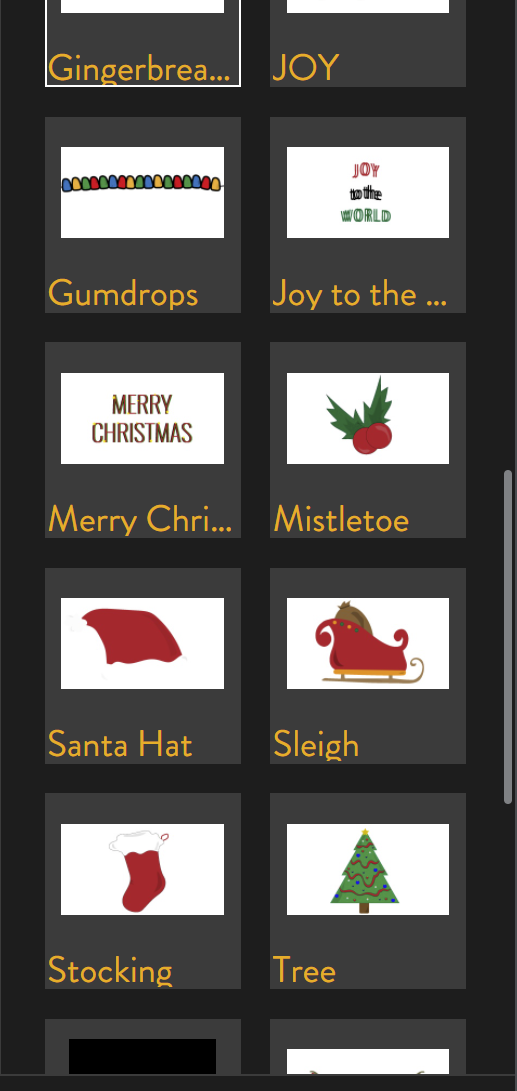
This folder contains some clipart-style images which relate to Christmas. Find the 'Sleigh' resource, and then click and drag it onto the middle of your project.
The resource will drop into your project and become possible to manipulate. Try out dragging and scaling it!
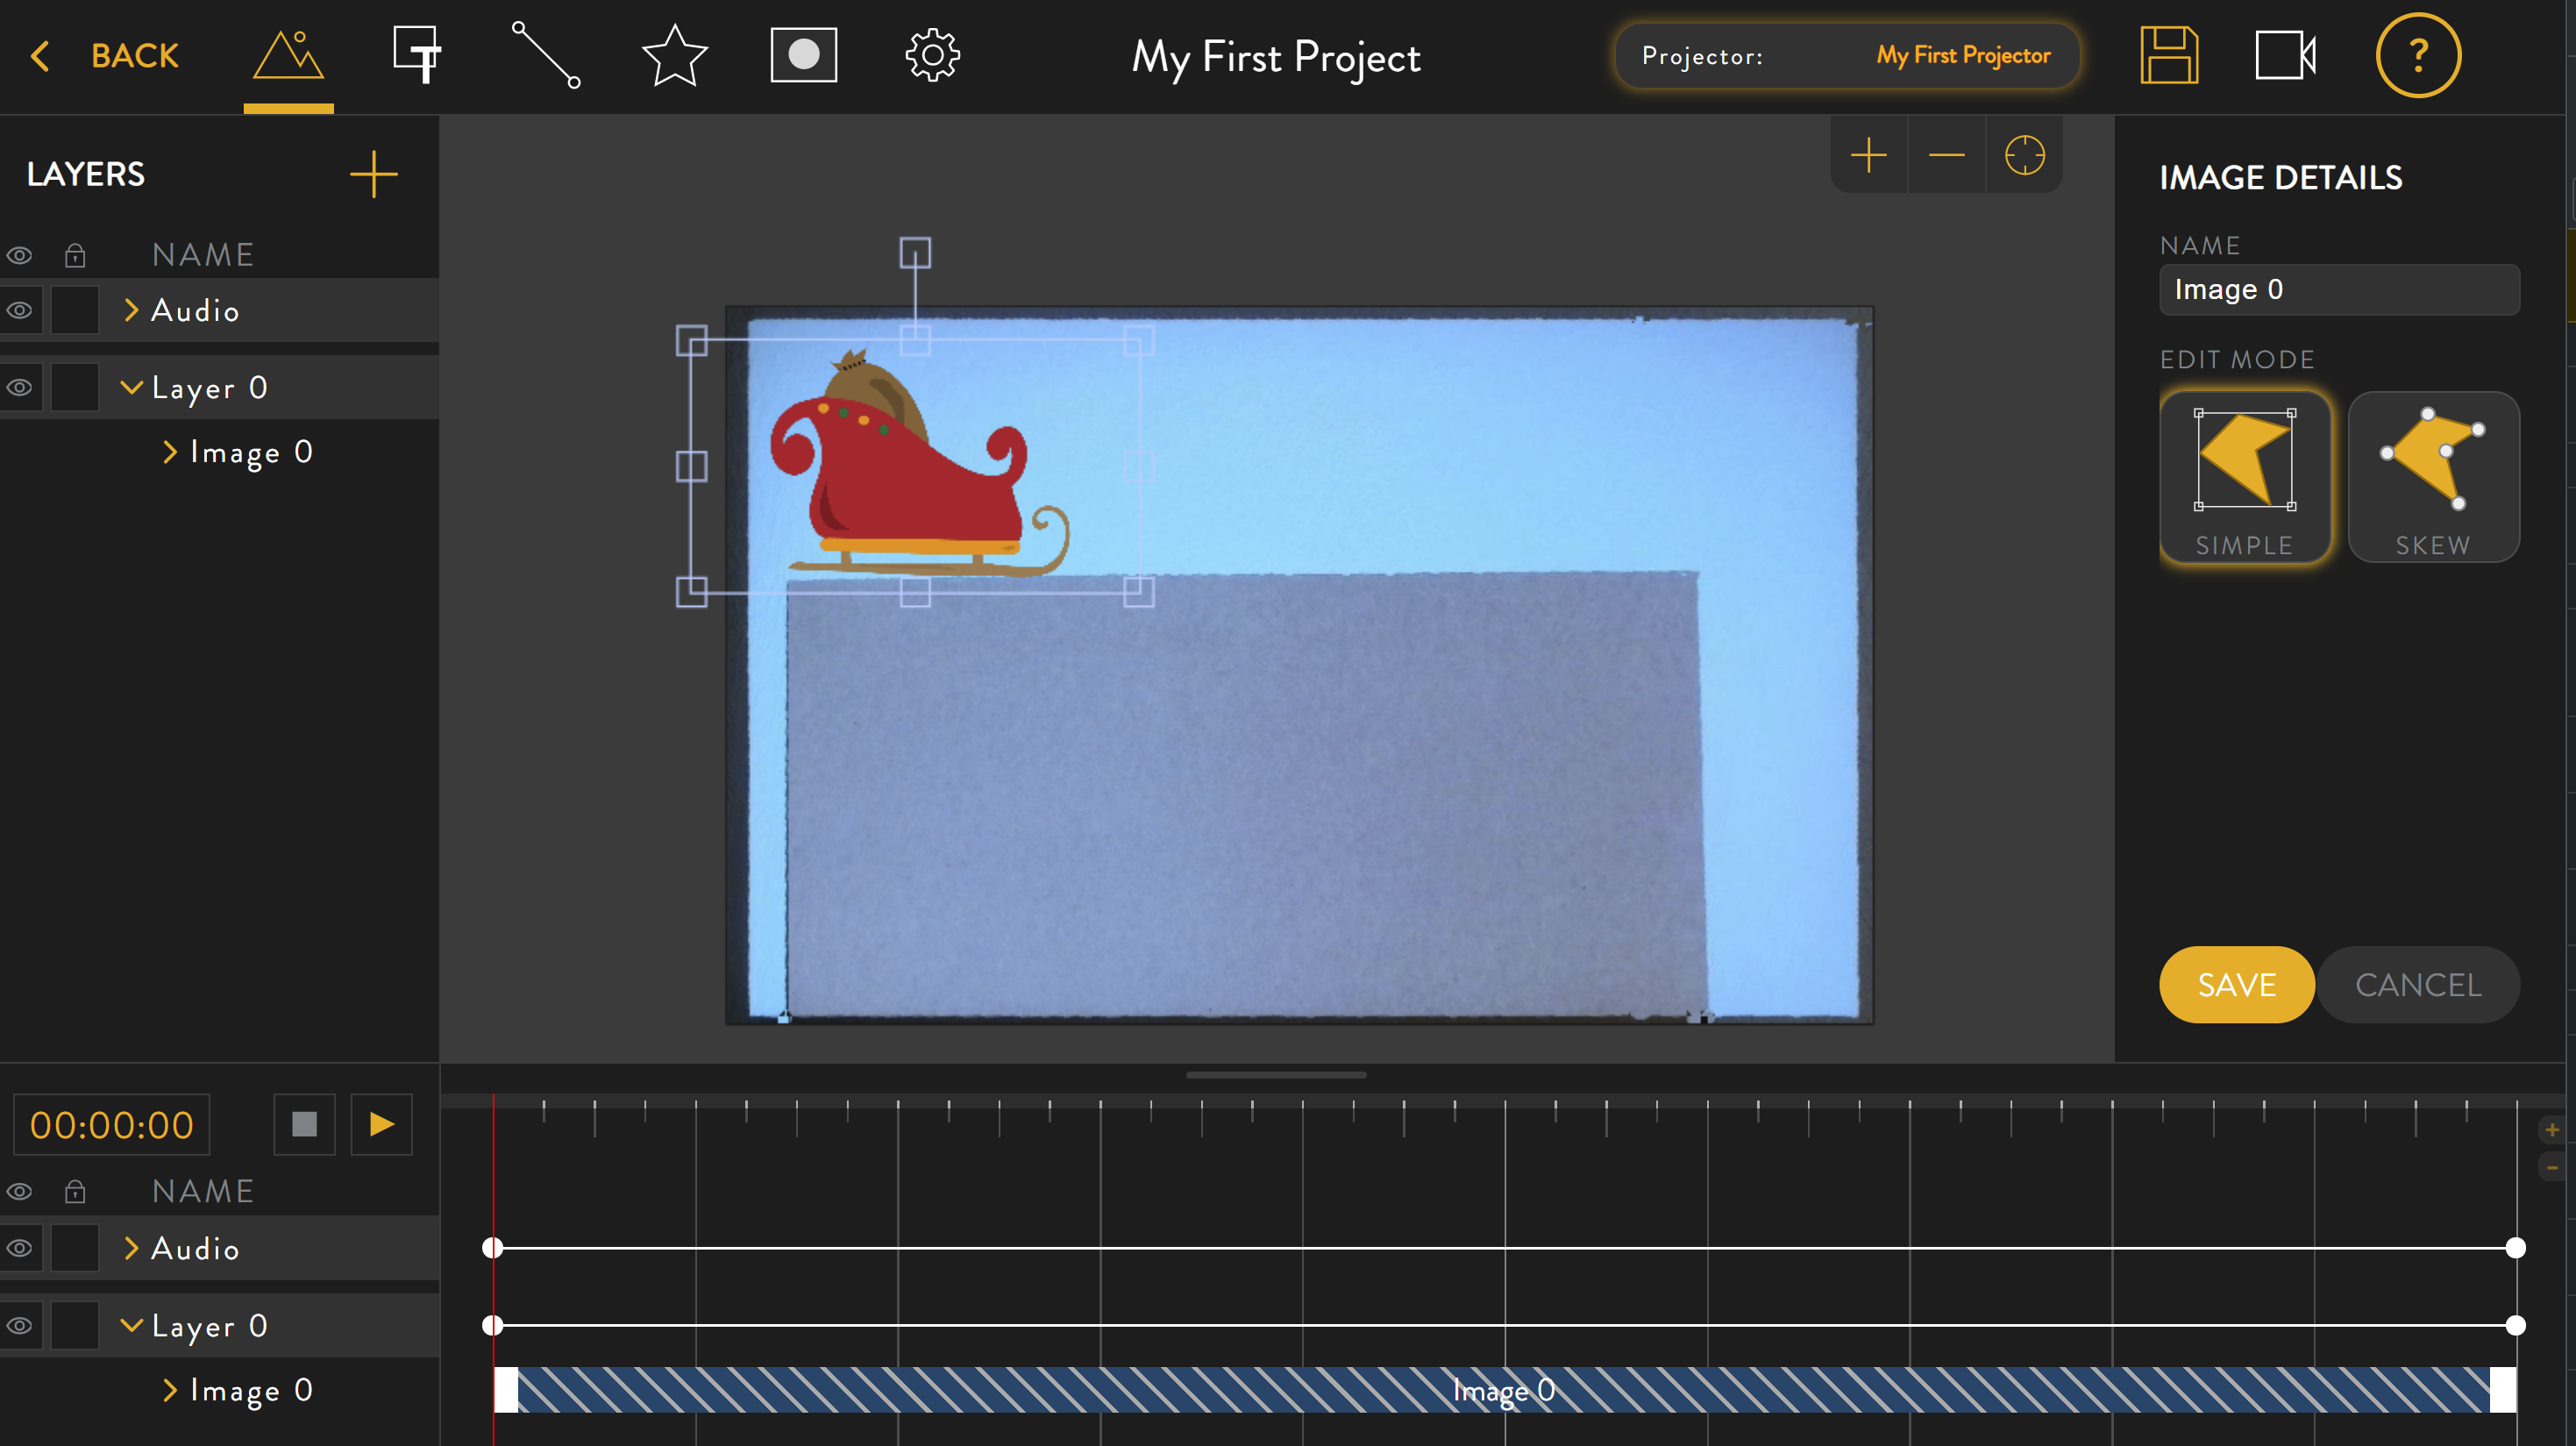
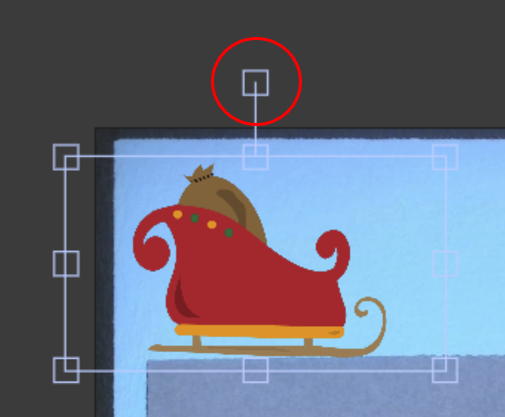
The sleigh is placed at the top of the board but it doesn't line up quite right! Media can be rotated by clicking and dragging the top rectangular drag handle.
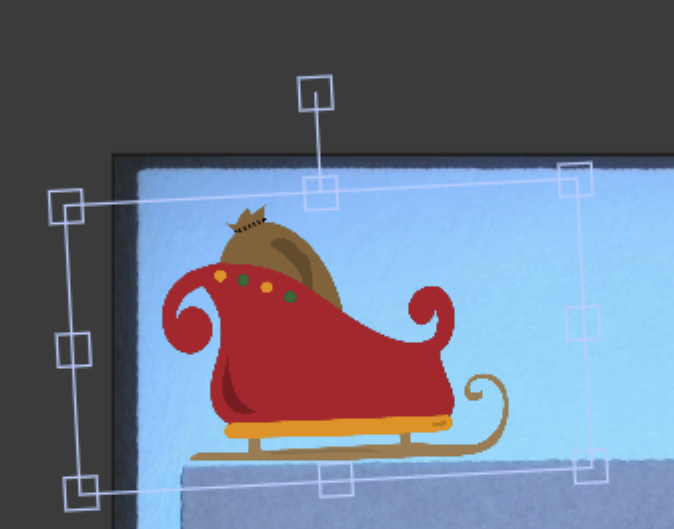
Now it fits perfectly.
Next, let's animate the sleigh so that it travels across the top of the board. Make sure the sleigh is selected and then, in the top left, click on the path tool.
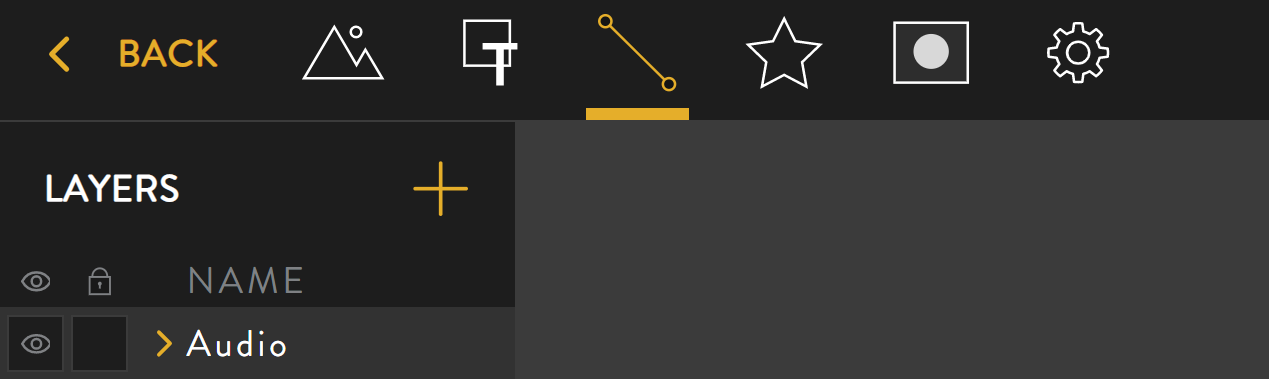
This will open the path toolbar on the right. Click 'NEW PATH'.
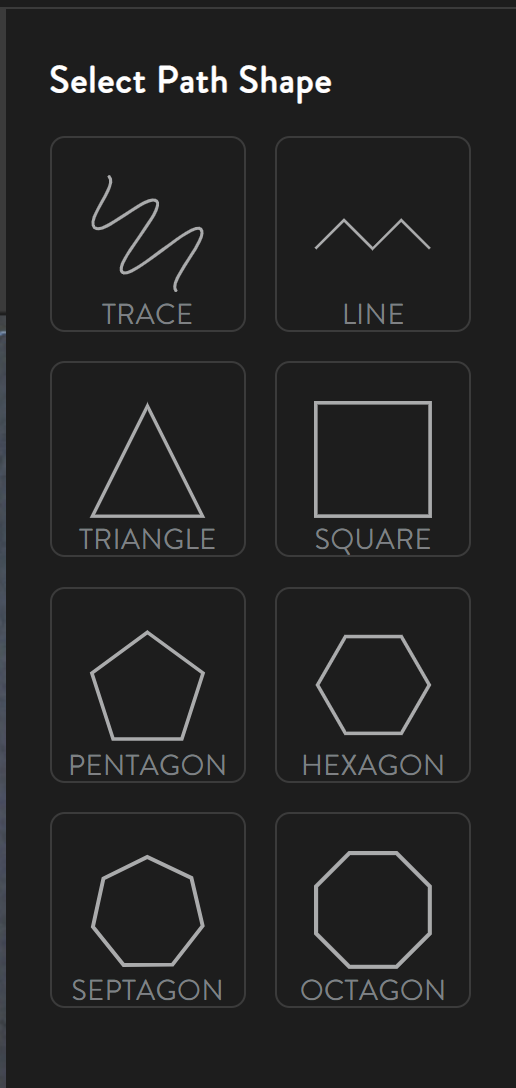
We just want the sleigh to travel in a straight line, so select the 'LINE' shape in the top right.
This will insert a path into the project for the sleigh. Note that you are now editing the path, which means that you can change the path shape and definition.
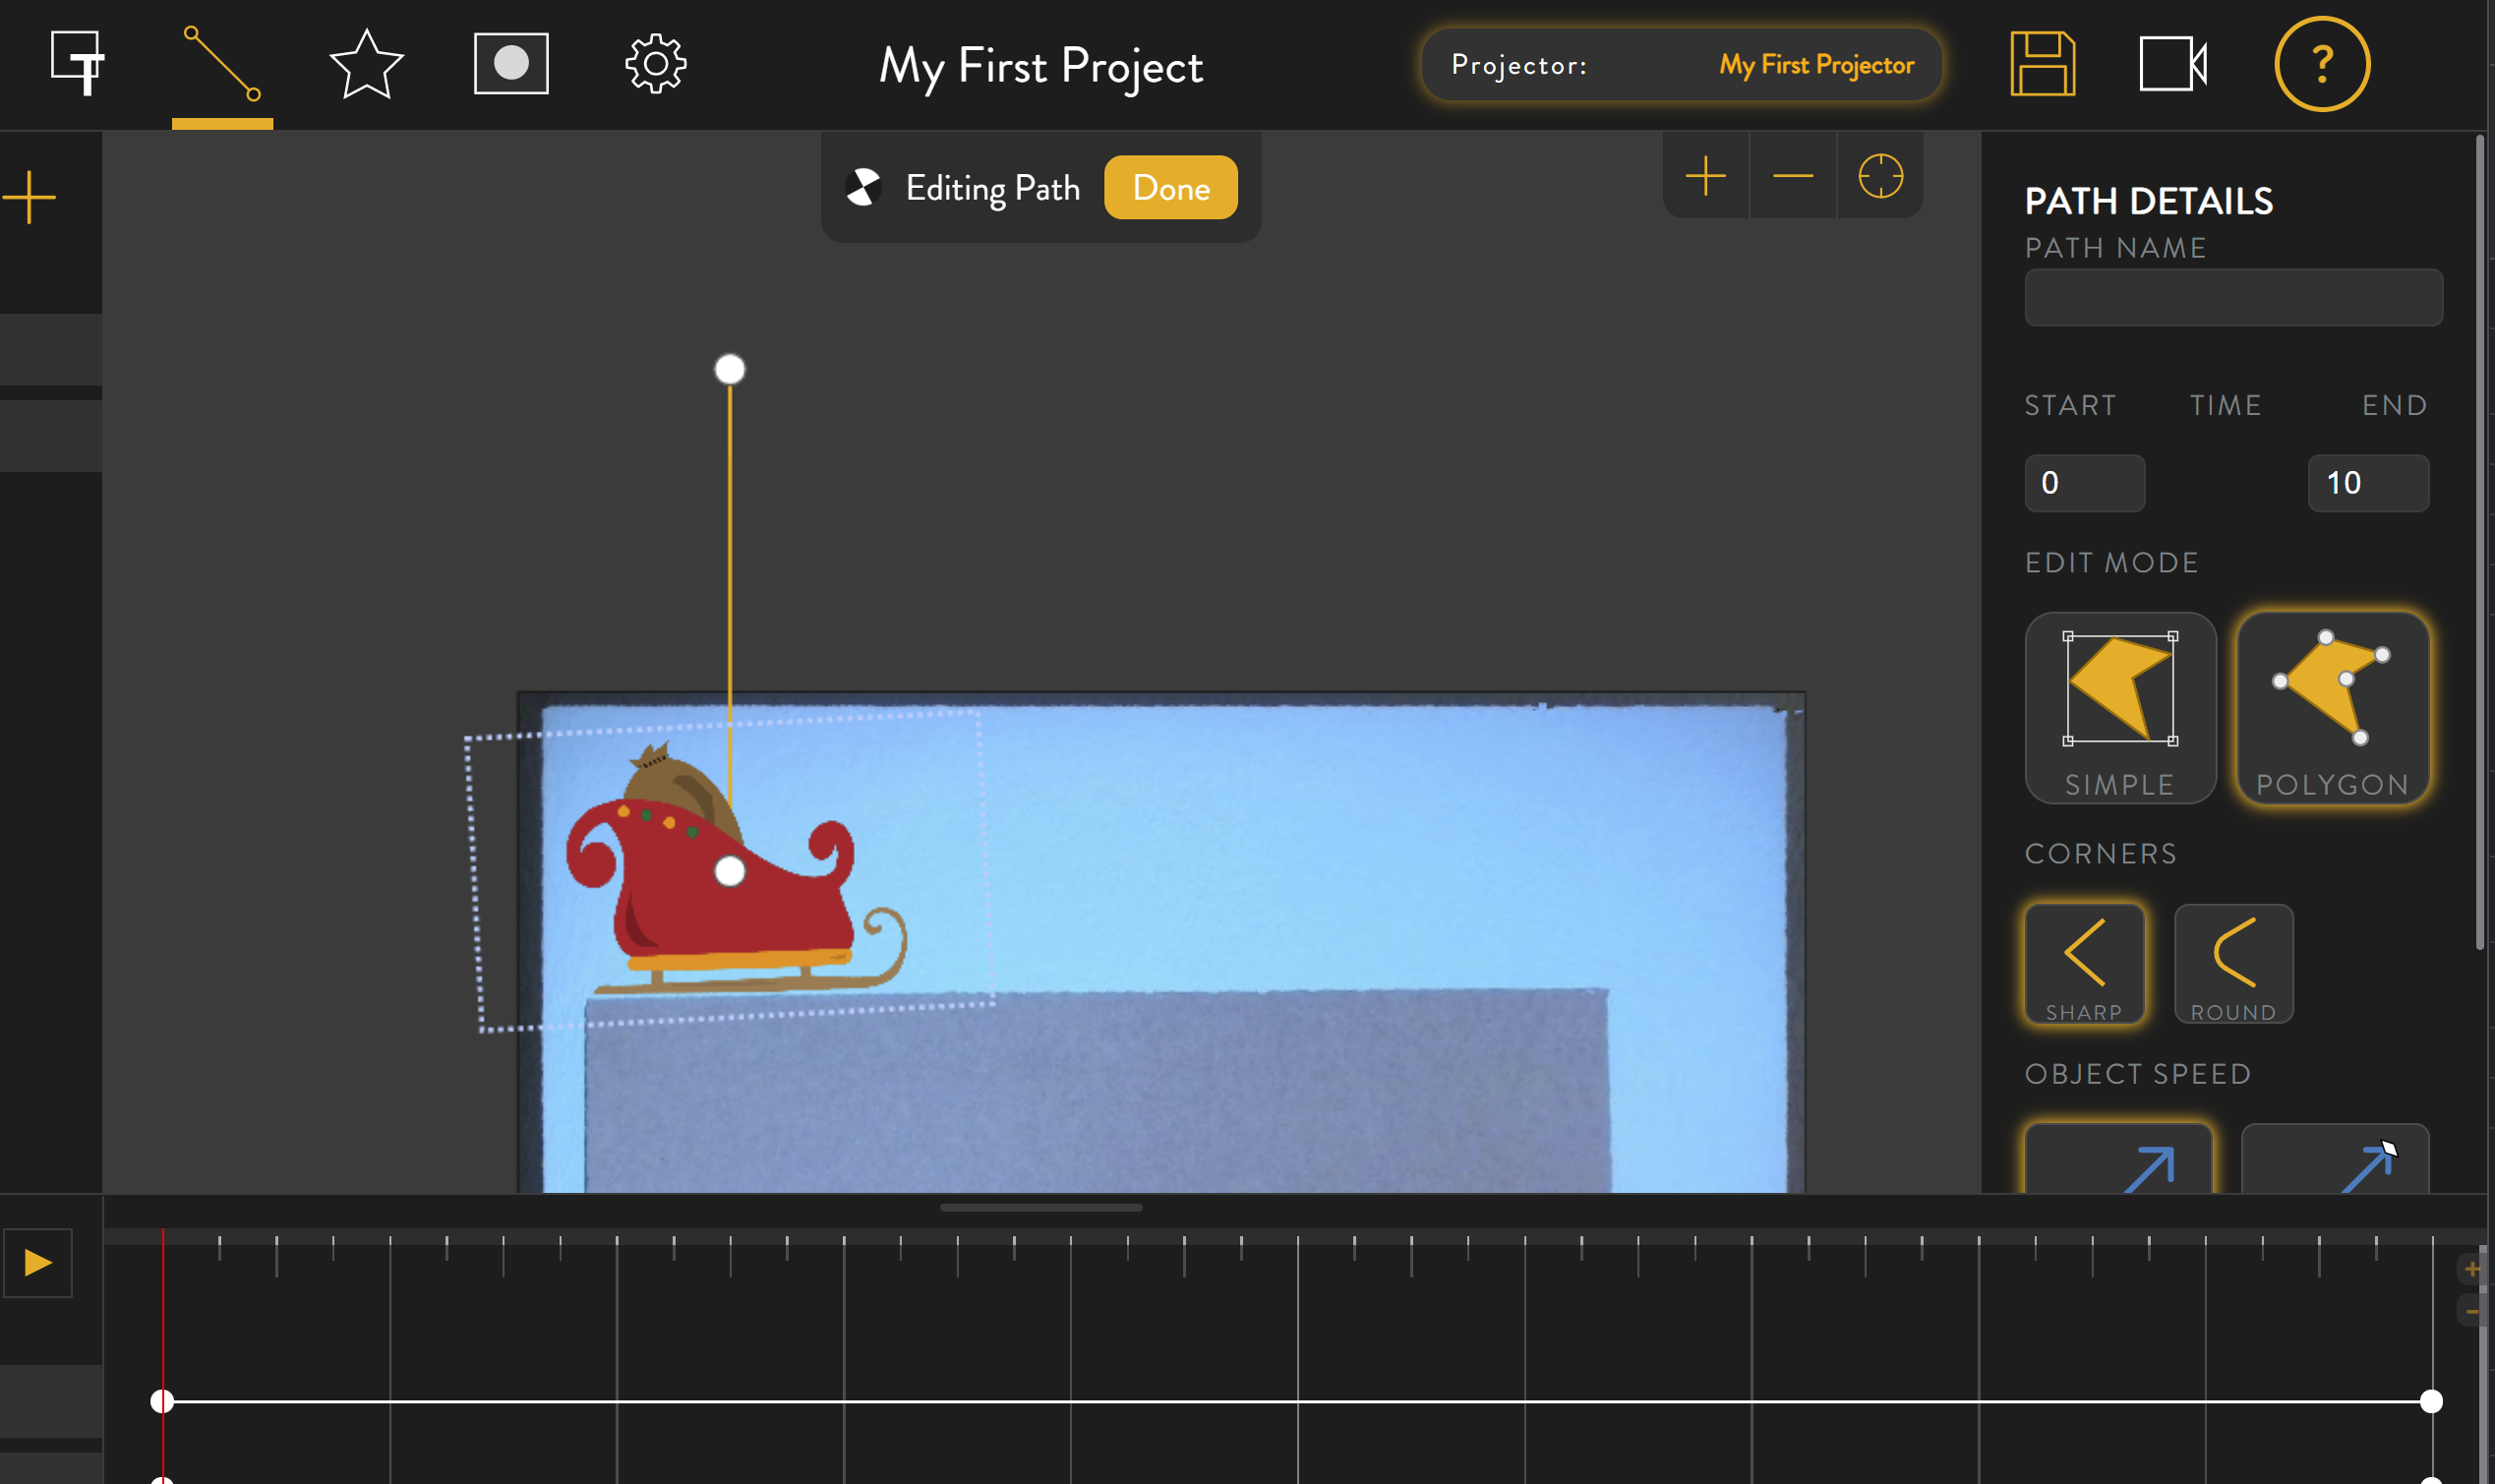
By default the line has dropped in perfectly vertical. Let's change it so that the sleigh will travel across the top of the board.
Click and drag the top node (the little white circle) so that the path is now horizontal.
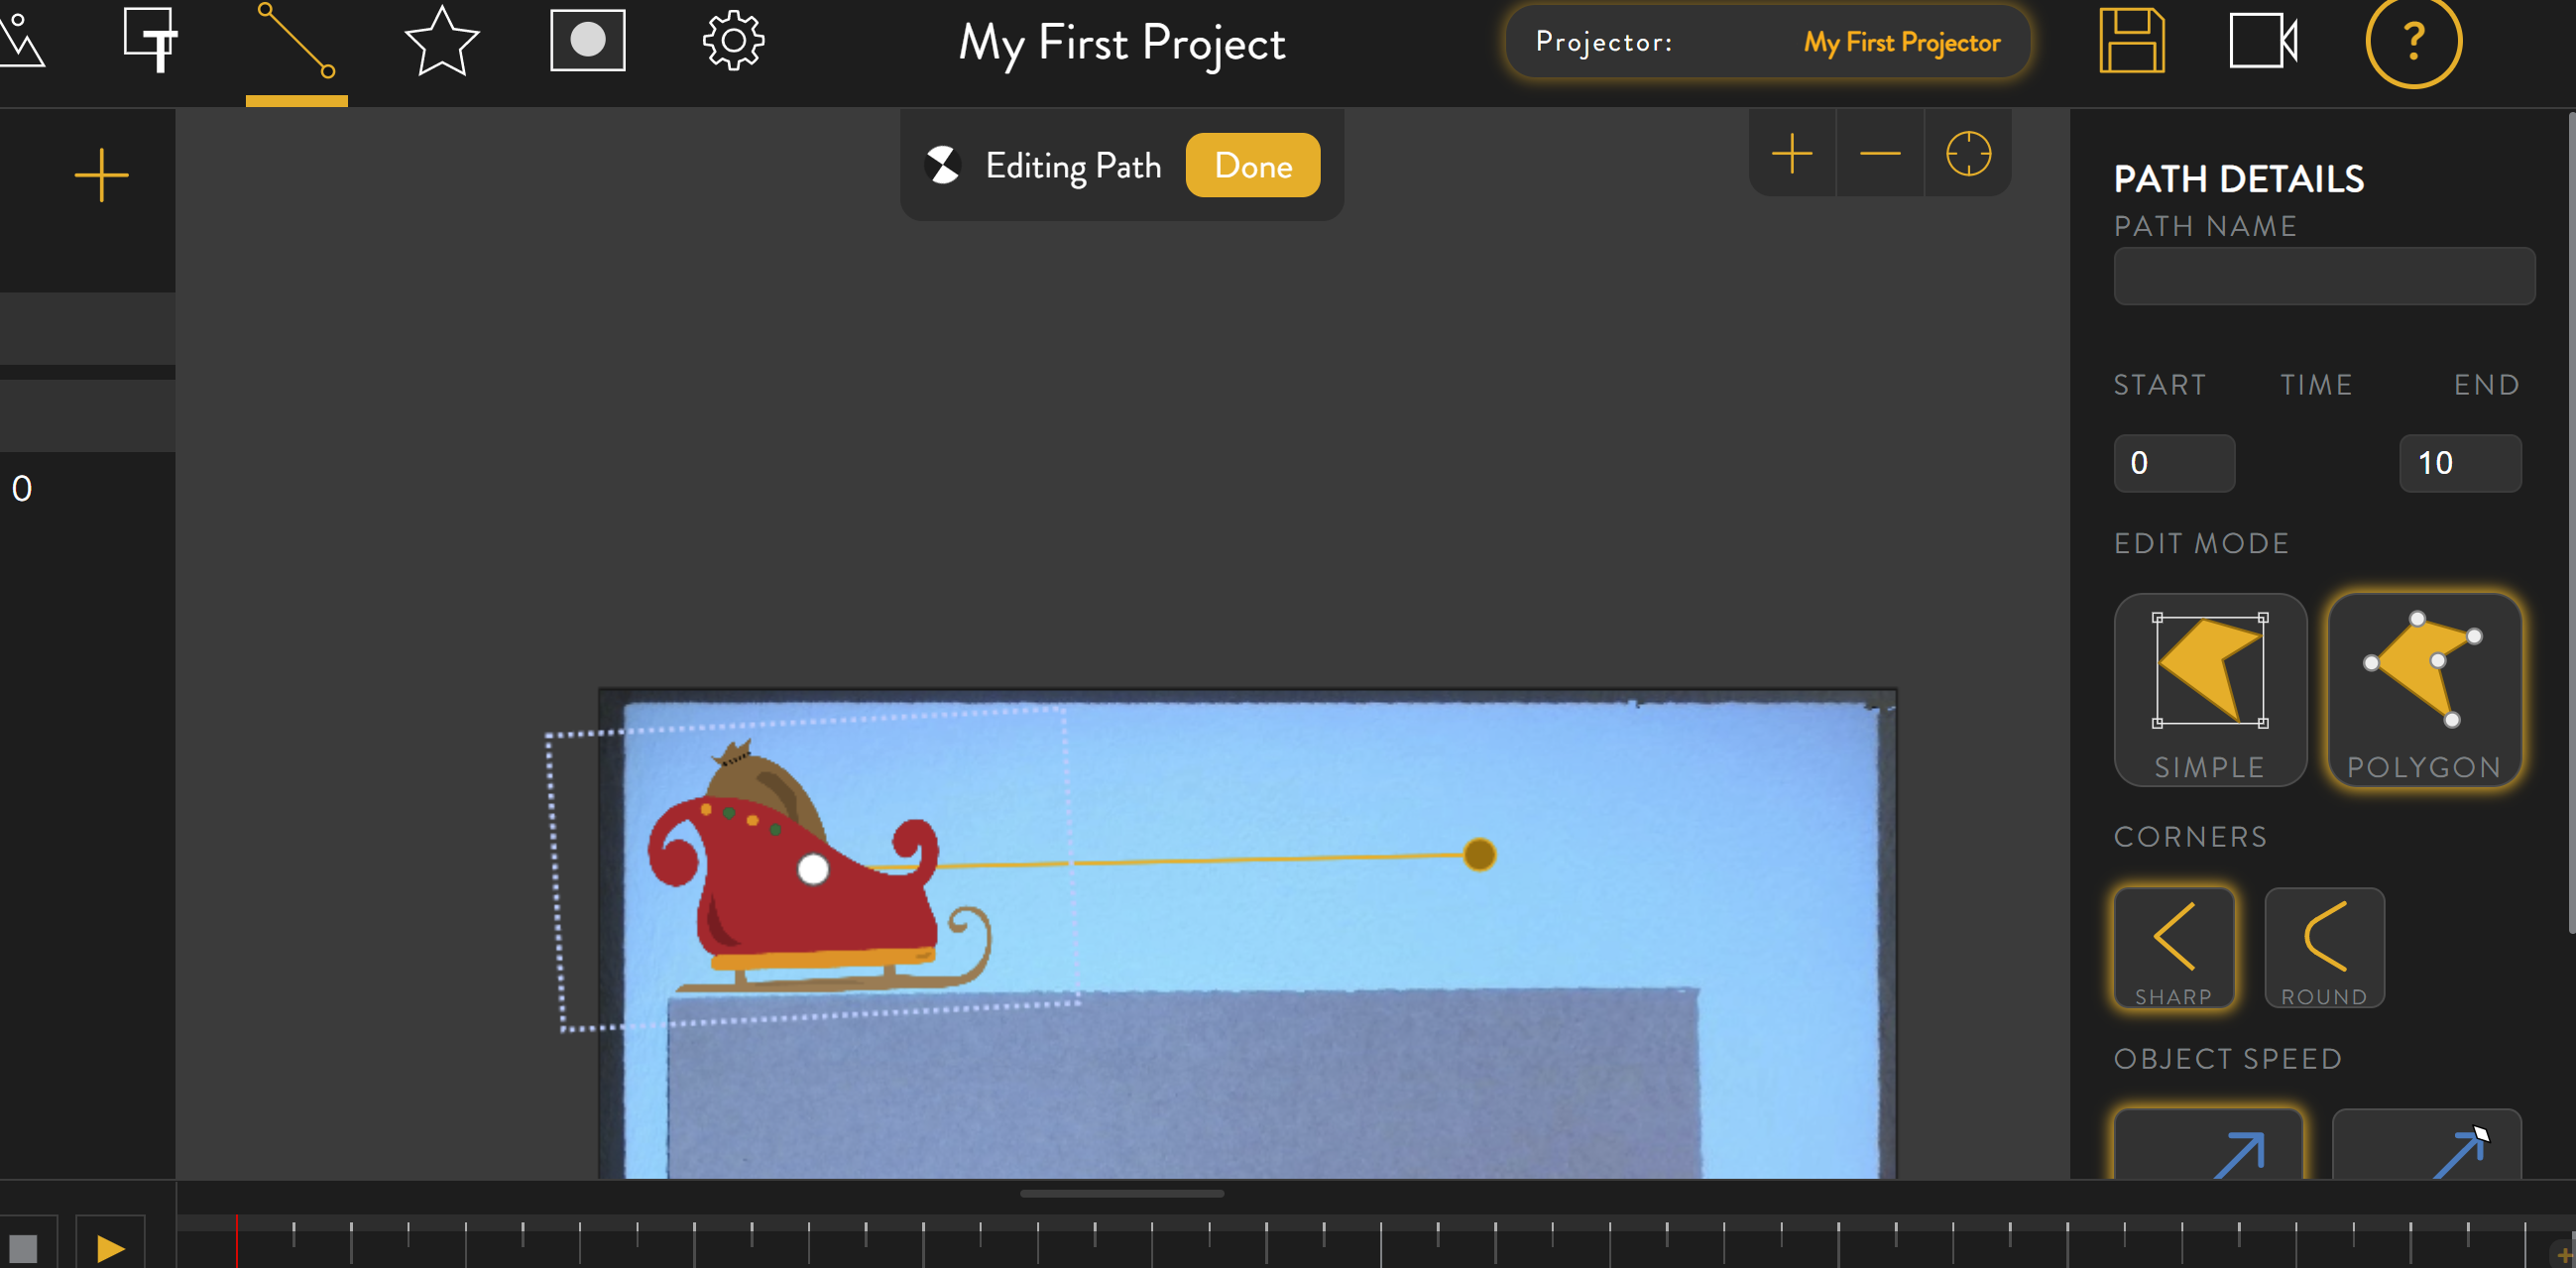
Then scroll down in the path toolbar on the right and click 'SAVE'. This will end path edit mode.

Let's check to see what will actually happen when this project plays. In the bottom left of the editor, click on the play arrow: ![]()
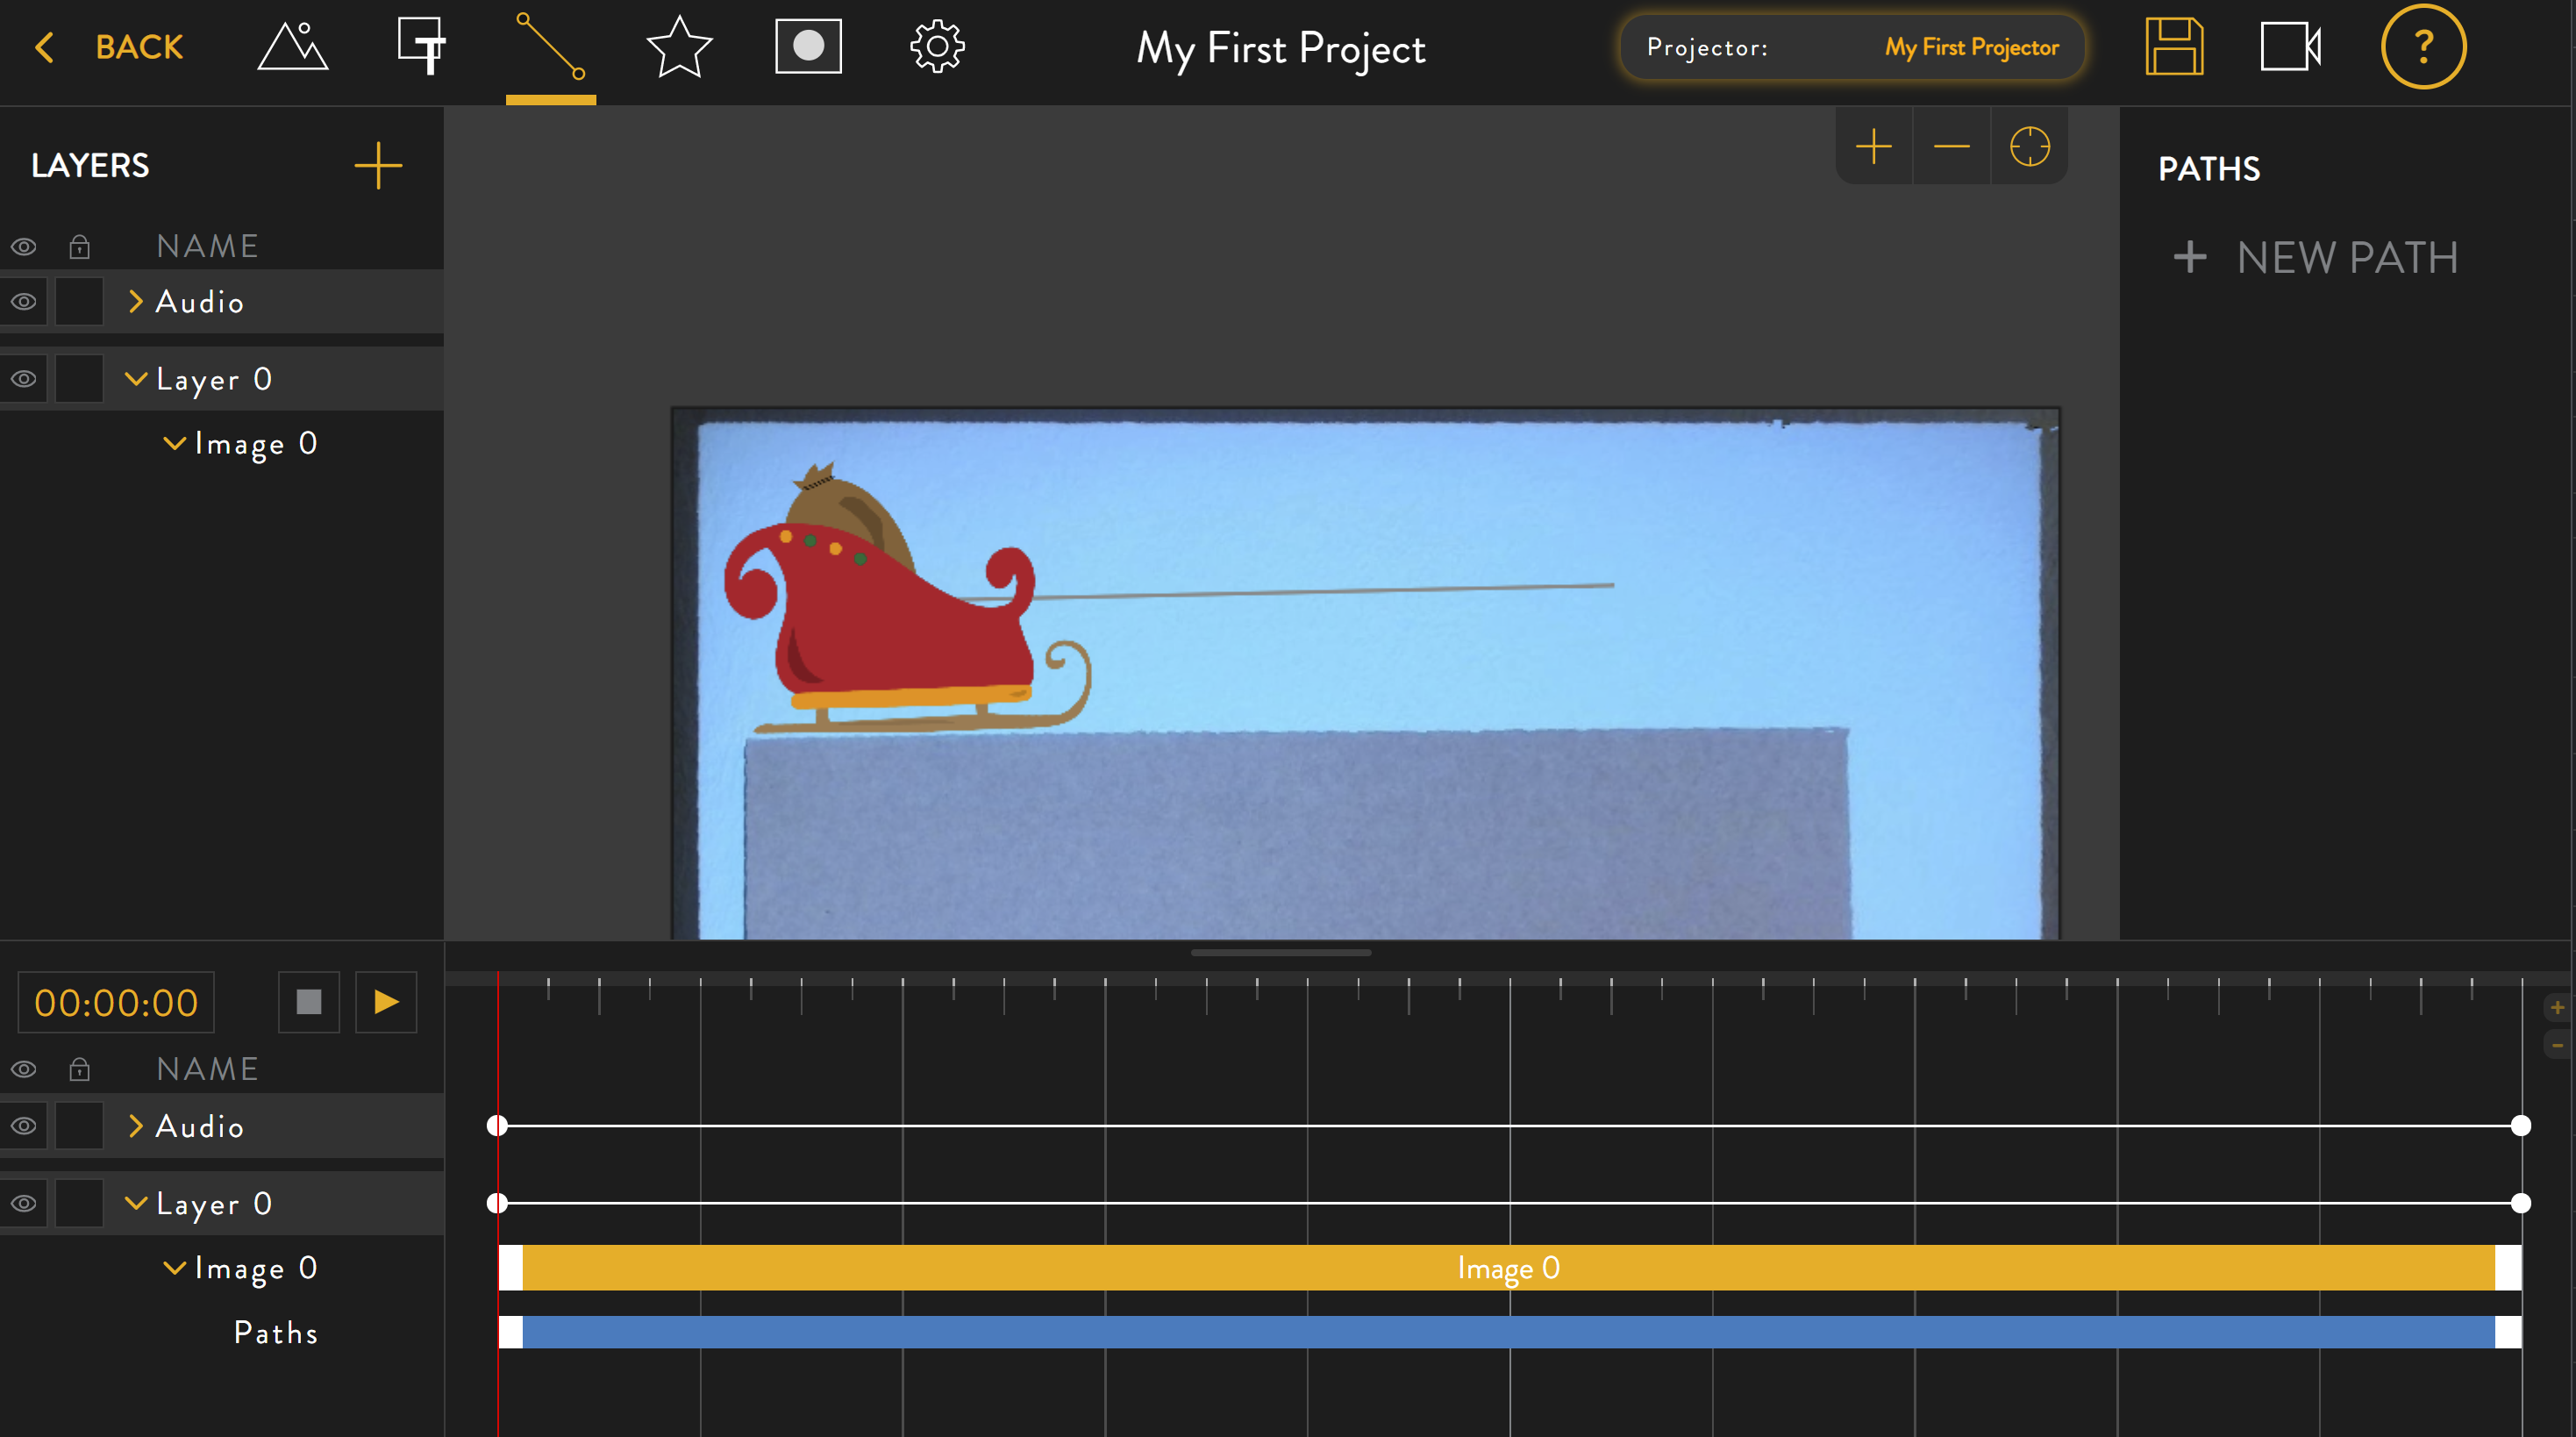
This will 'play' the project in your browser from start to finish. The sleigh will move along the path we have defined.

Although we are trying to add media to our public library of content all the time, you will frequently encounter situations where you need additional media. Fortunately there are many sources of both free and paid image/video available for download on the internet. Let's try uploading some content from outside of Luxedo.
Click the 'media' icon in the top left.
In the media toolbar on the right, click 'Upload Media' at the top.

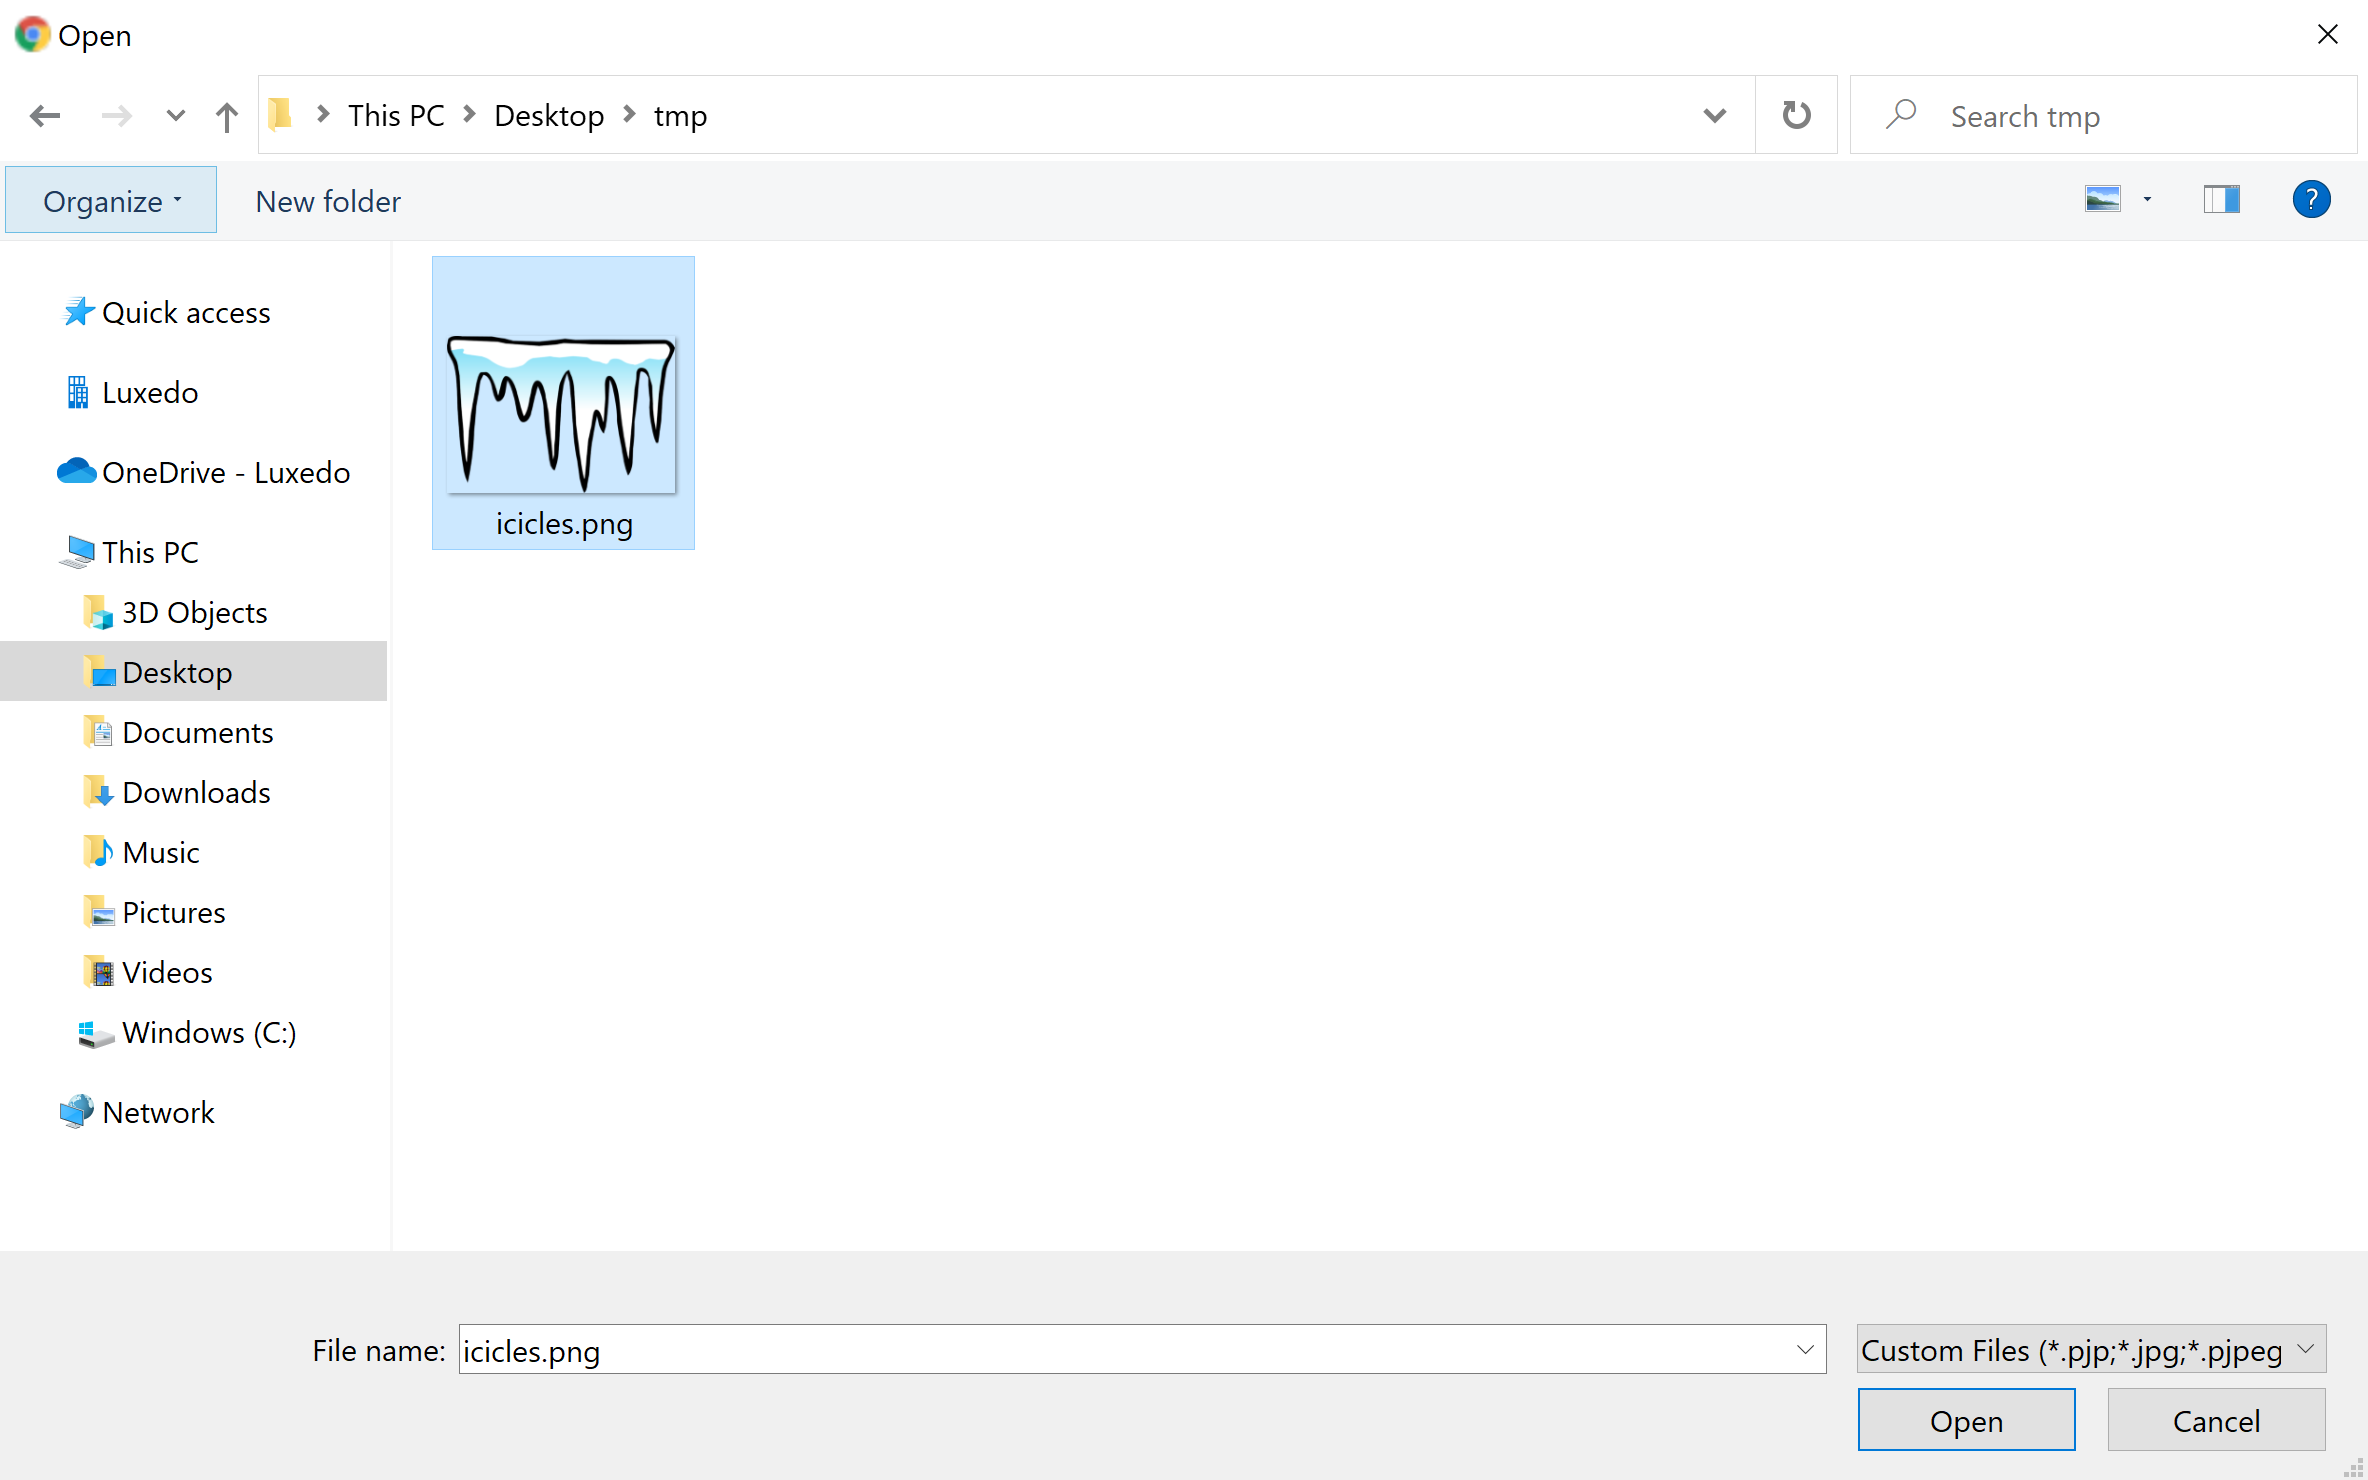
This brings up the media upload overlay. Drag and drop any compatible file onto this window, or click the big white square to open a filesystem browser (pictured below).
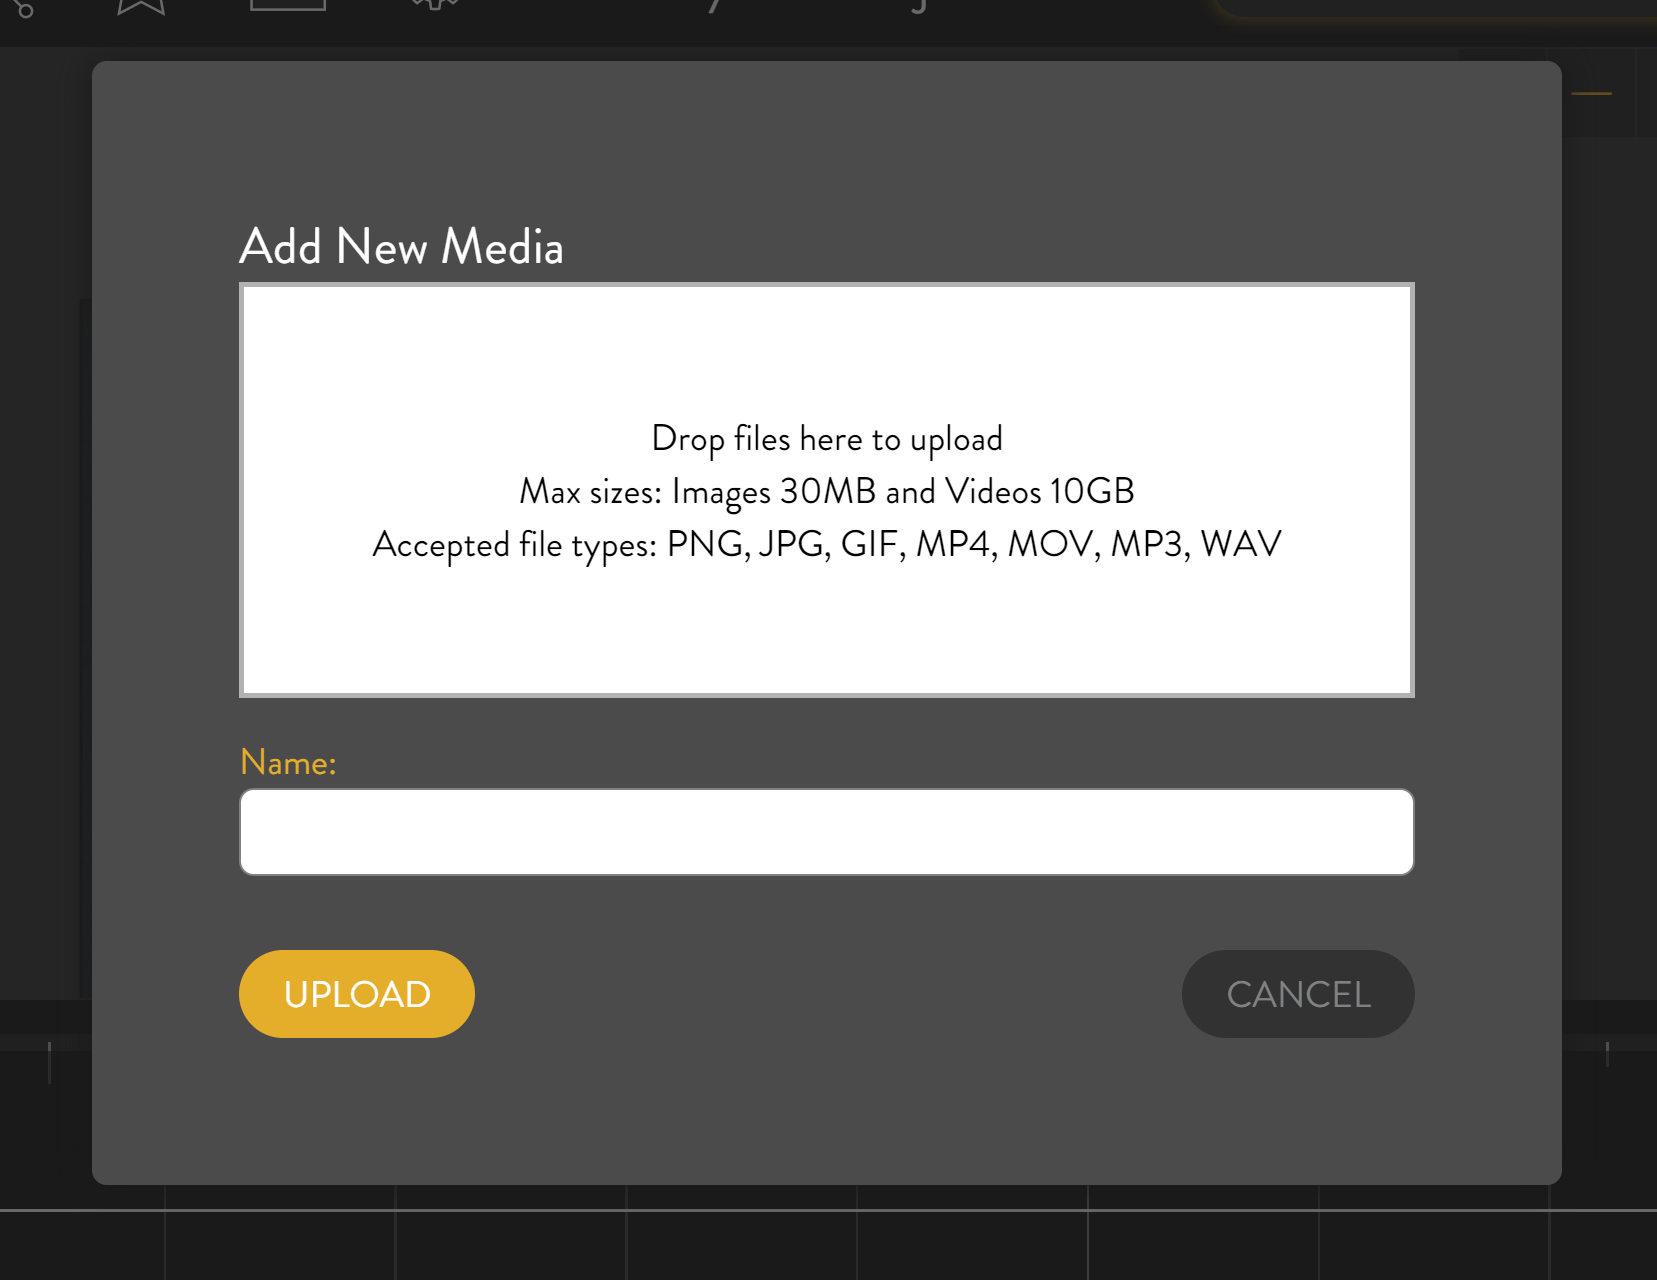
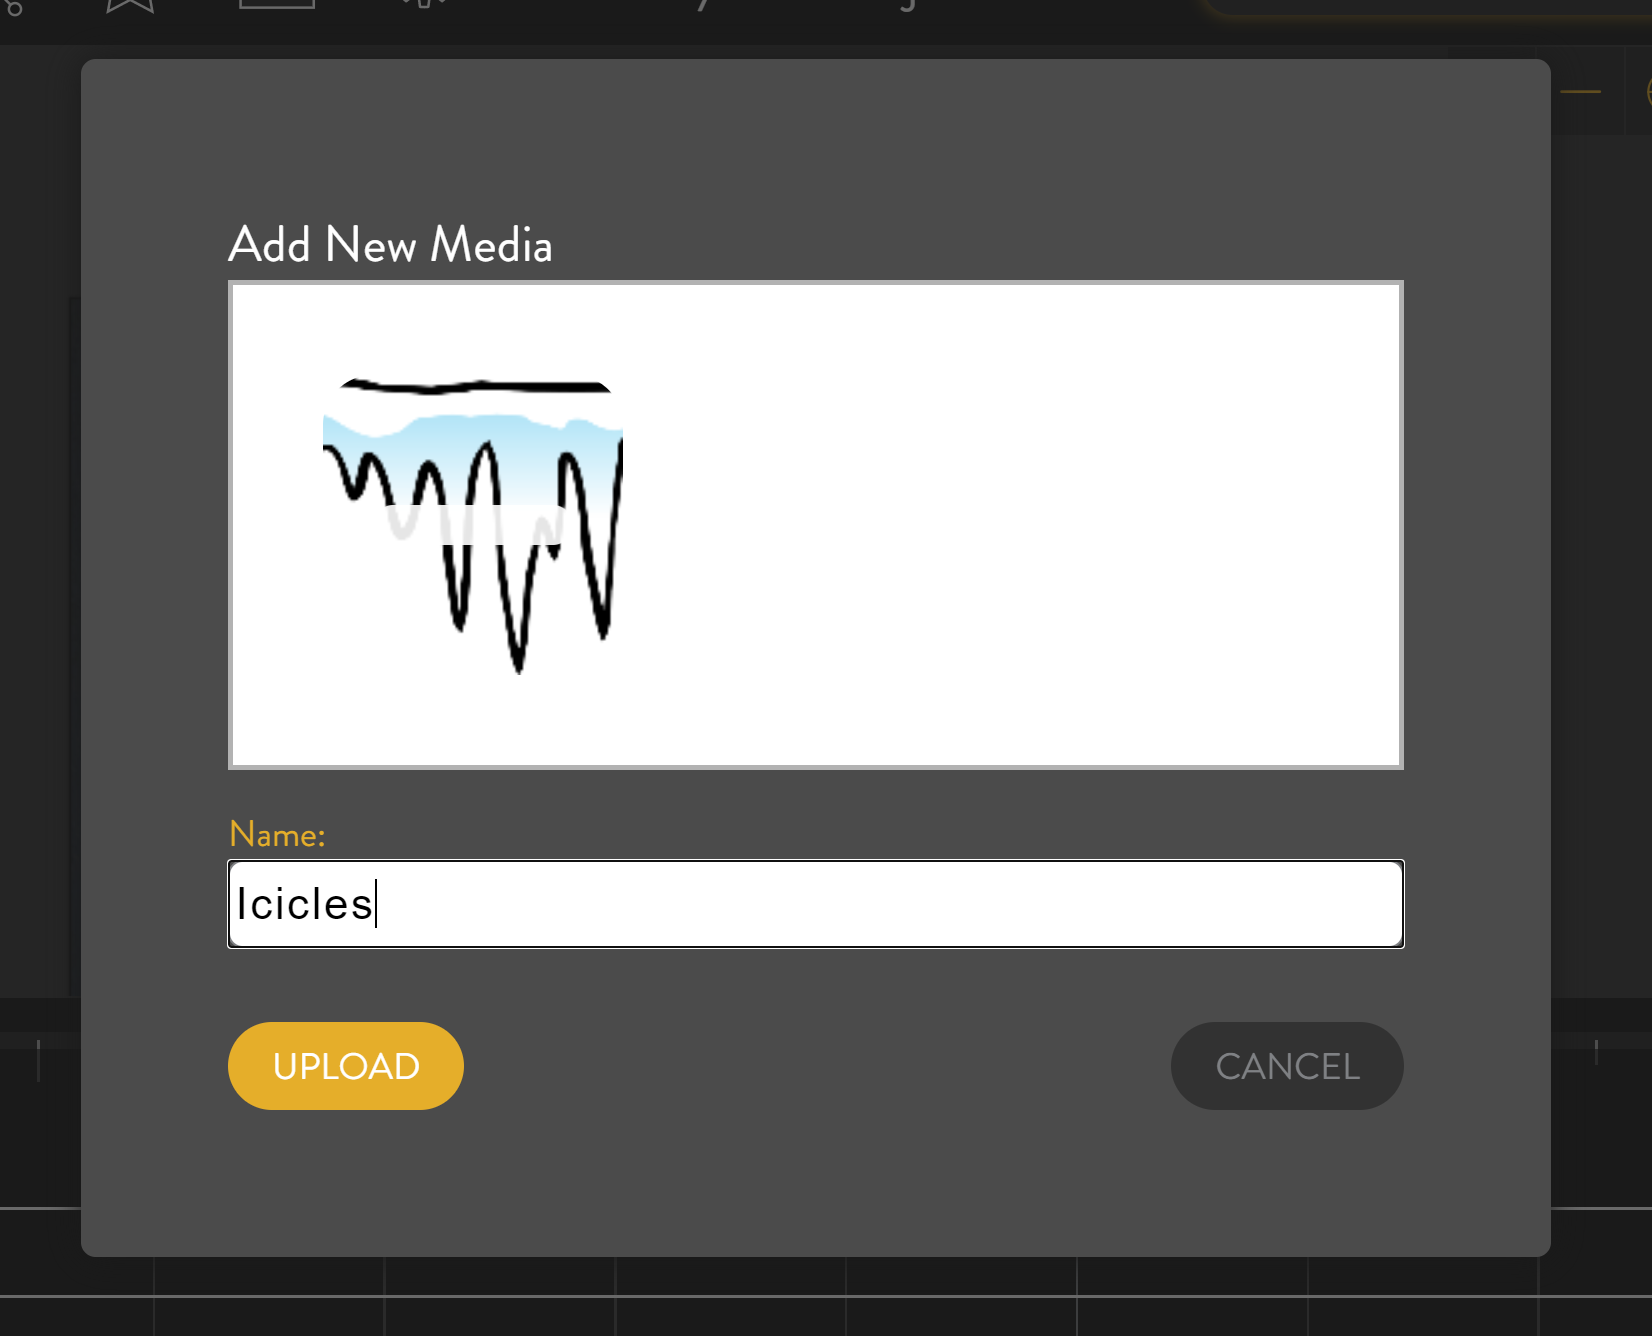
Here I select a picture of some icicles which I have downloaded from a royalty-free website dedicated to sharing images.
When you select your file, it will appear in the overlay. Then just click 'UPLOAD'.
When it finishes (which may take some time if you are uploading video content), click 'CLOSE'.
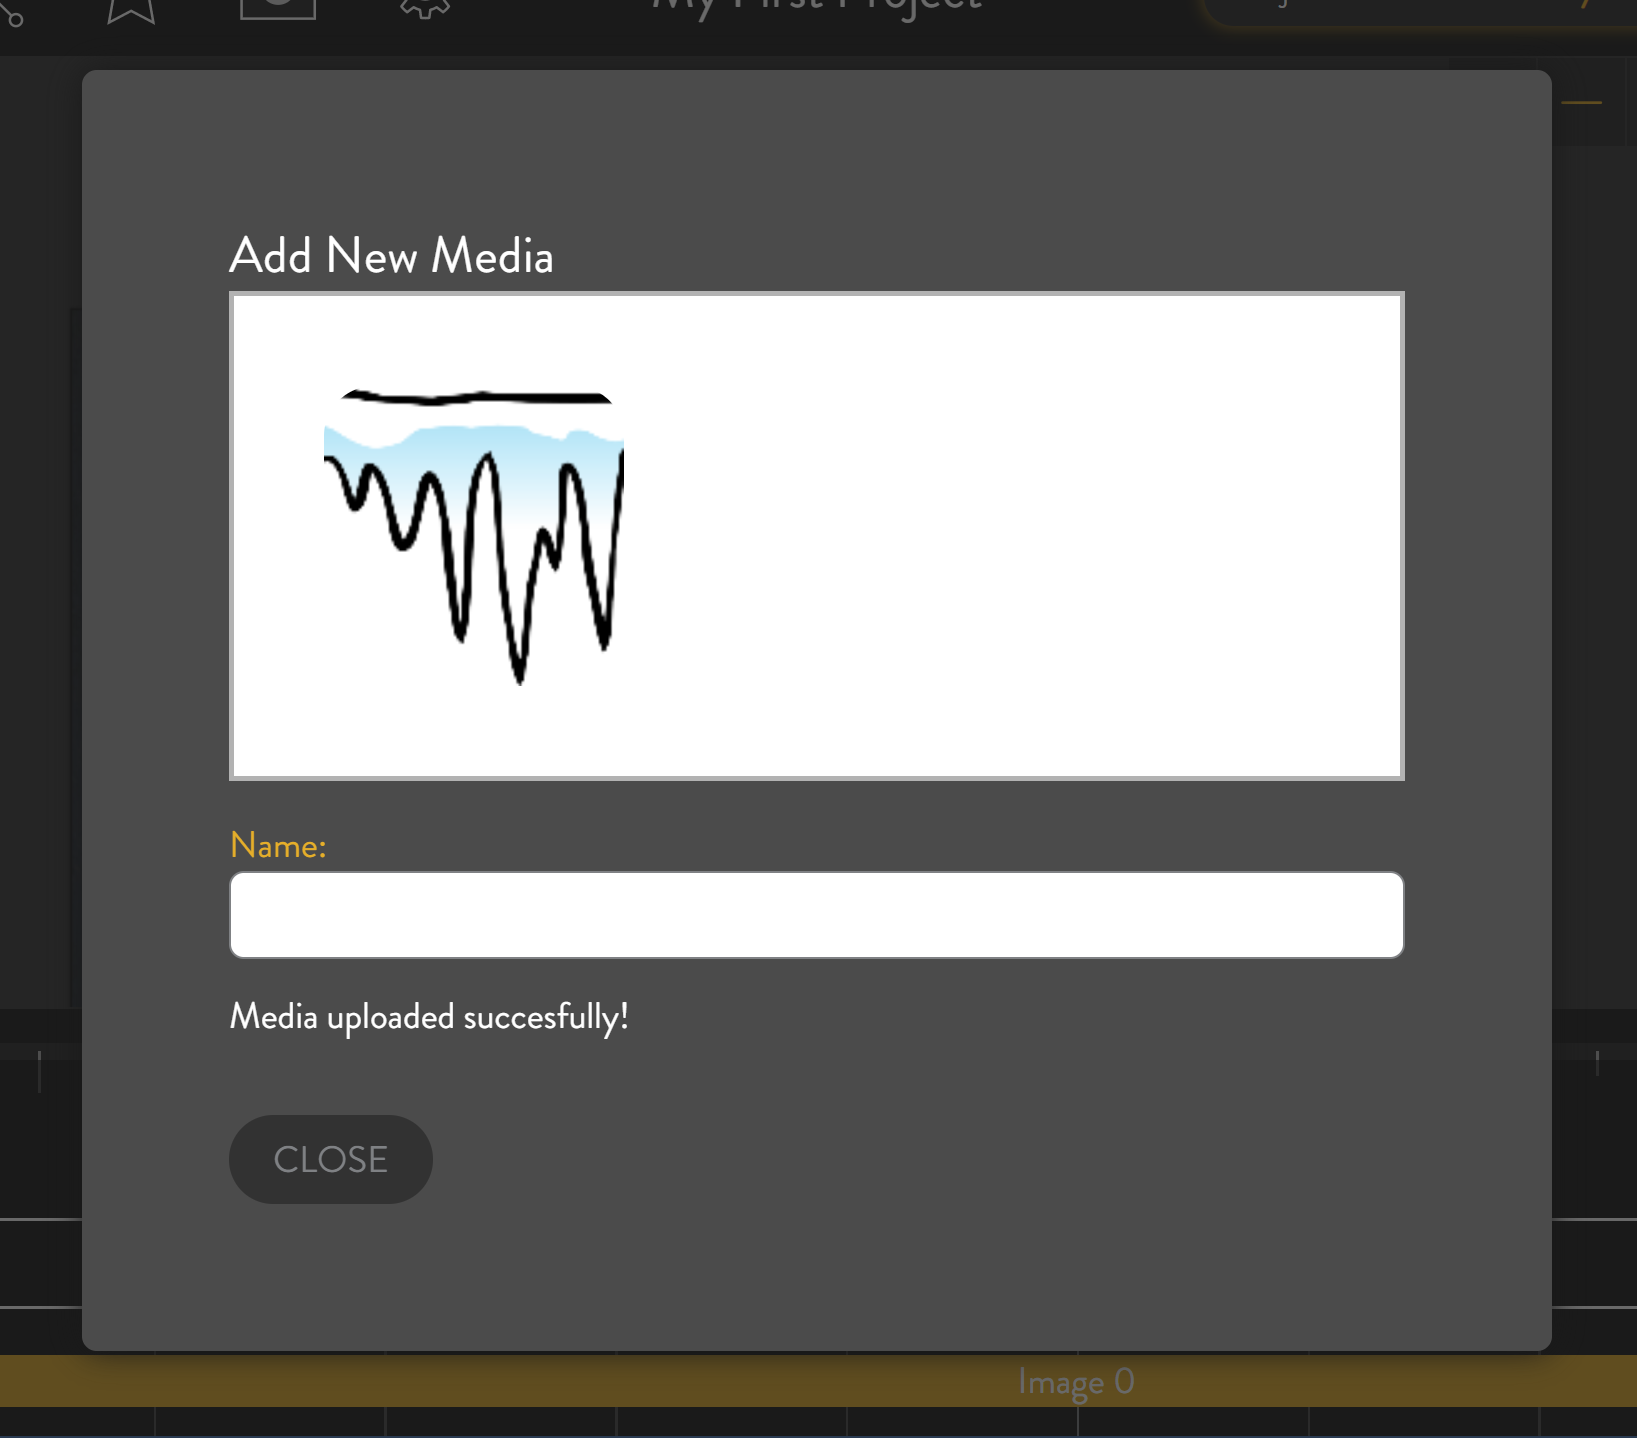
You will now see your new media in the media toolbar at the bottom.

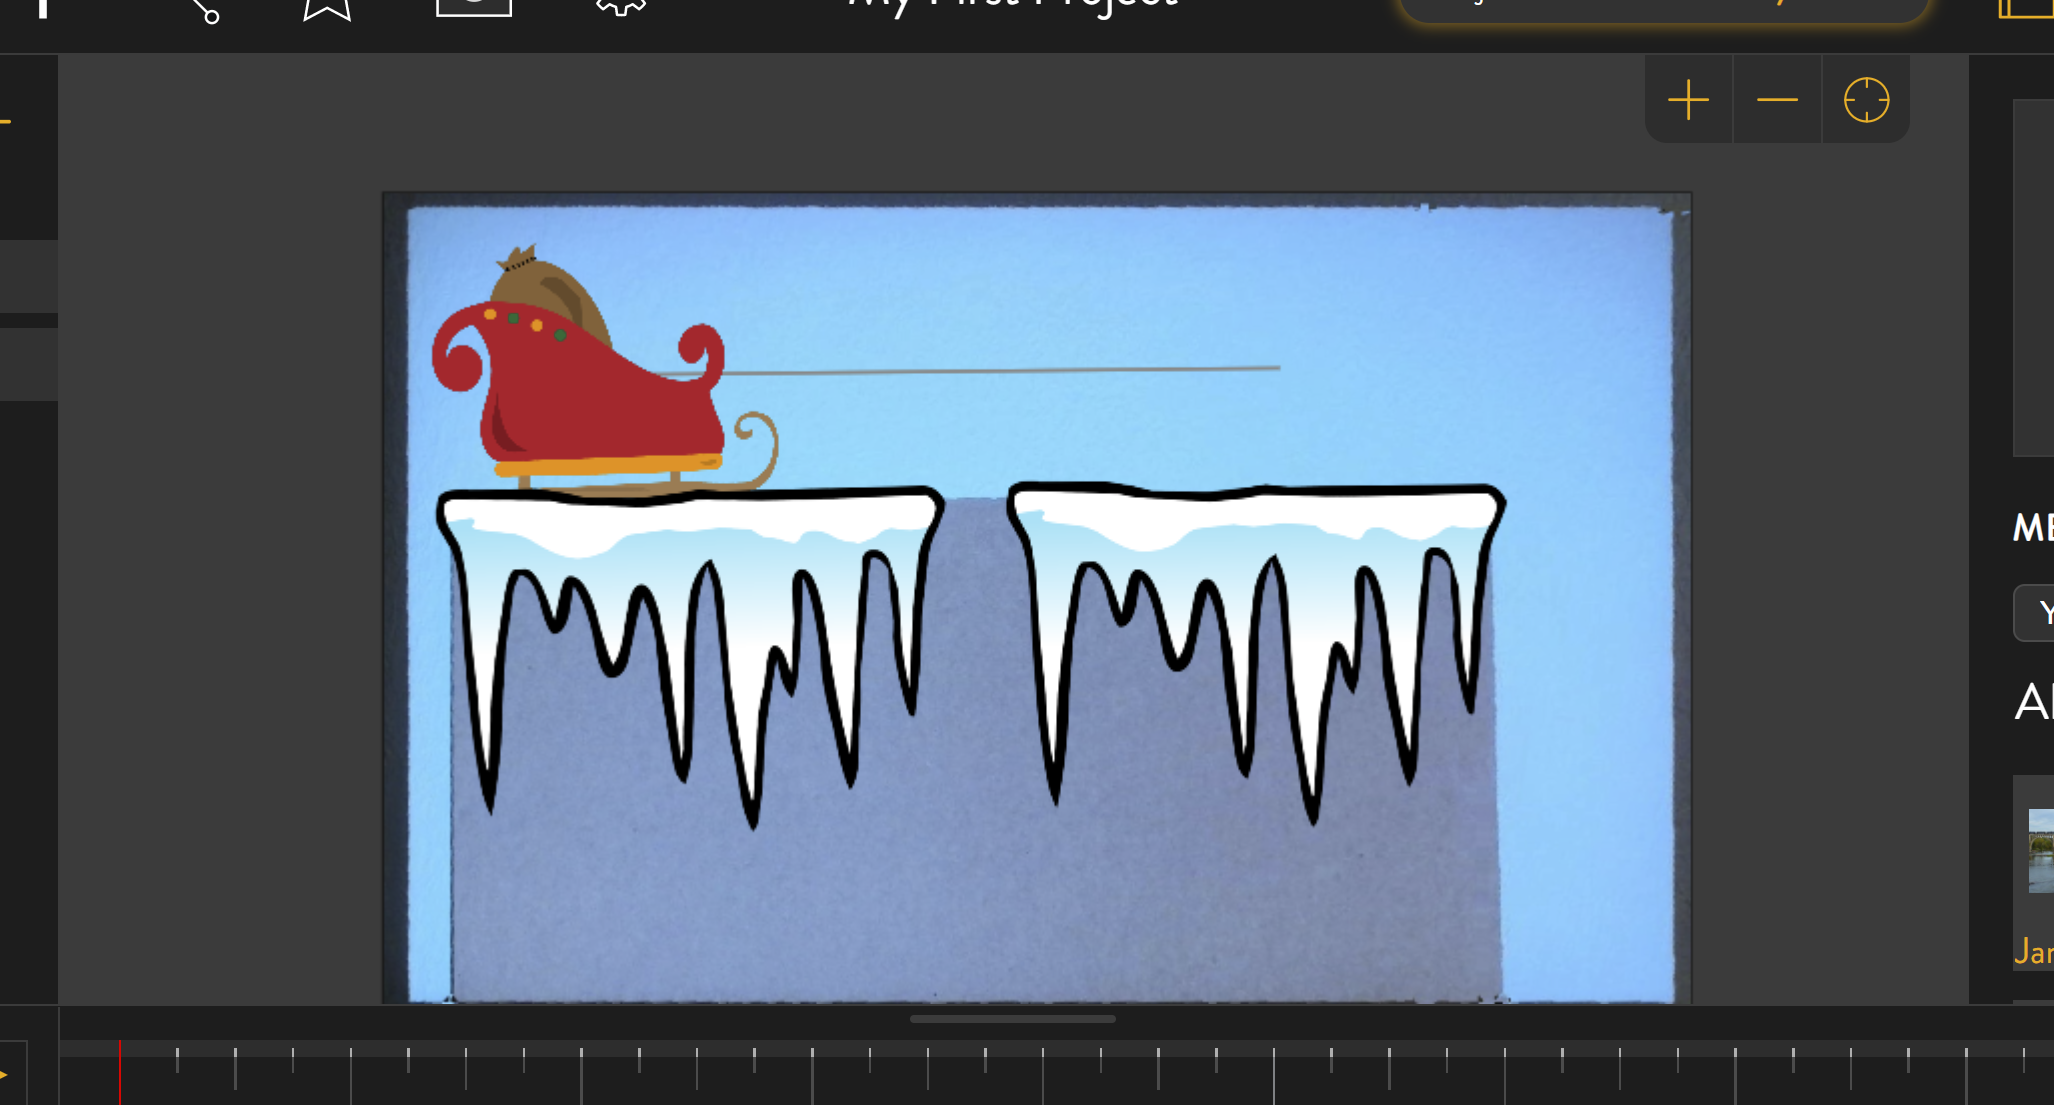
Click and drag your new media into the project.

Here I have added two icicle images to the board to make it appear as if the sleigh is gliding across snow.
Part 4: Render and Preview Your Project
When you are done with your project you will need to 'render' it before it can be projected. Rendering is the process of converting your project into a proper full-resolution video.
For simple projects like the one we have created, rendering is fast. For more complicated projects (for instance, with lots of high-resolution video resources) rendering can take a few minutes to a few hours.
To render, click the 'render' icon in the top left of the editor: ![]()
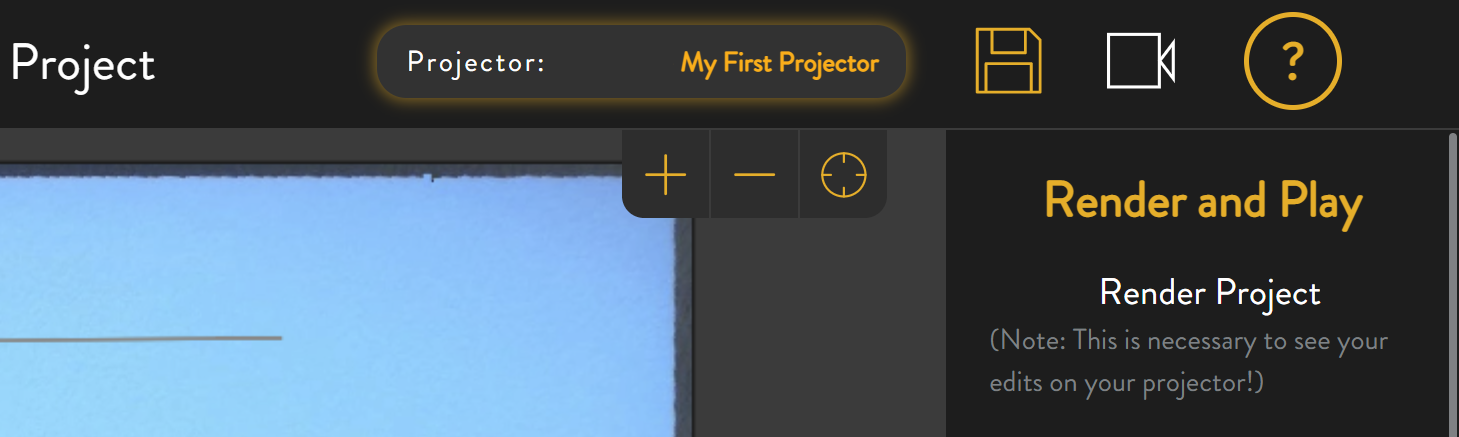
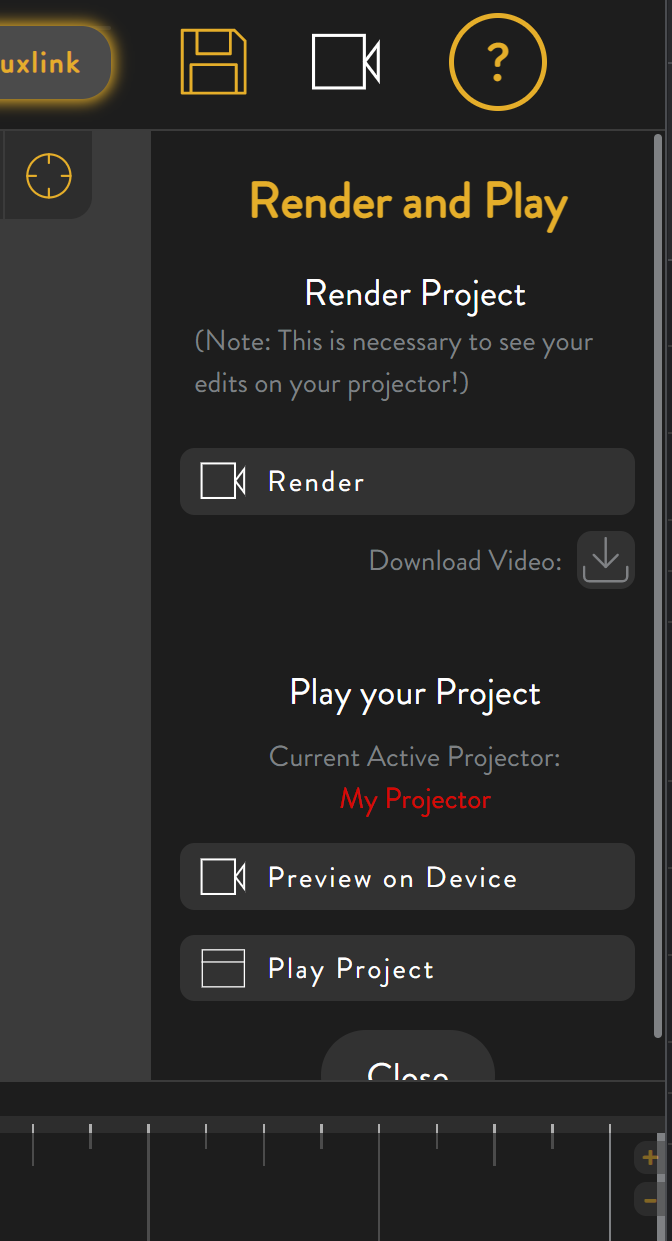
This will summon the render/preview toolbar. Click the button labeled 'Render'.
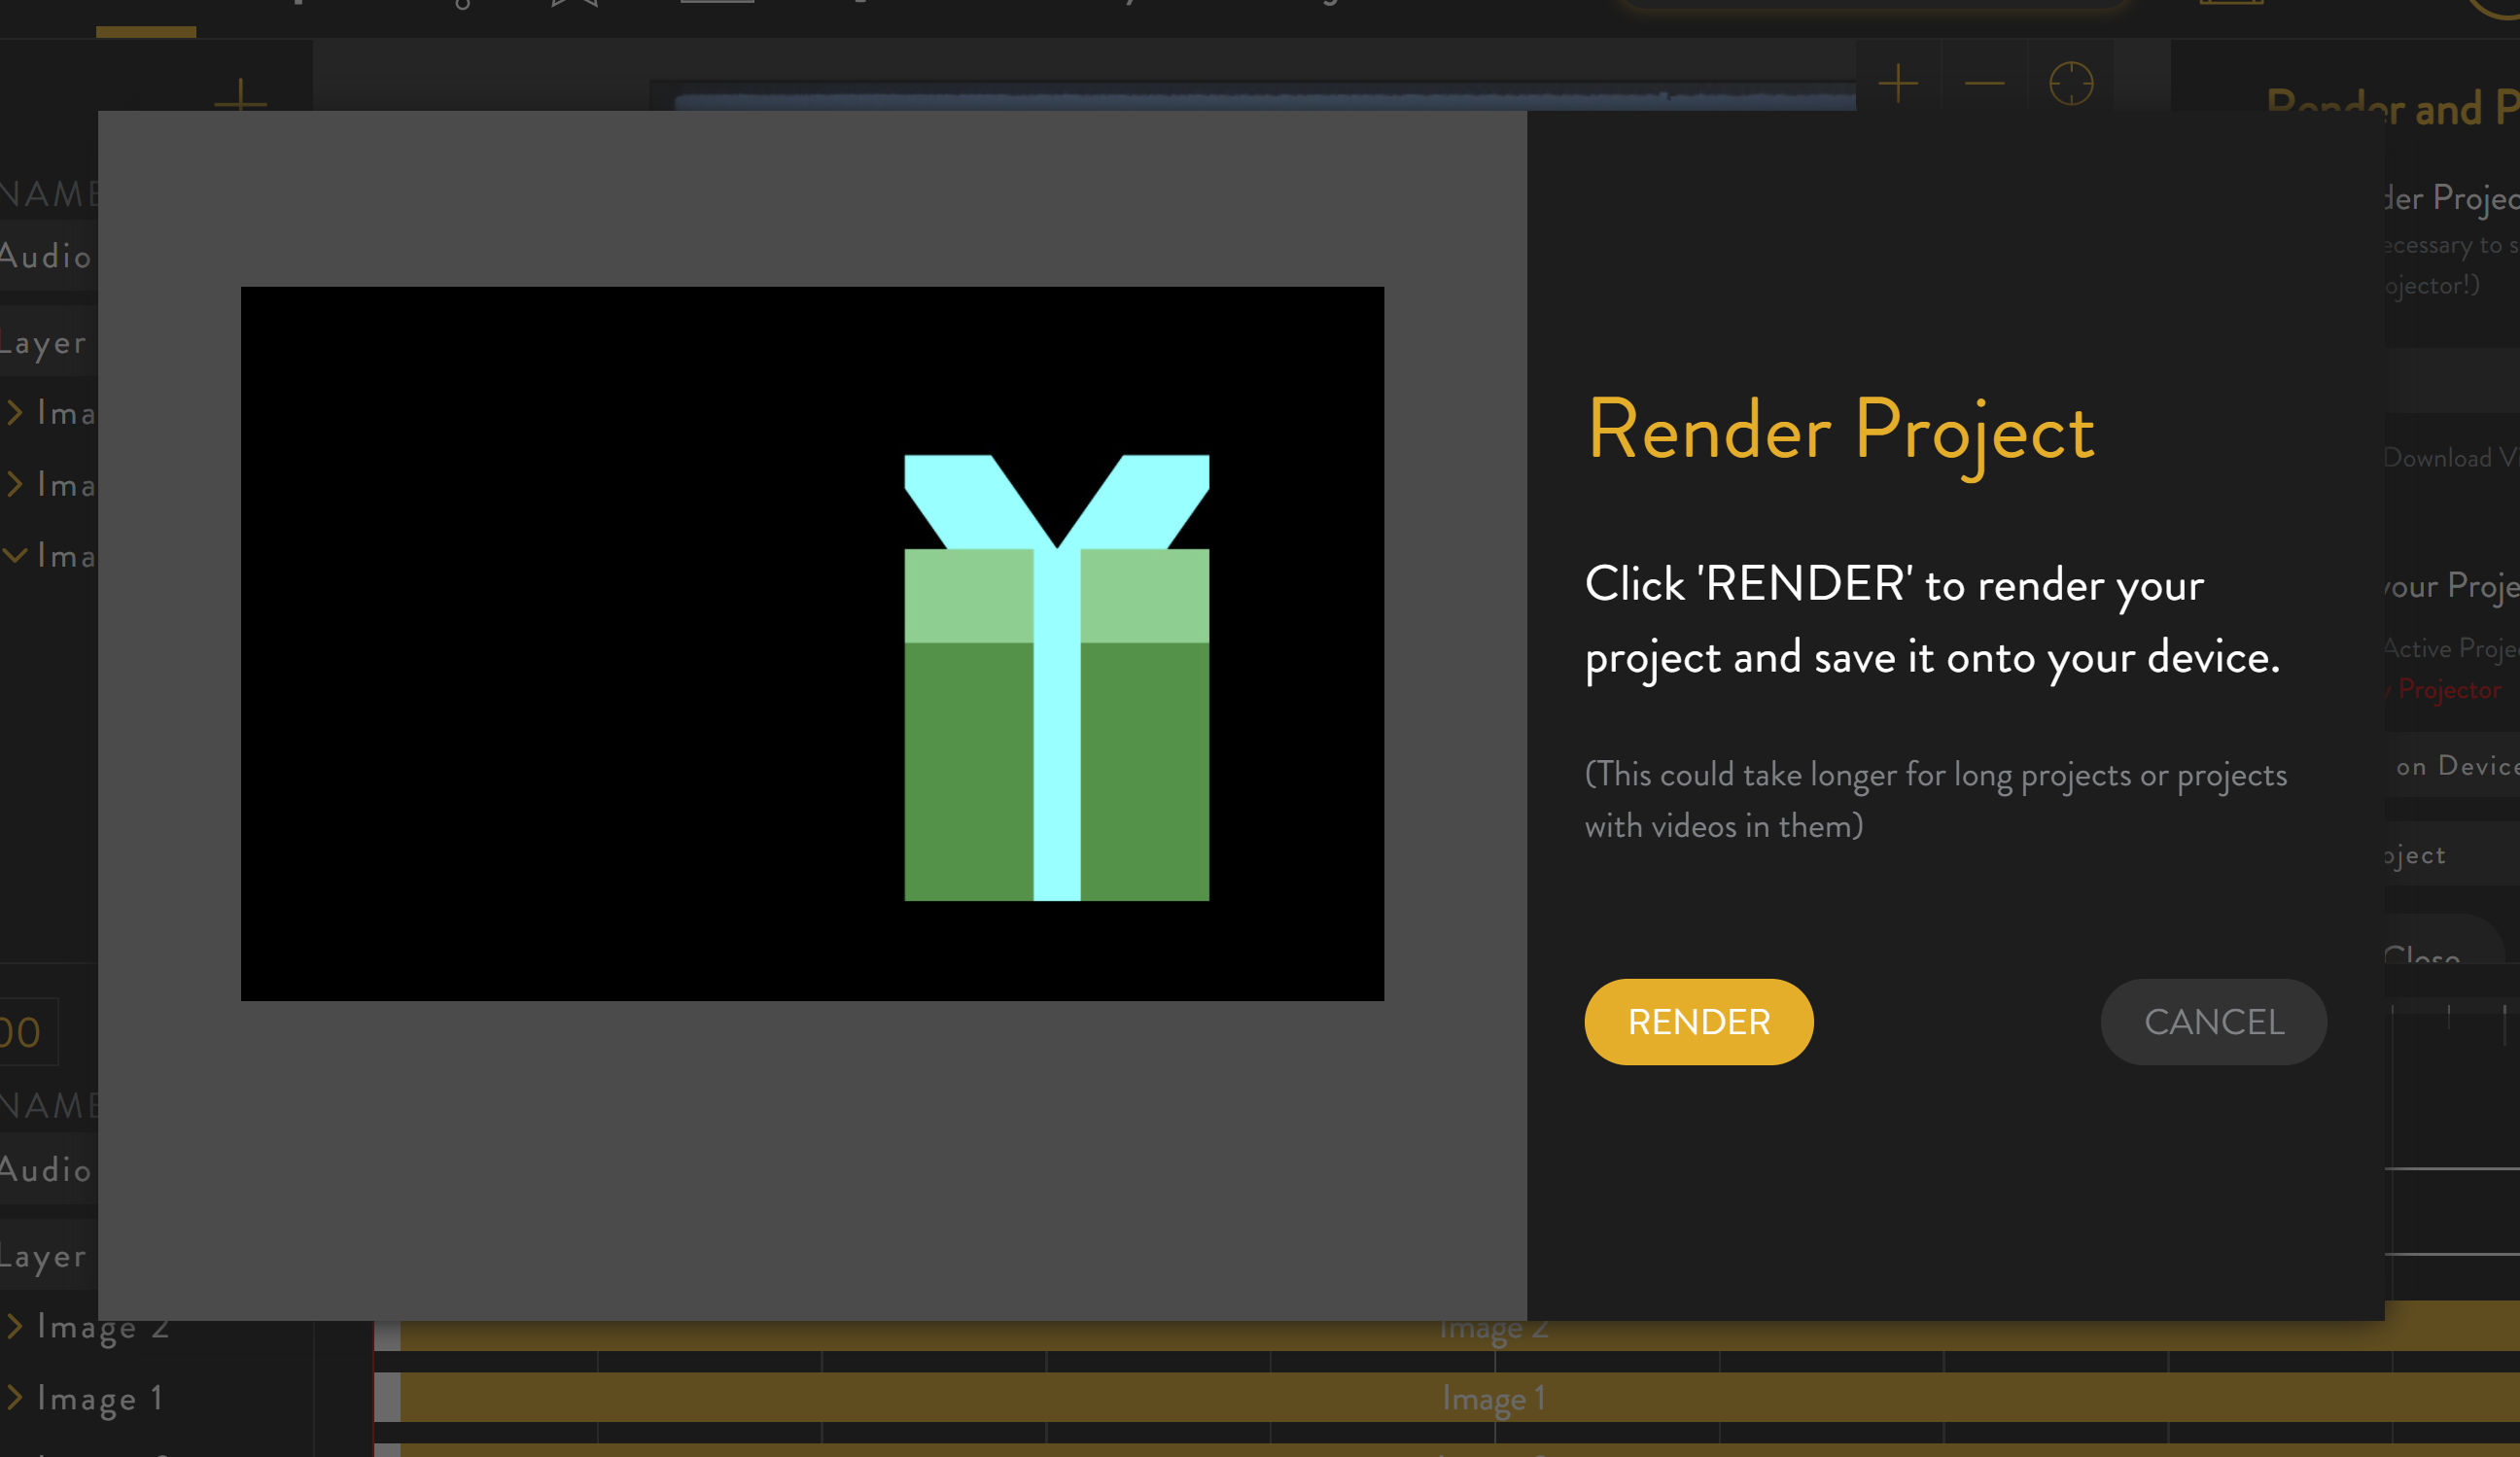
This will open the render overlay. Simply click the 'RENDER' button in this overlay.
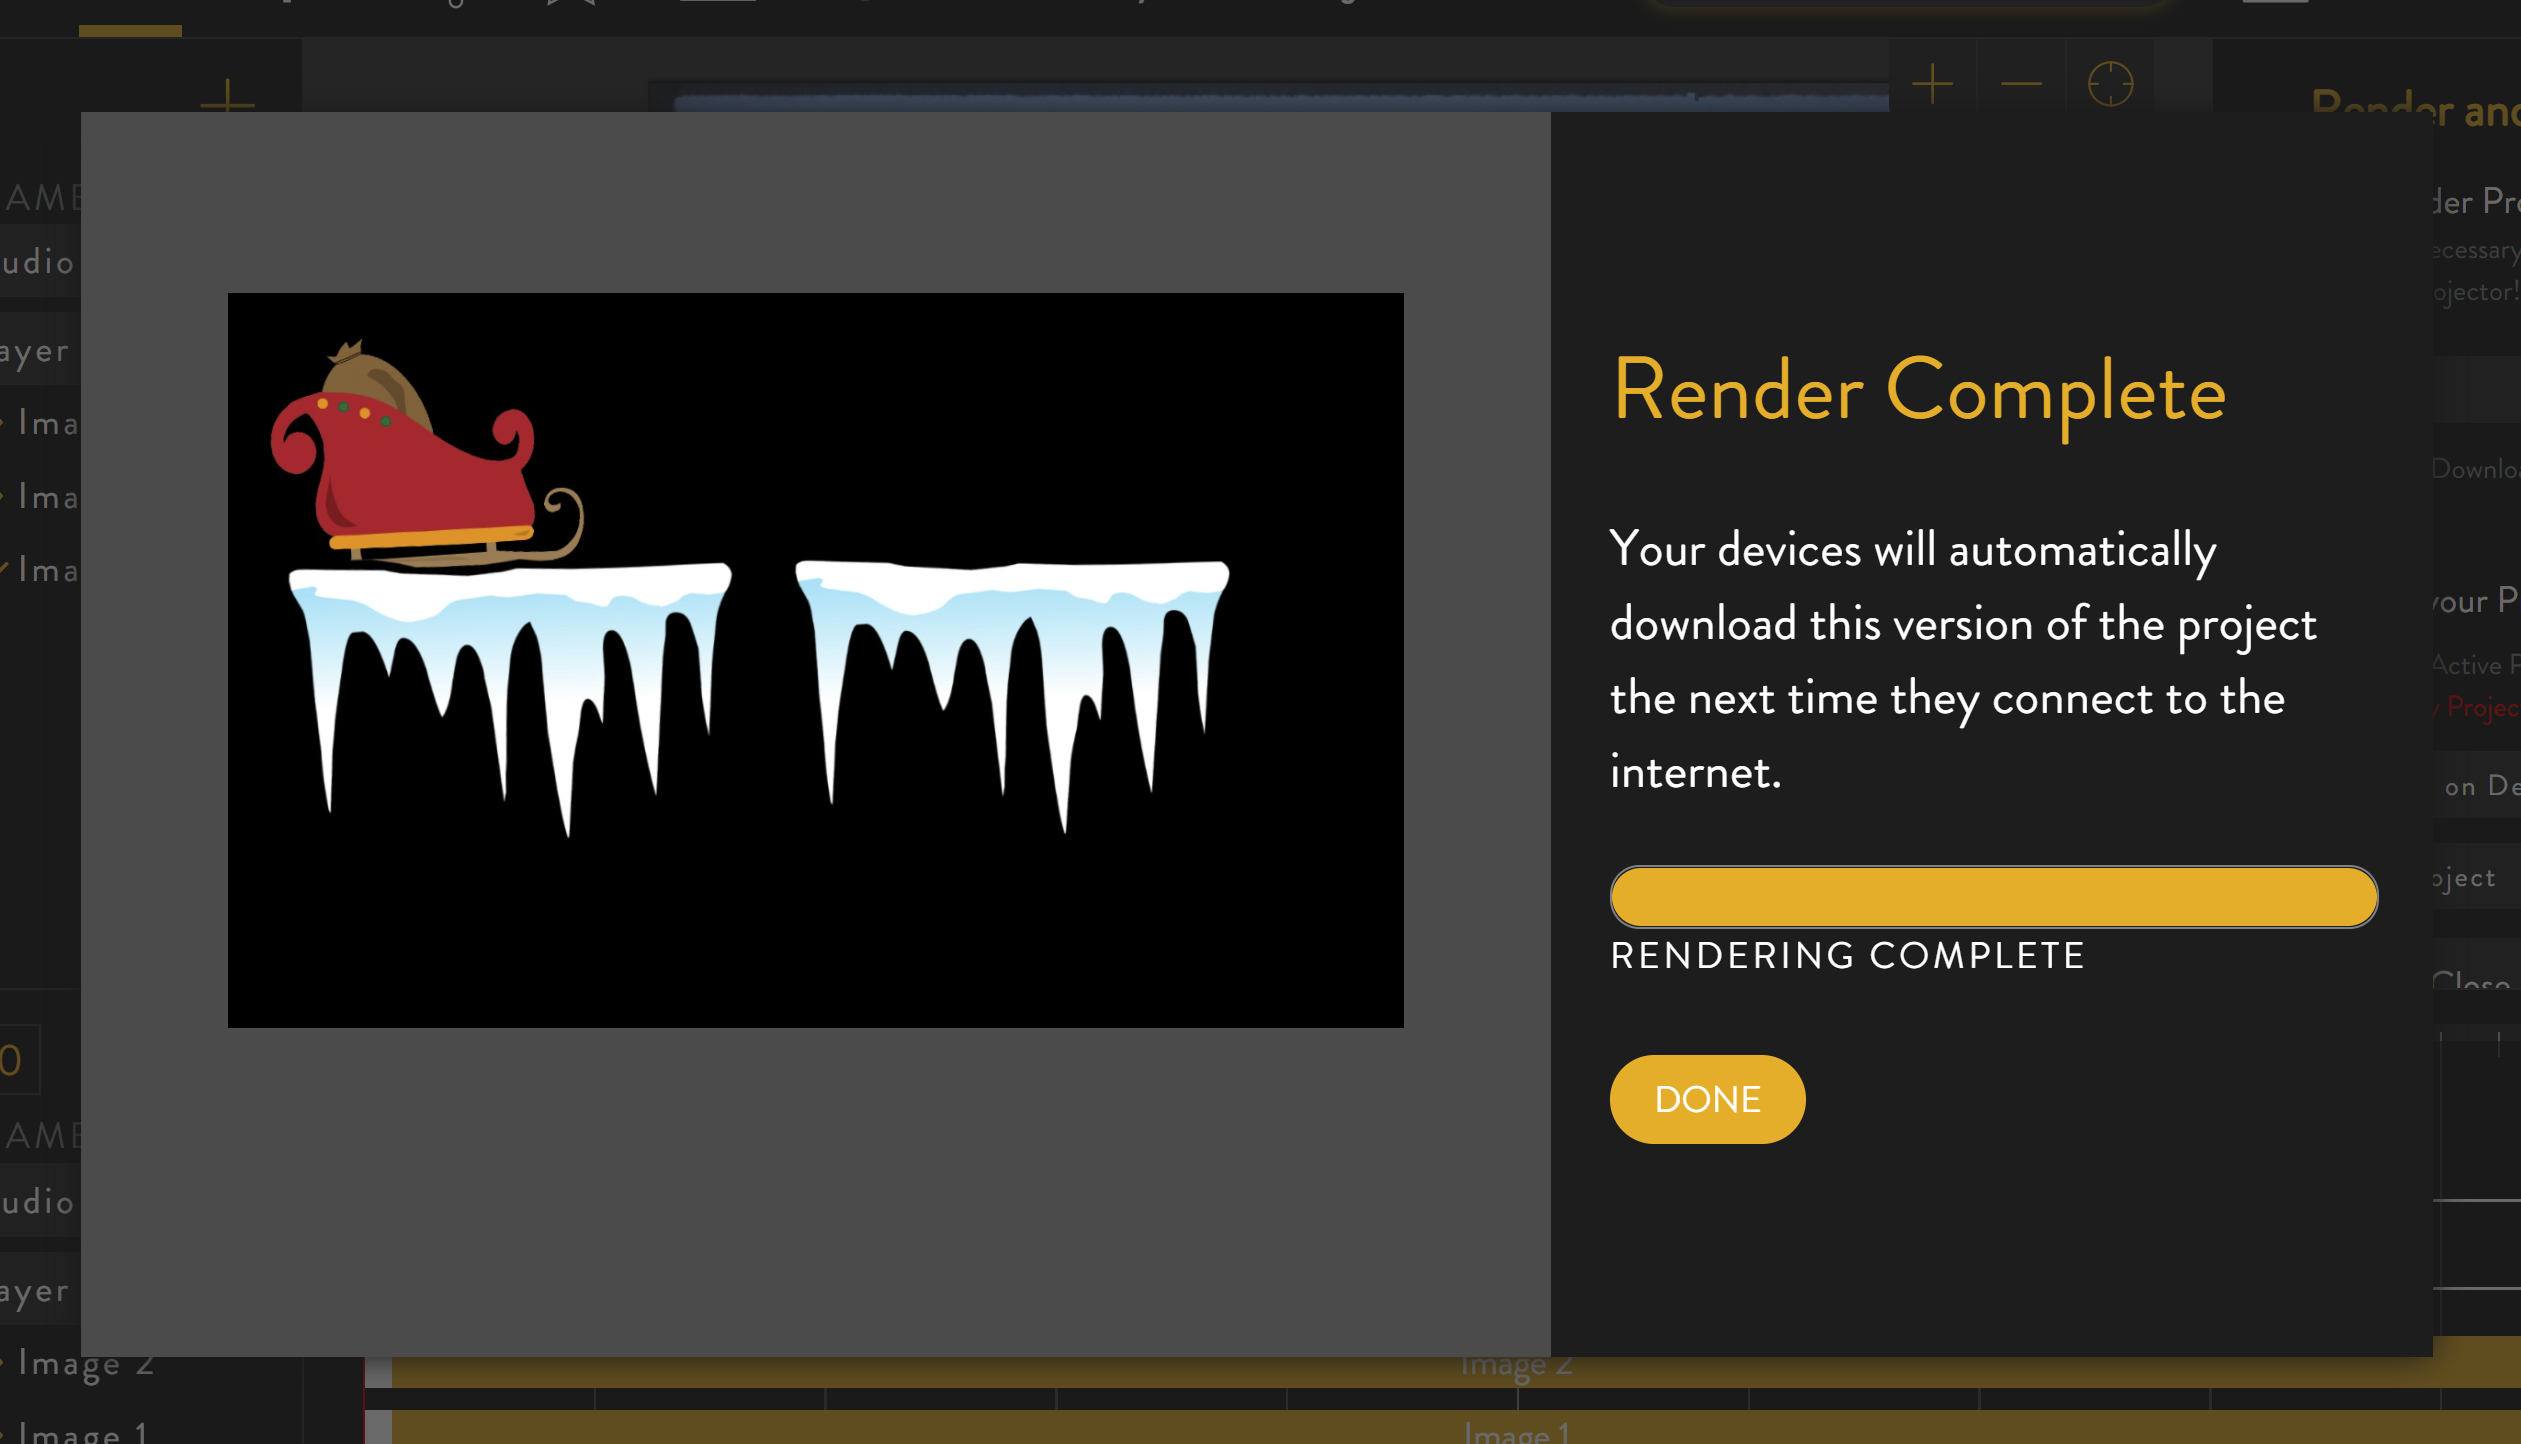
This will take a few moments, and the overlay will keep you informed of progress.

When it is done, click 'DONE'.
Now that the project has been rendered the projector can play it. There are two ways to cause the projector to play a project:
A) Preview the project immediately (Preview a Project on Your Projector)
B) Schedule the project to play at a specified time in the future (Schedule a Project on Your Projector)
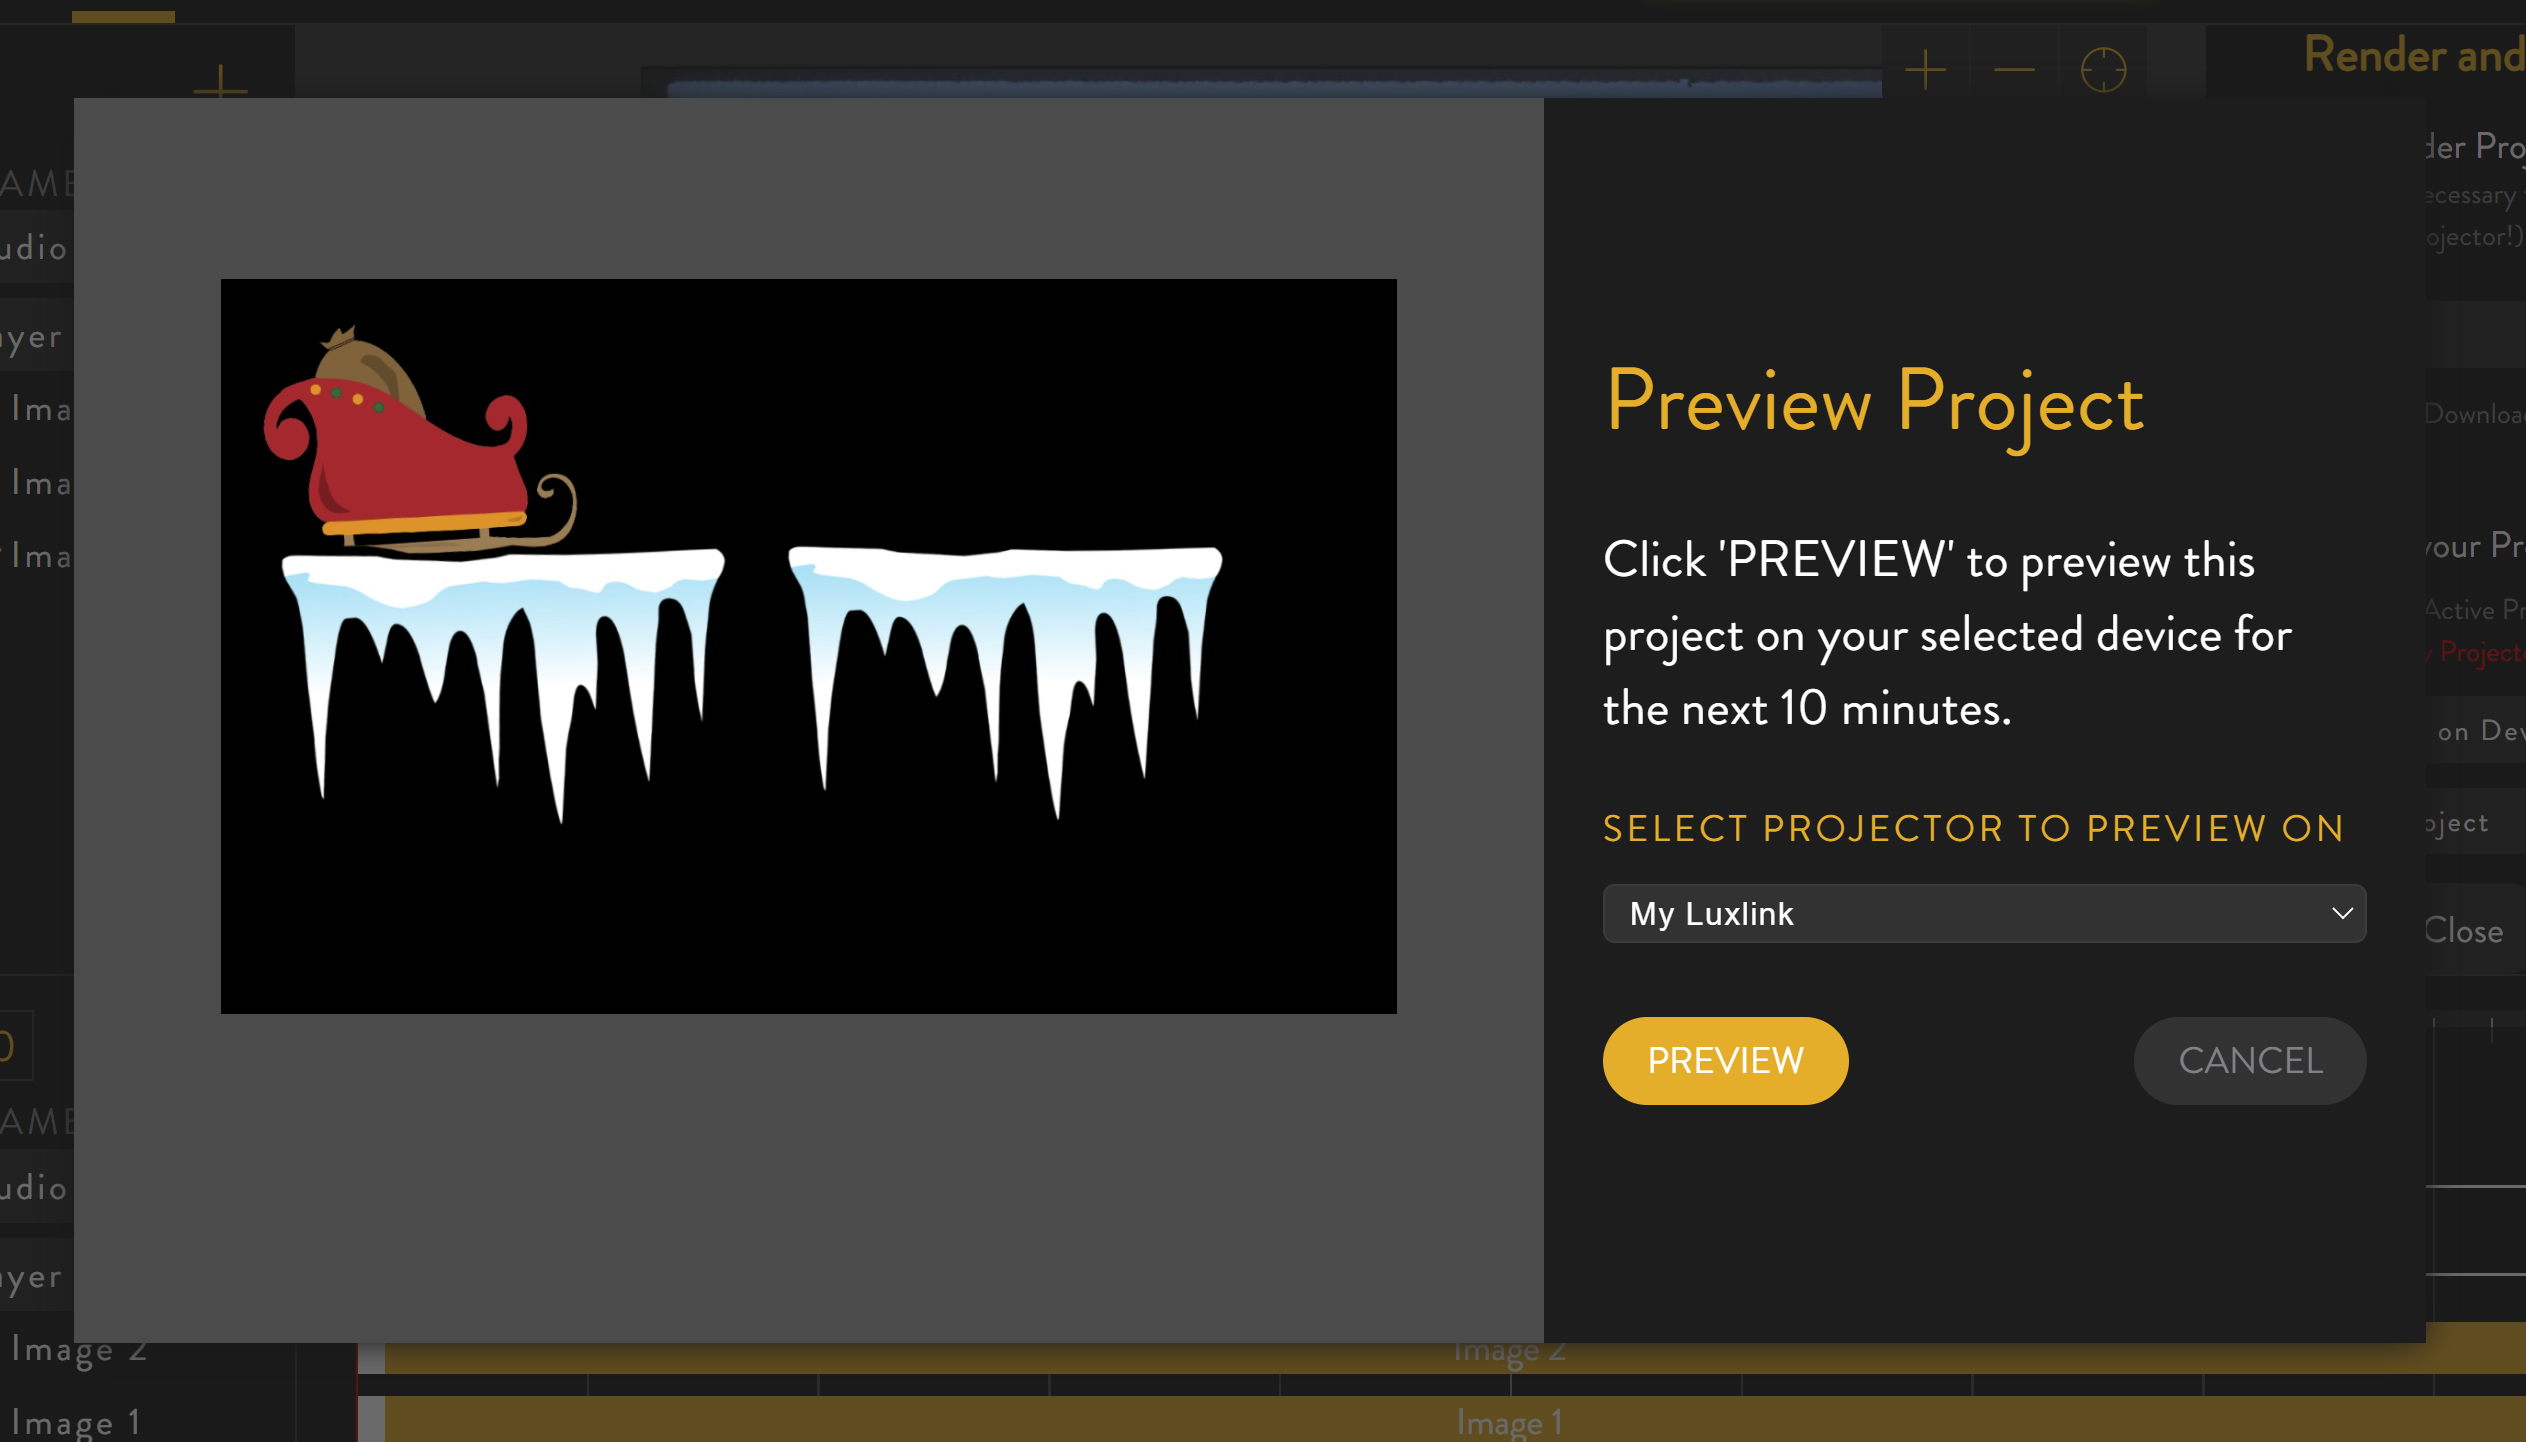
For this tutorial we will simply 'preview' the project. To do this, click 'Preview on Device' in the render/preview toolbar.

This will open the preview overlay. Simply click 'PREVIEW' to start the preview.
Then click 'DONE' to close the overlay. The project will play on loop for the next 10 minutes.
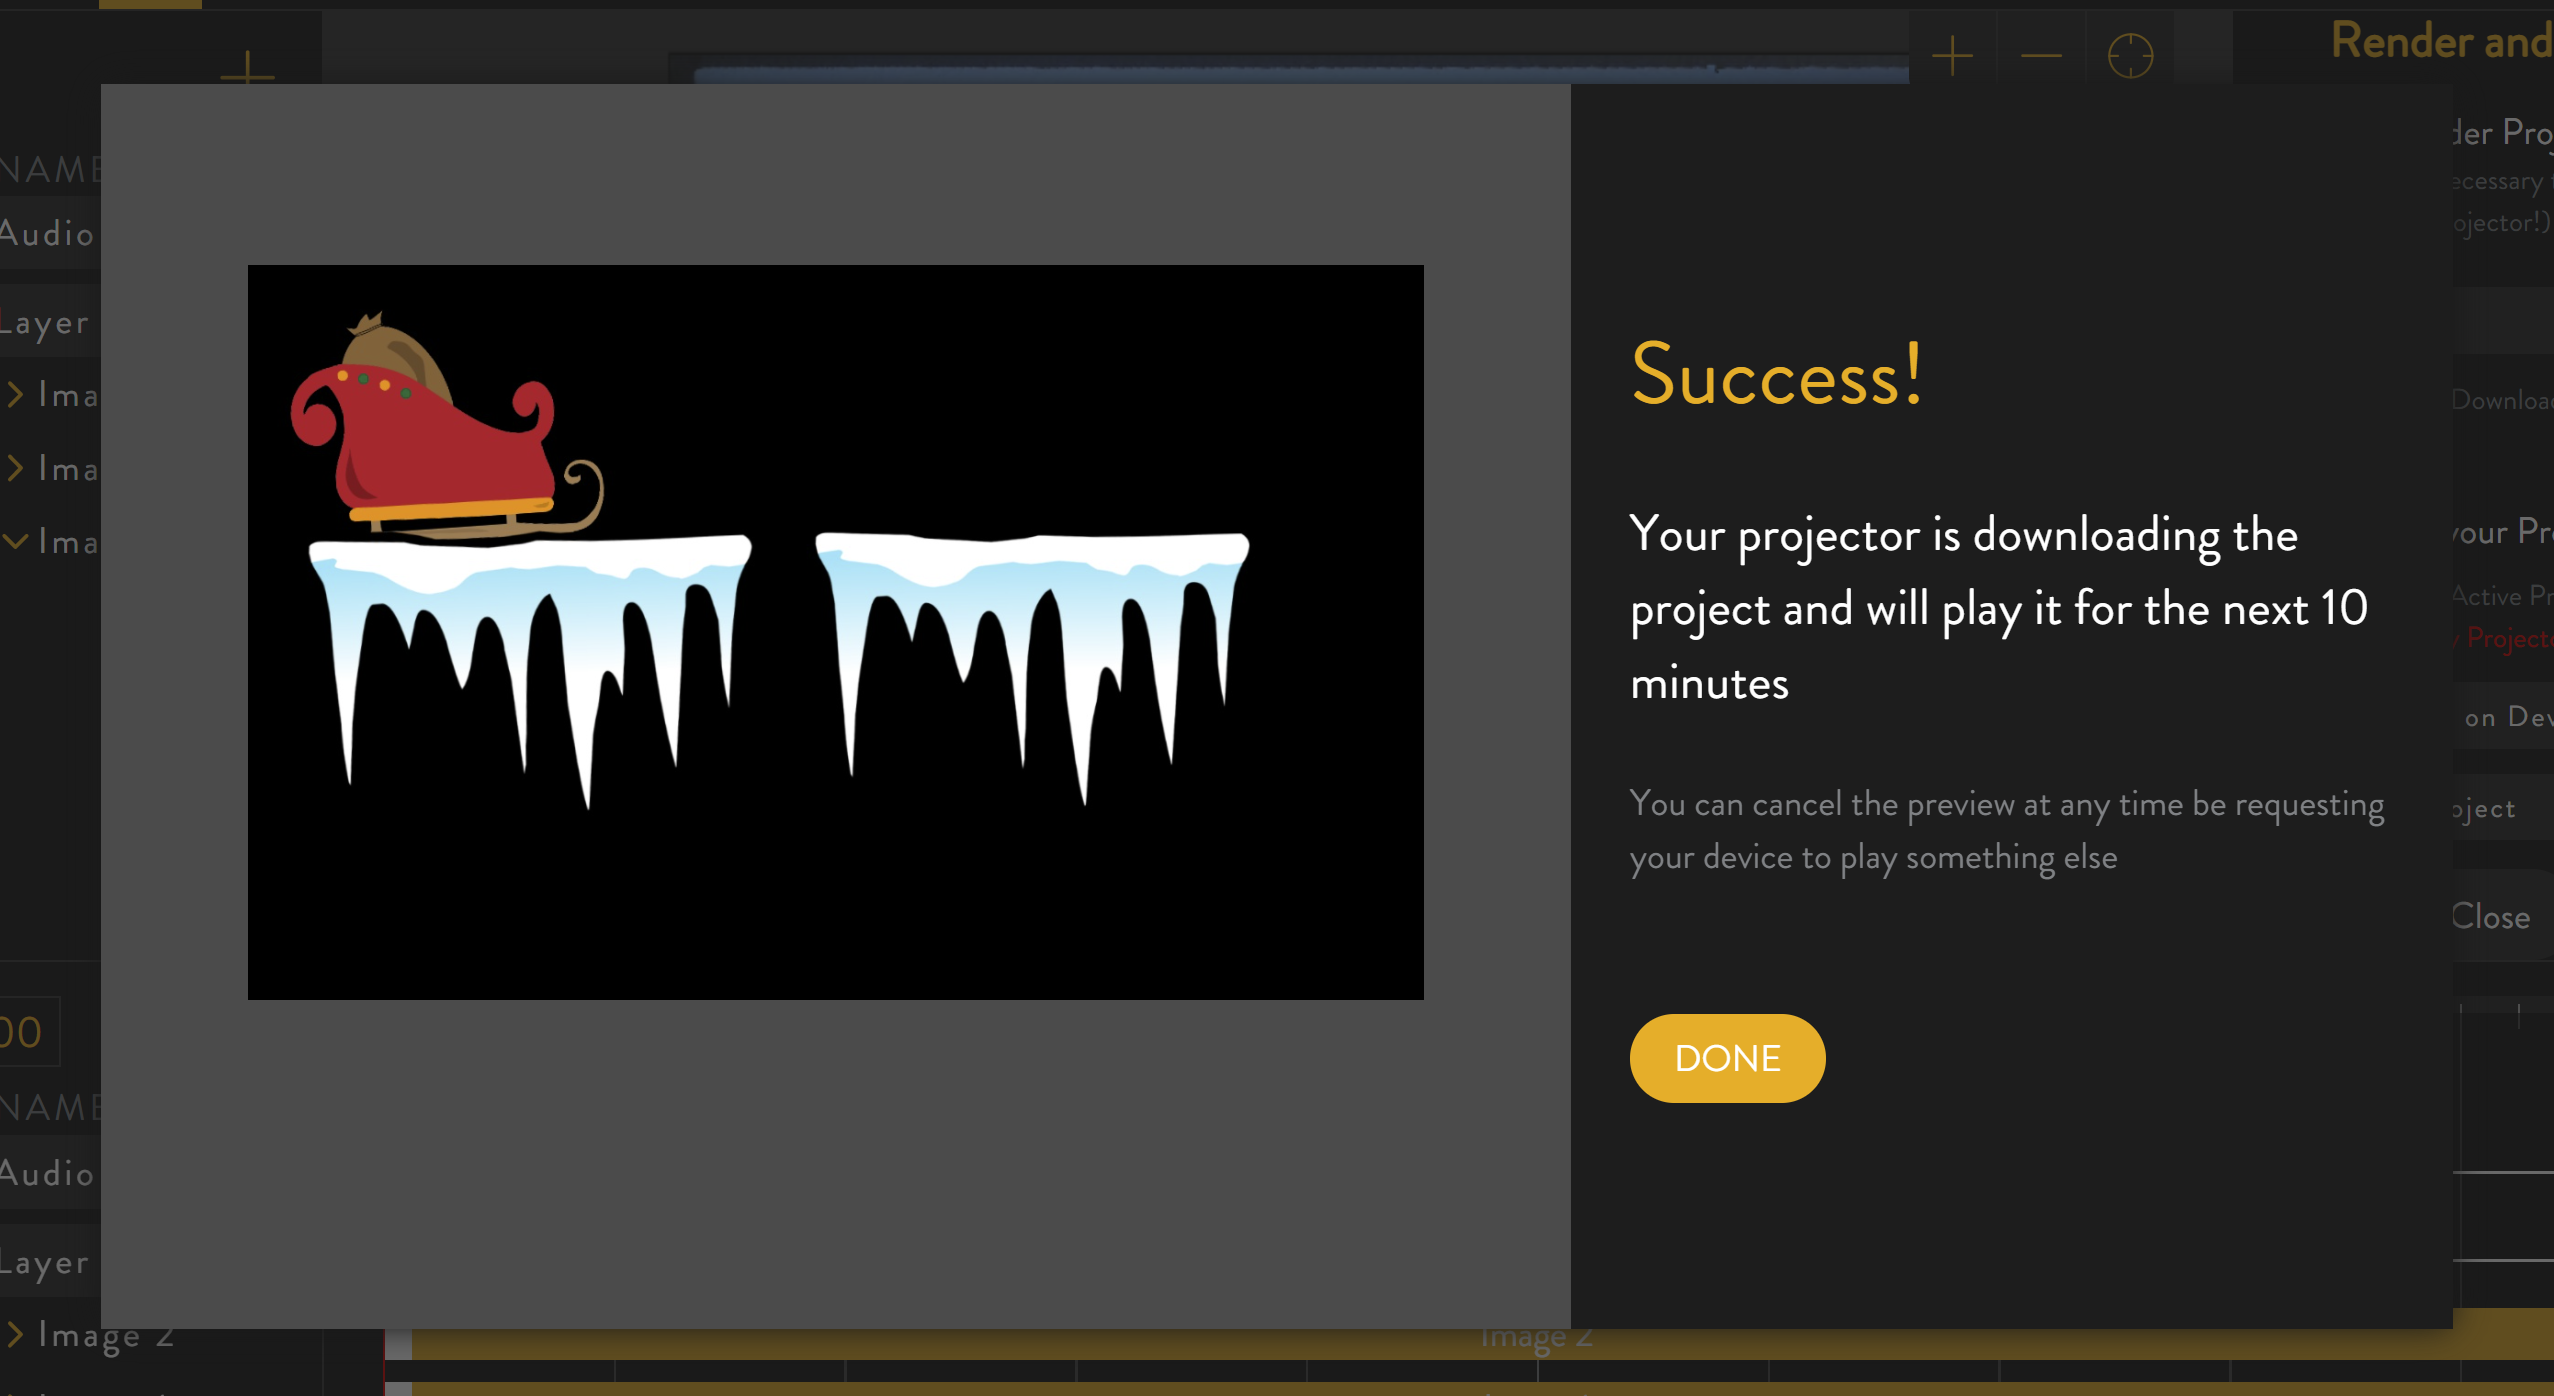
At this point, your projector should start projecting your project.
If you've been following along on your own then congratulations! You've successfully performed your first projection mapping.