Getting Started with the Luxedo Projection System v2Updated 6 months ago
This guide will take you through the setup process of the Luxedo Projection System/LuxOmni and get you started with the provided projection mapping software. The LuxOmni allows you to use any projector that will fit within the housing, but for this tutorial, we will be using the Optoma ZH406ST.
Note: The LuxOmni is the metal enclosure for the Luxedo Projection System.
Part 1: Setup Your Projector
STEP 1
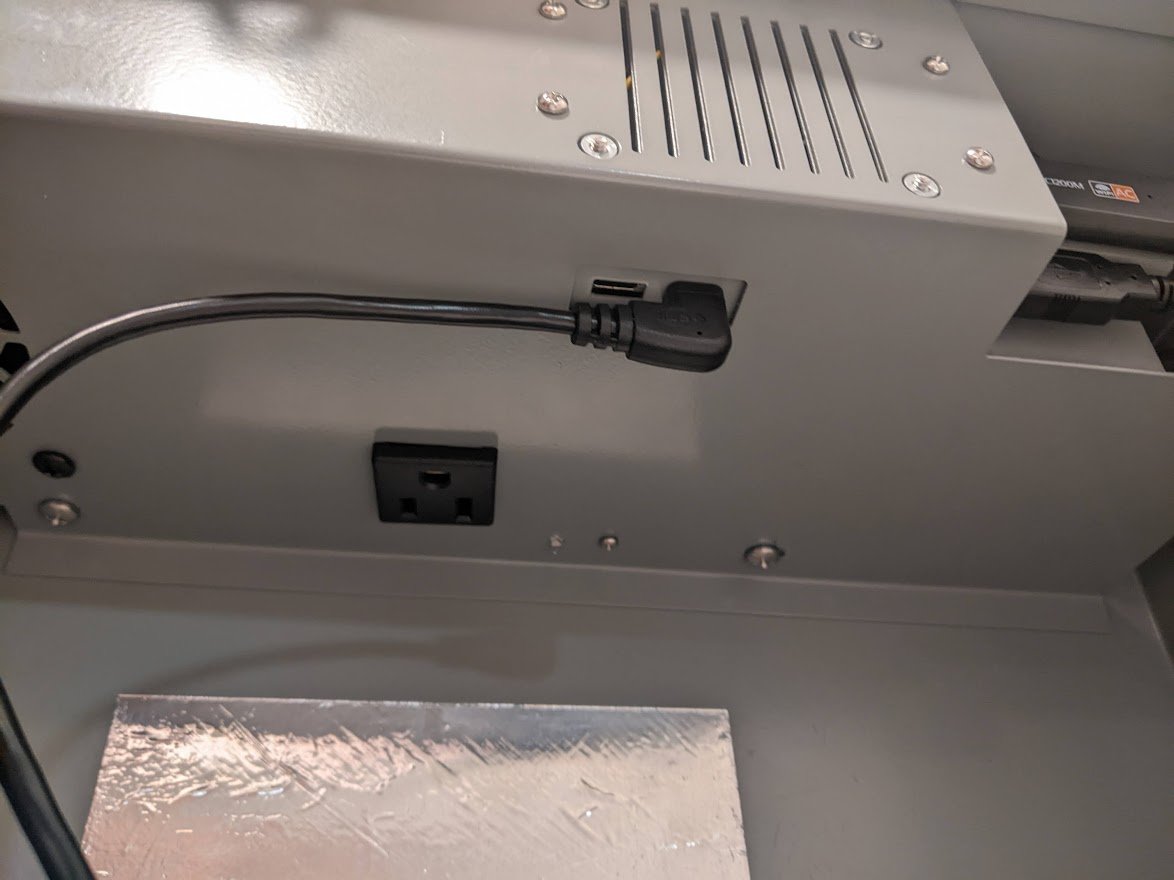
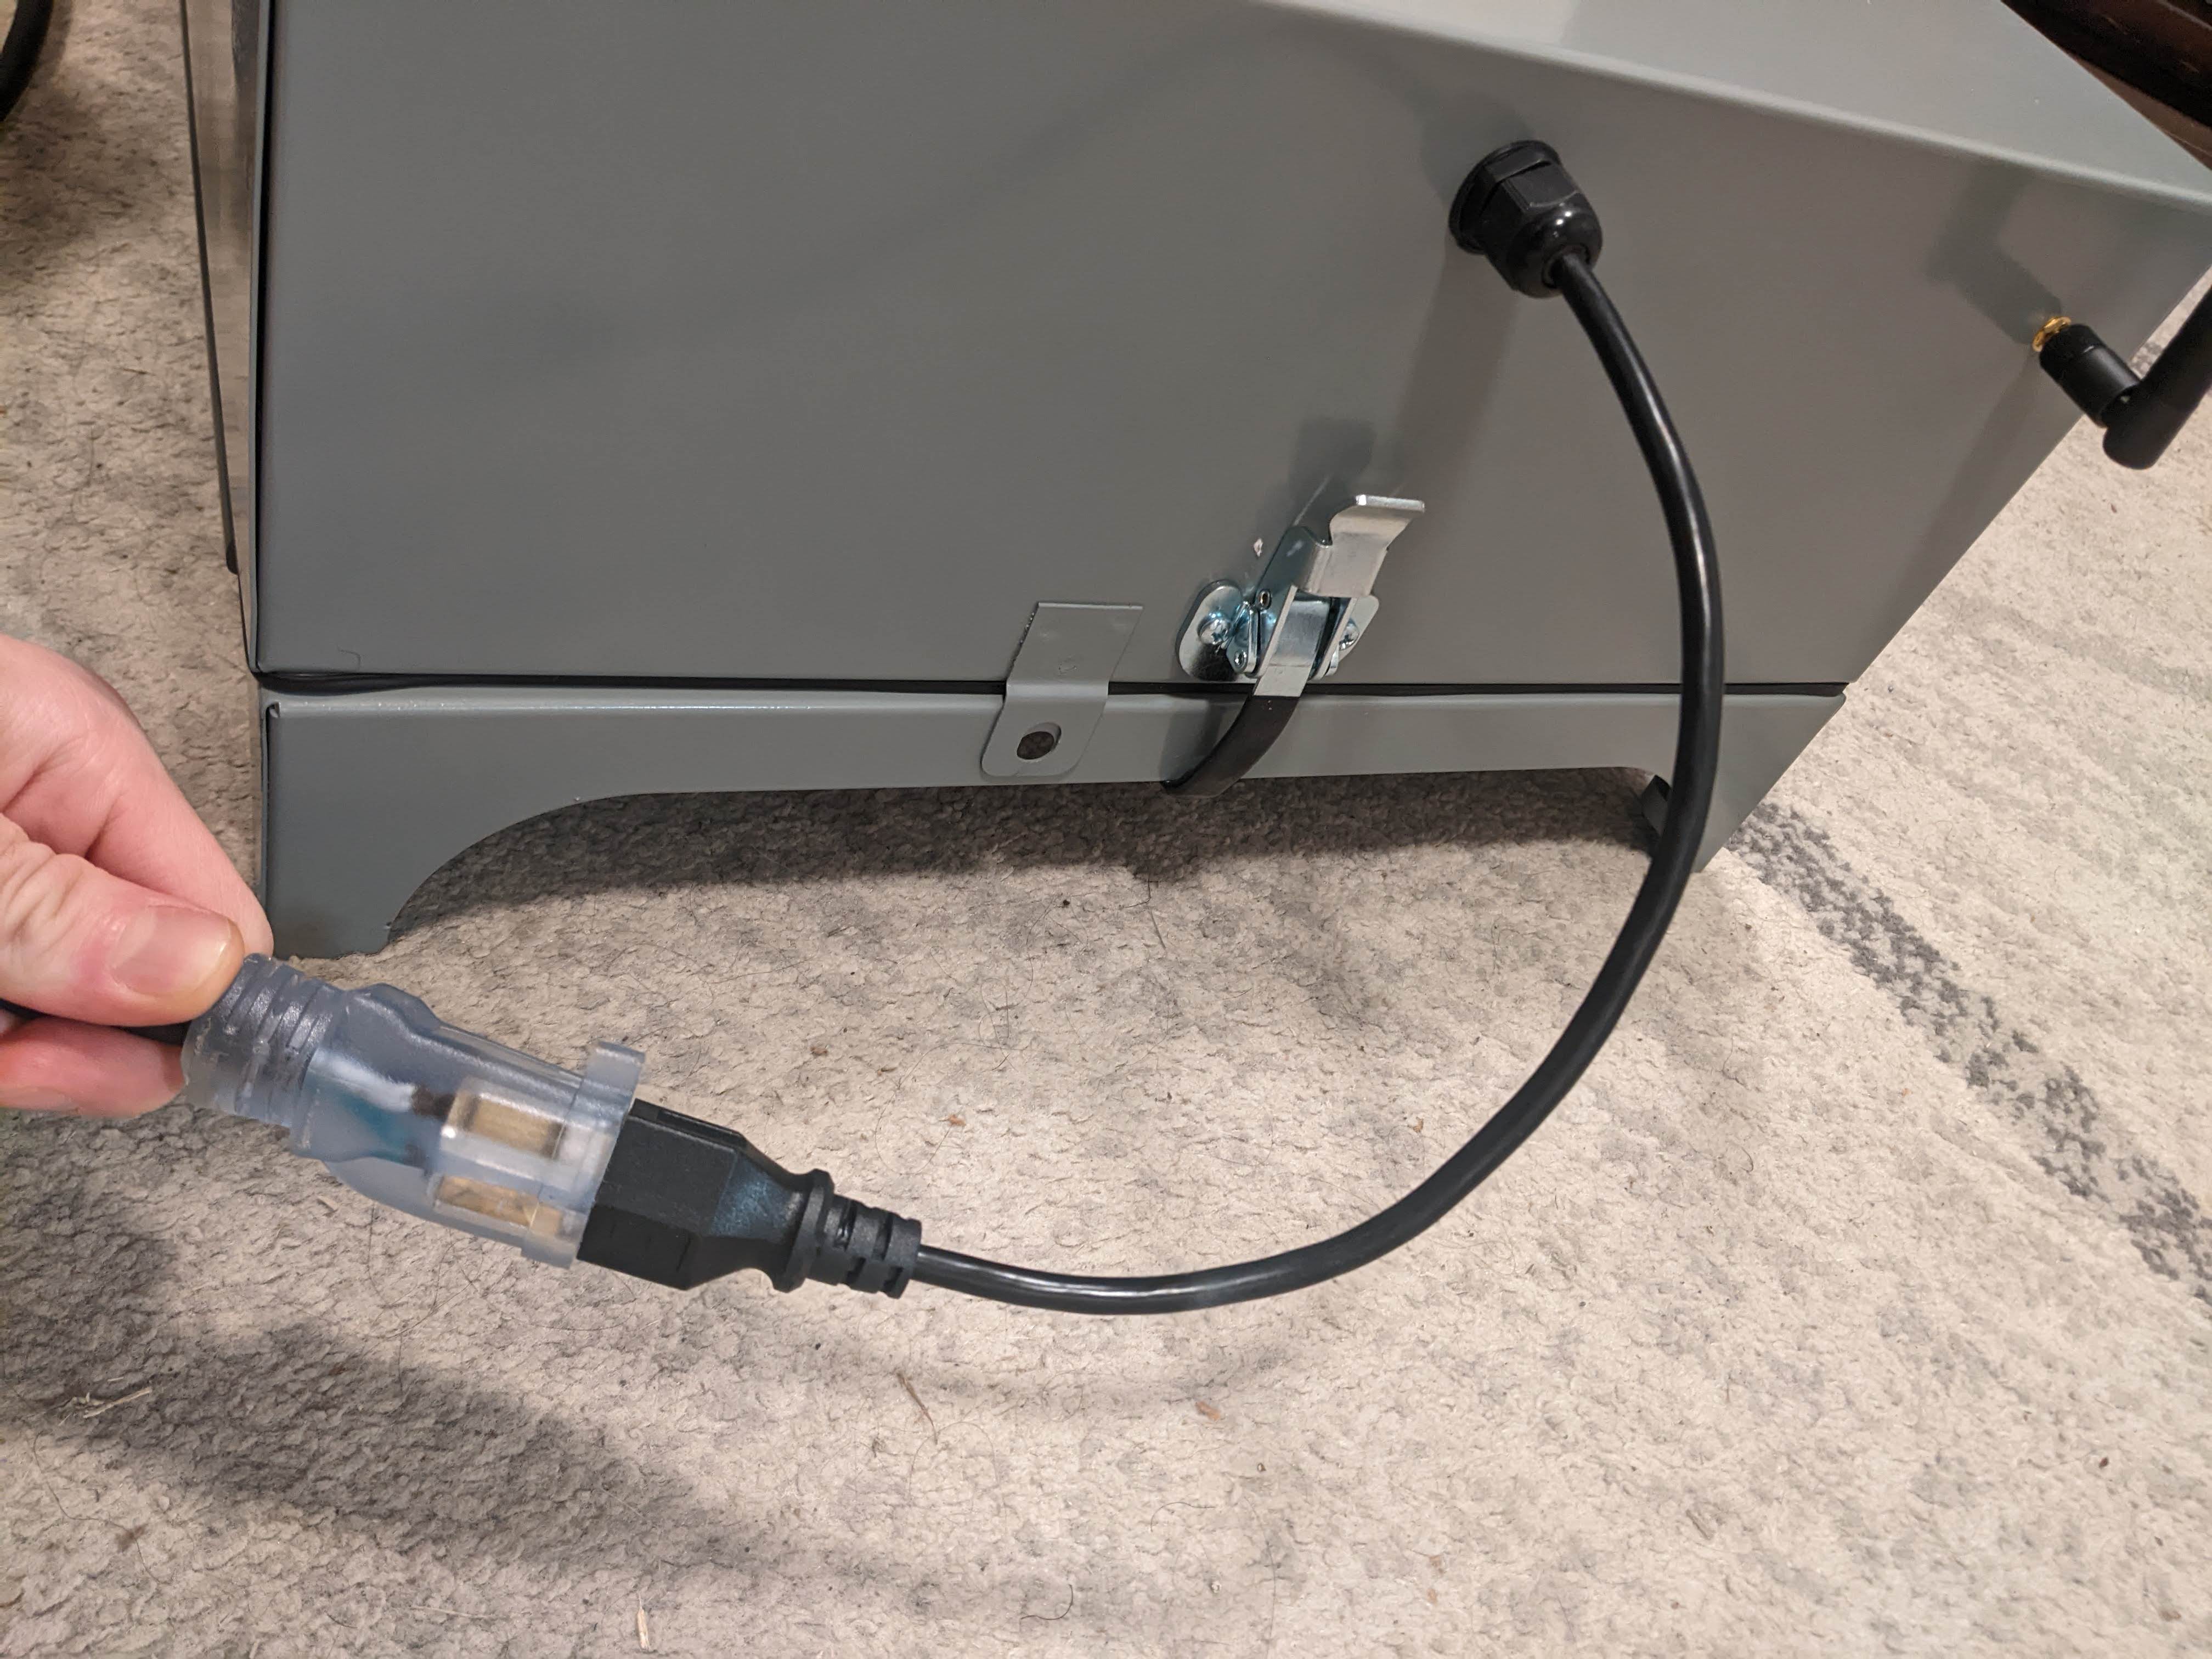
To get started with your LuxOmni you will first need to get the projector properly set up within the Omni housing. Fortunately the set up is easy! Simply place your projector of choice within the LuxOmni housing AS FAR FORWARD AS POSSIBLE (the projector lens should be touching the front glass when the enclosure is closed) and connect both the power and HDMI cords from the projector to the outlets within the LuxOmni housing as pictured below:
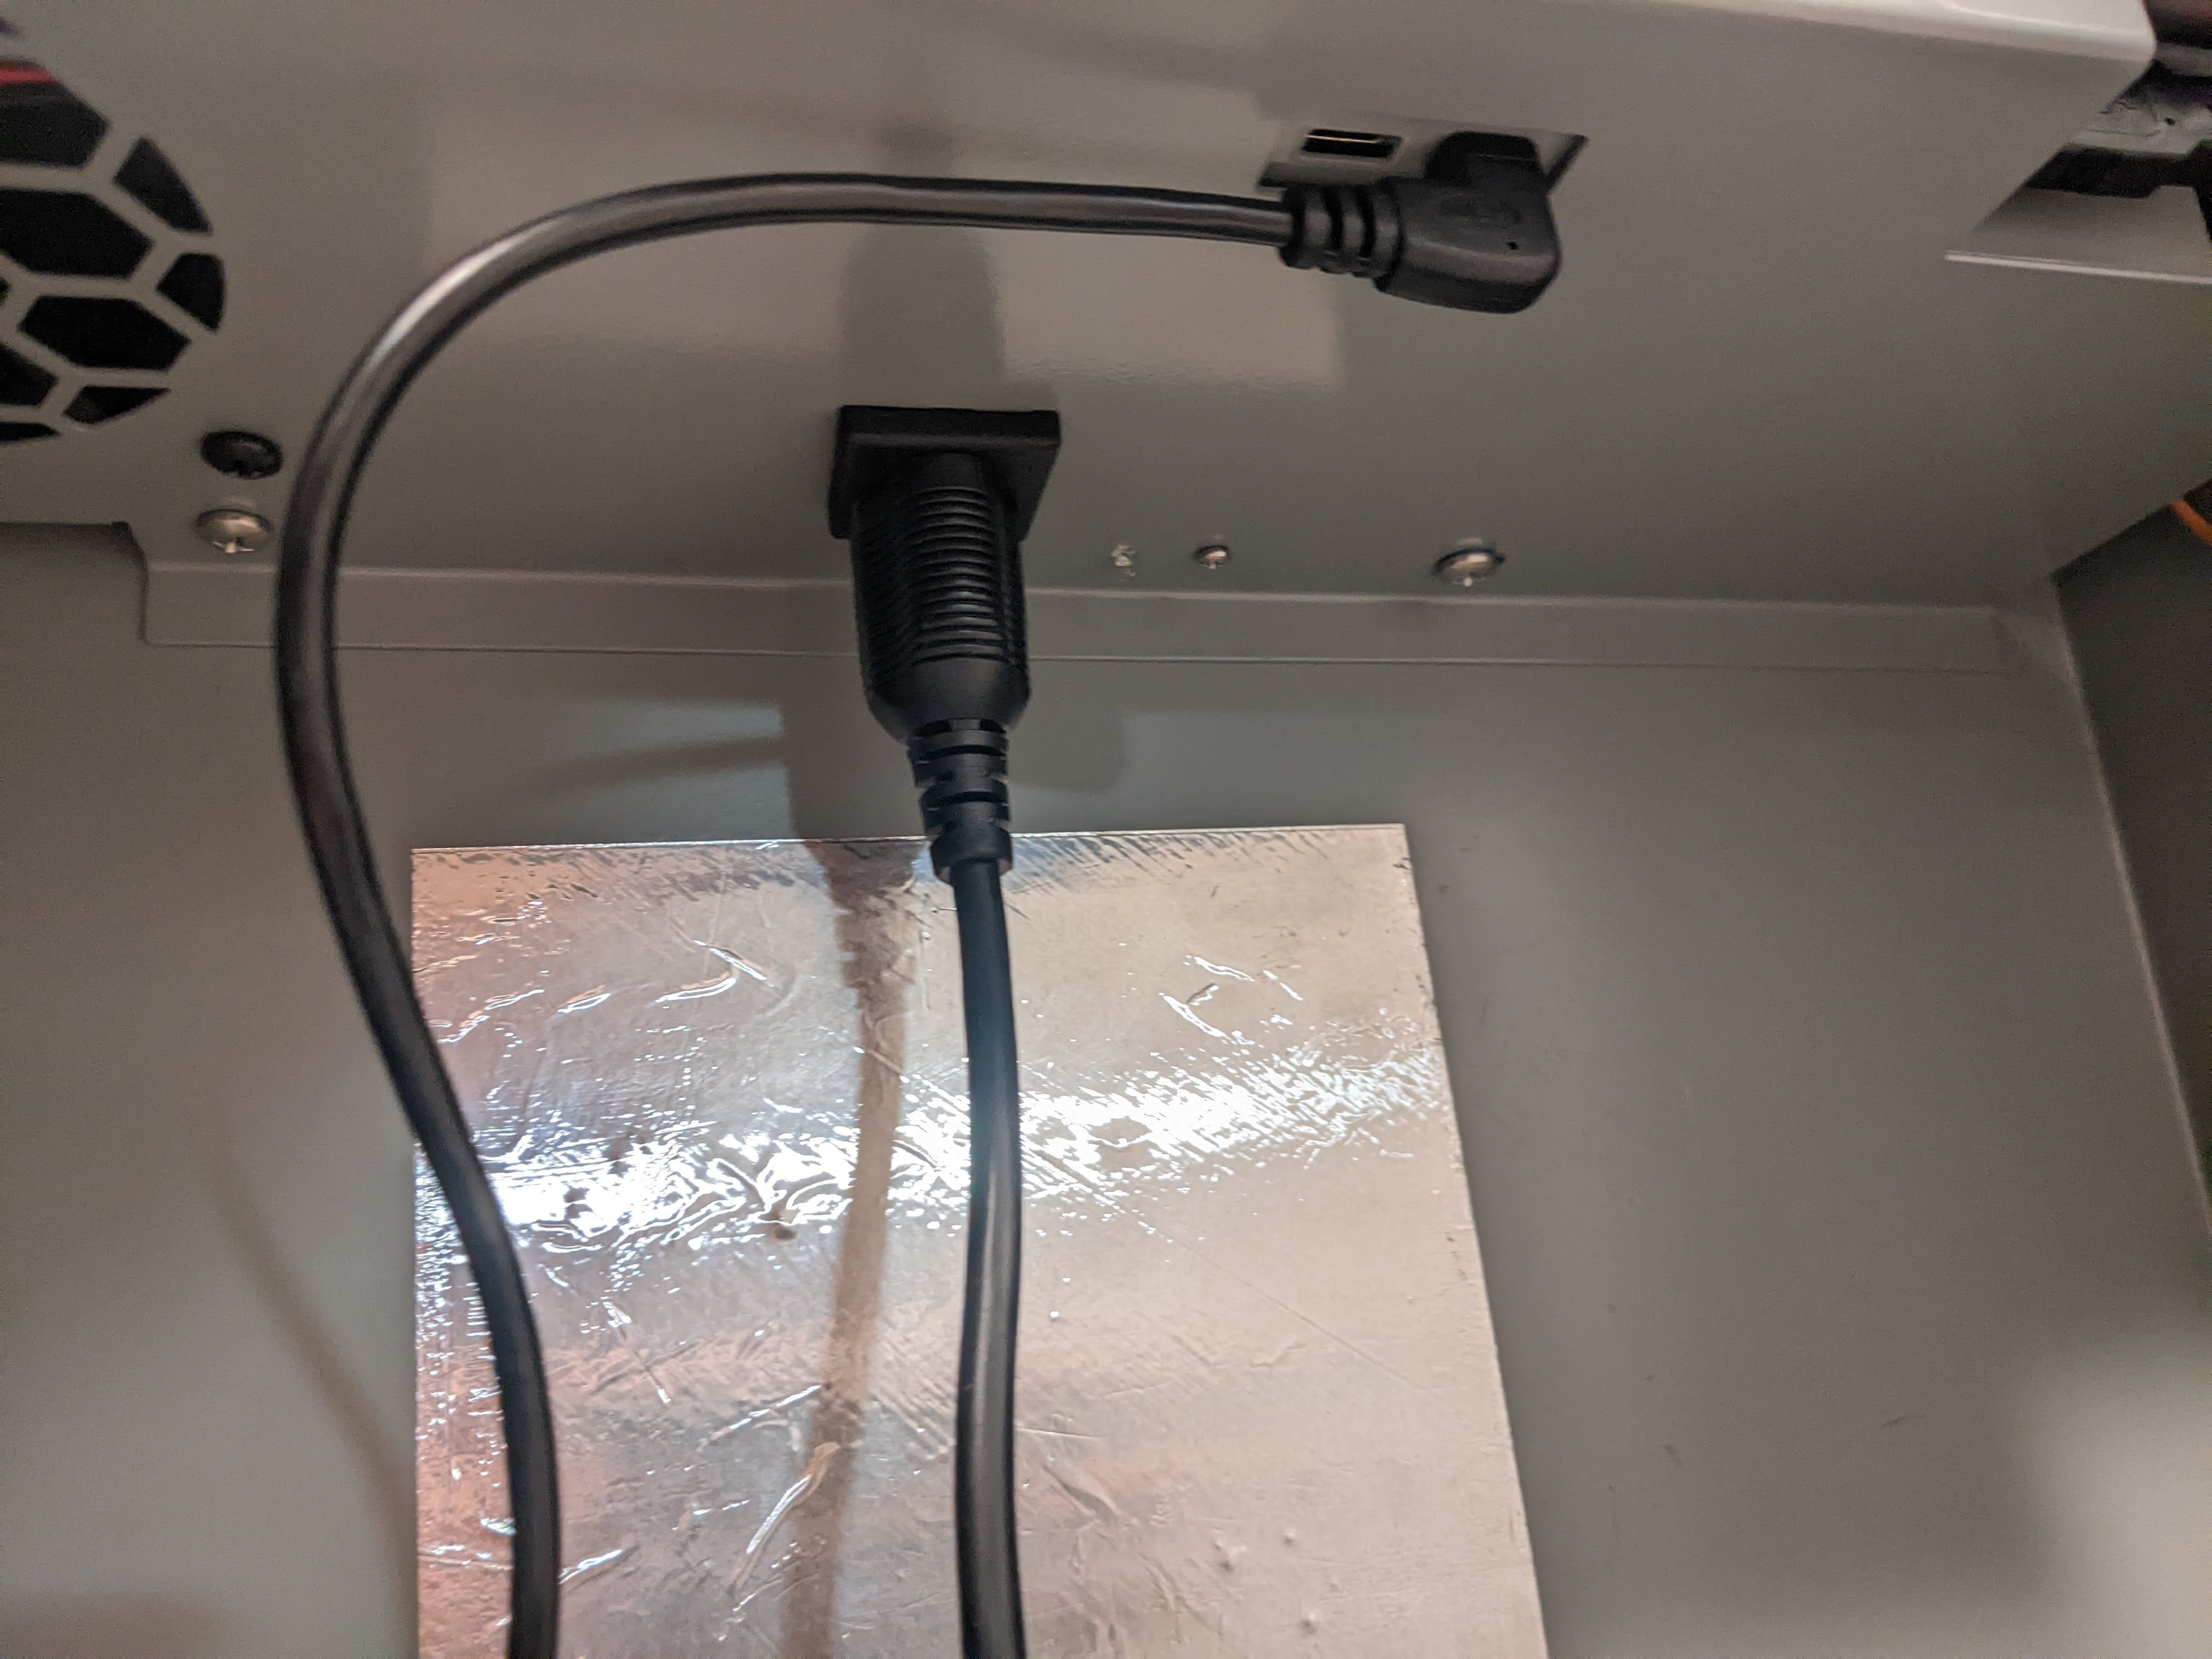
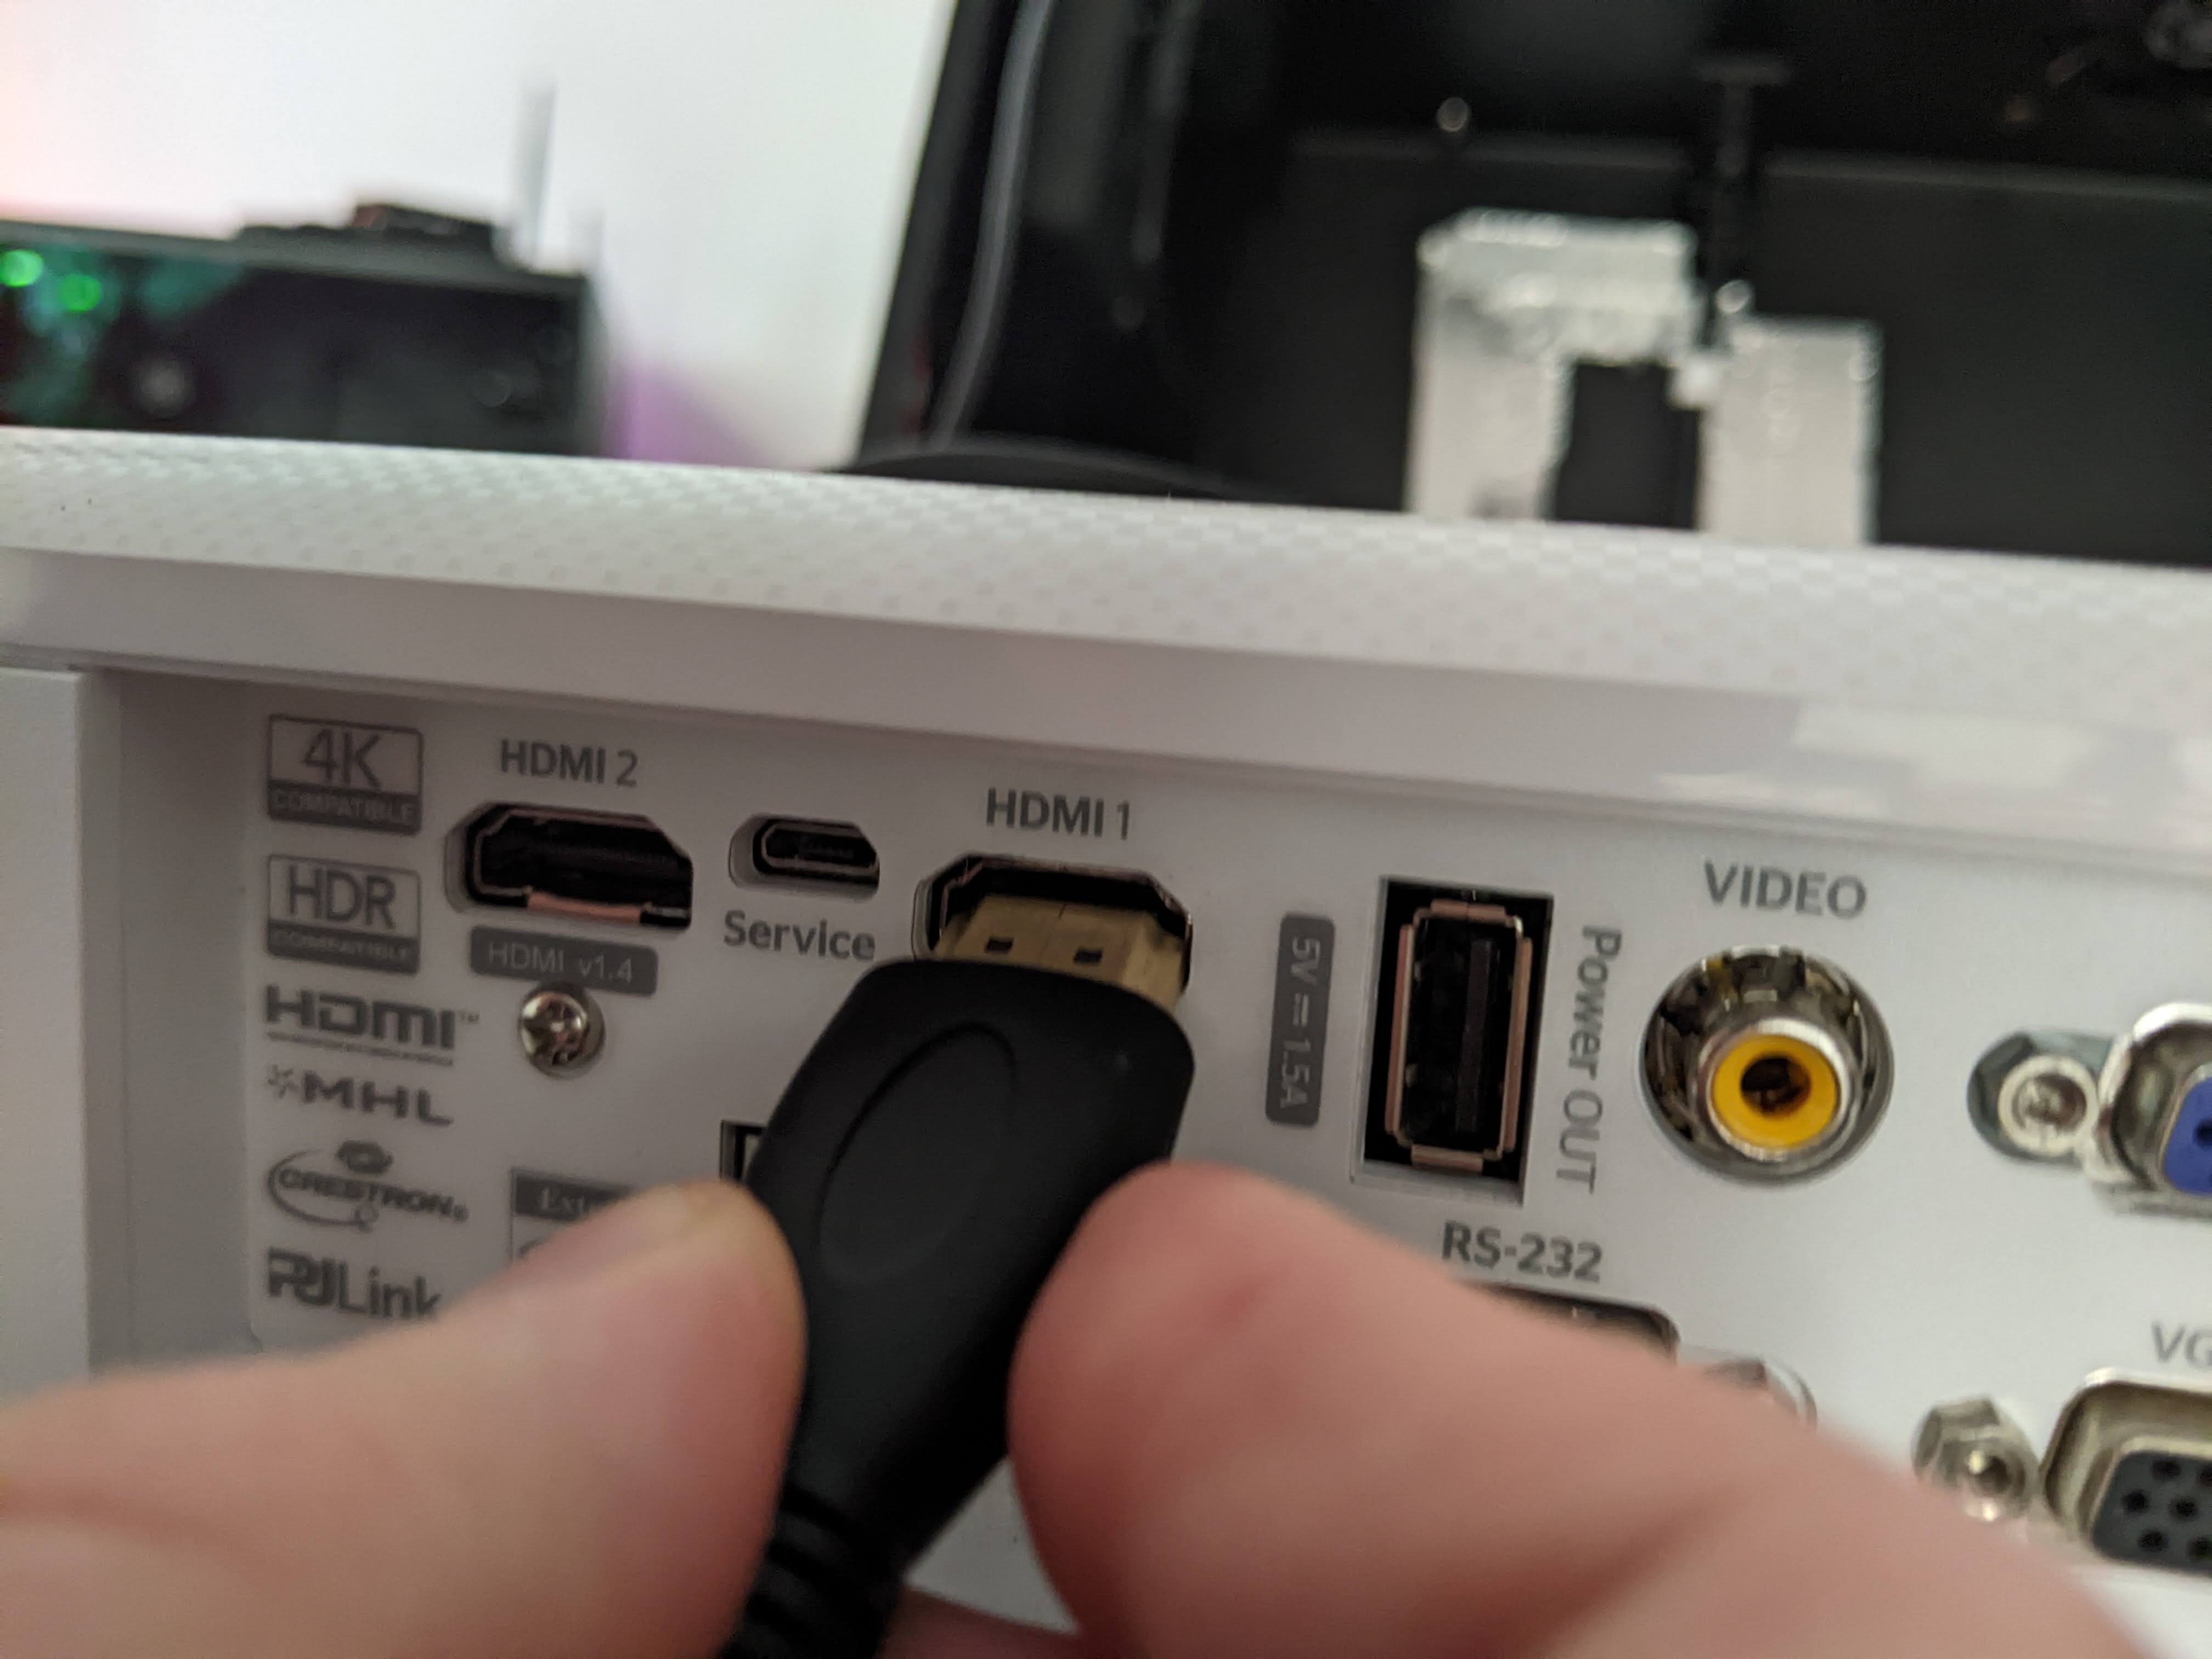
Connect the smaller end of the micro HDMI cord to the internal module within the LuxOmni housing. Be sure this connection is secure. Then connect the larger end of the micro HDMI cord to the HDMI1 port on your projector of choice.
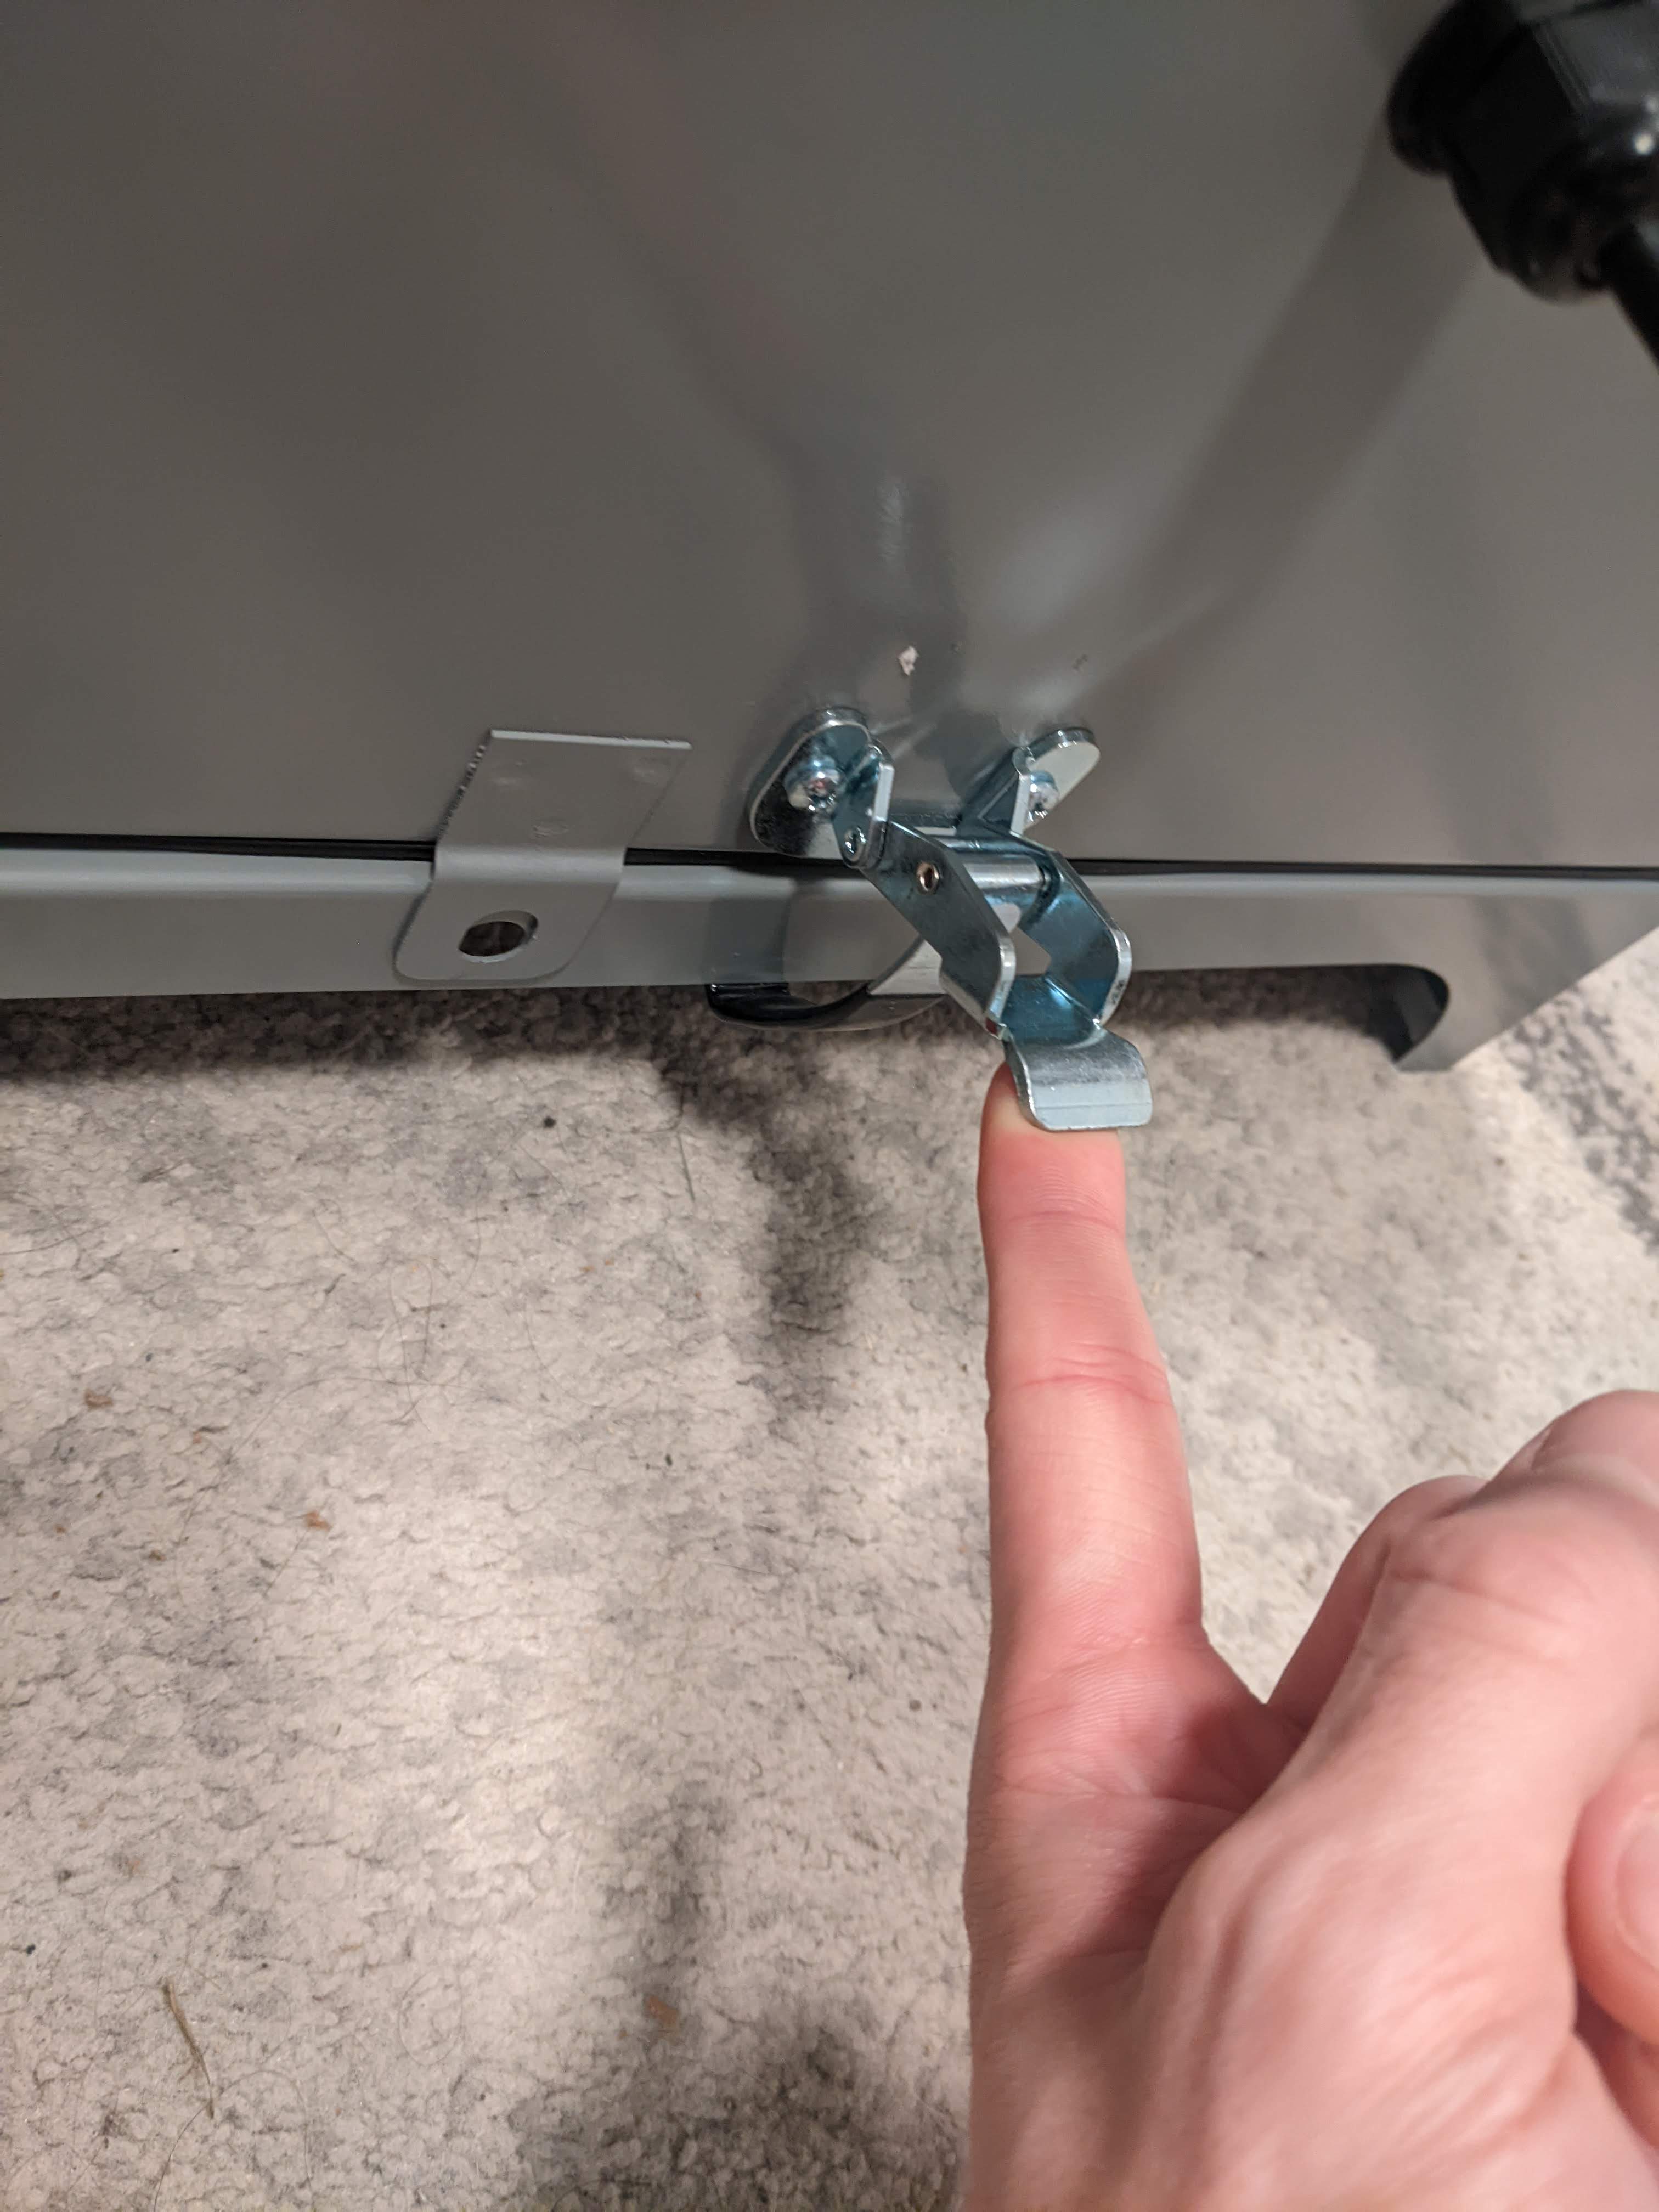
Close and secure the LuxOmni housing using the latch on the rear of the unit, then power the unit using any standard three pronged extension cord.
The LuxOmni should power on your projector automatically. When your unit first powers on, you will see a boot-up screen, which may be different depending on the your projector. If your projector does not turn on, manually turn it on with a power button or remote. When on, take a moment to adjust the focus on your projector for a sharp image.
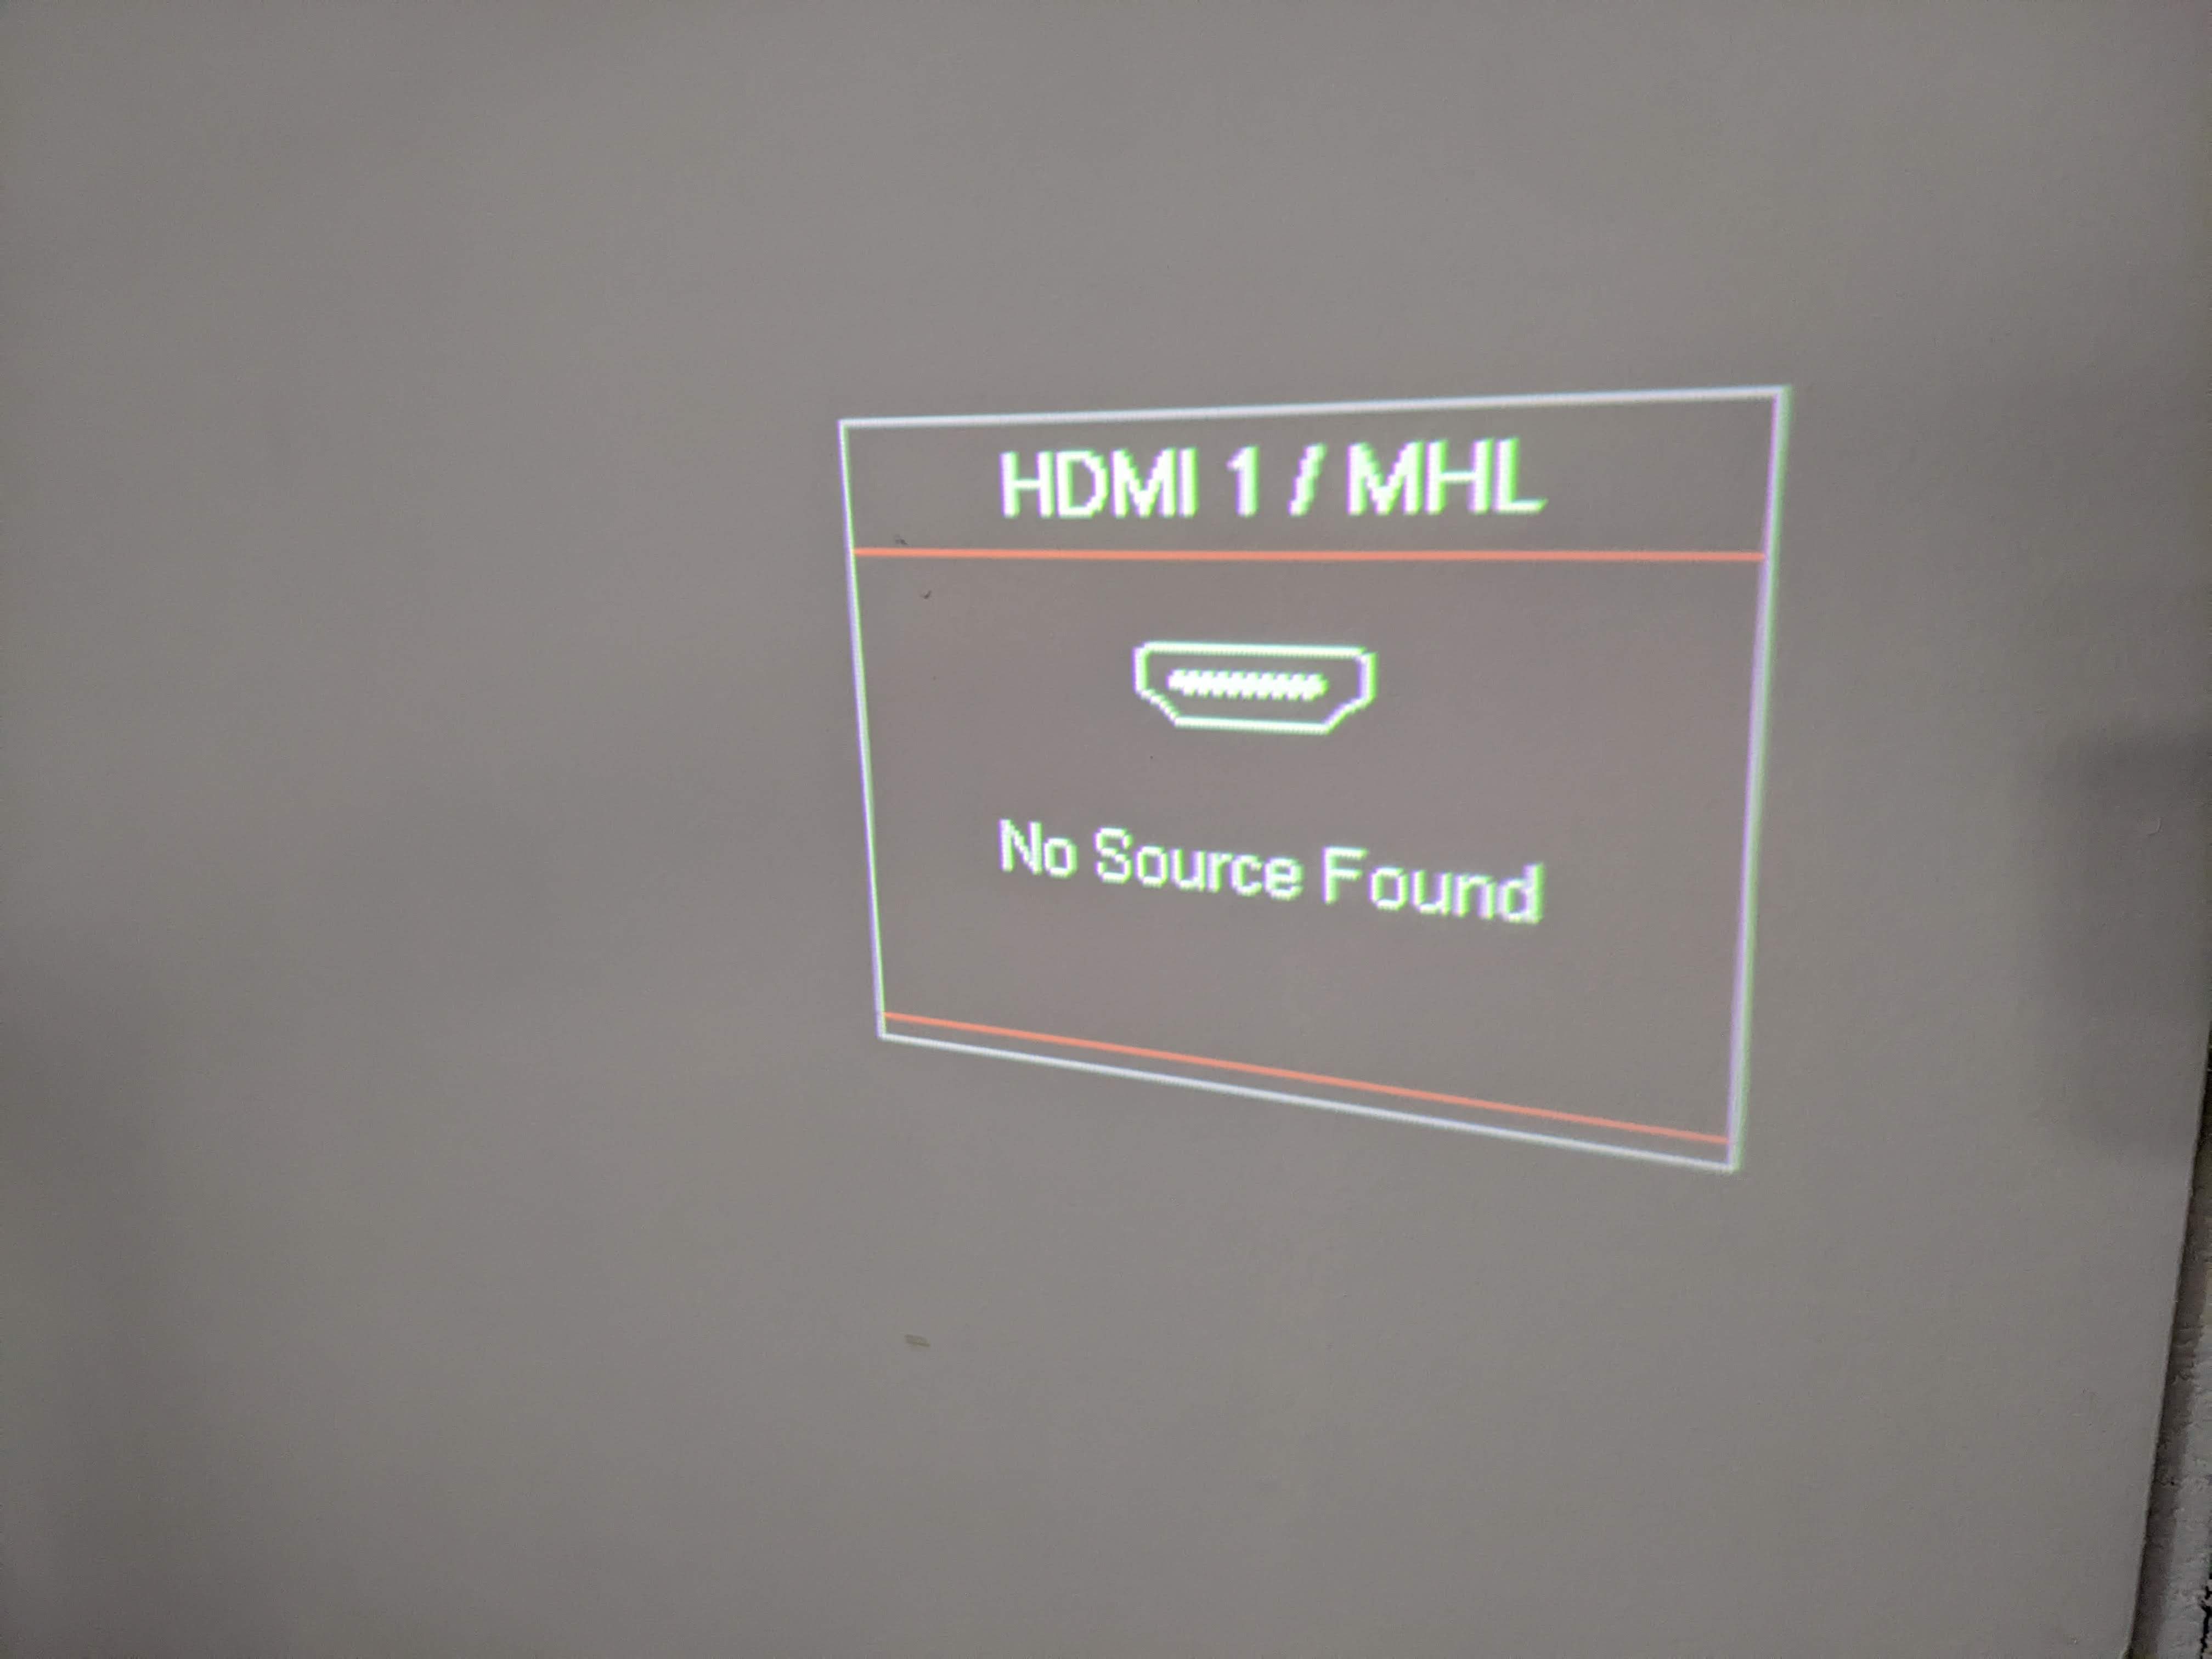
You may also see your device searching for a connection, if no HDMI connection is found, you may see a "No Source Found" screen. If this is the case, adjust the HDMI connection from the projector to the LuxOmni and restart your device.
When ready to continue, your device will project a black square. This square may not be visible.
Next you will need to connect your LuxOmni to Wi-Fi with the steps below.
STEP 2
Download Google Chrome from your cellphone’s app store. Skip this step if you already have Google Chrome downloaded.
STEP 3
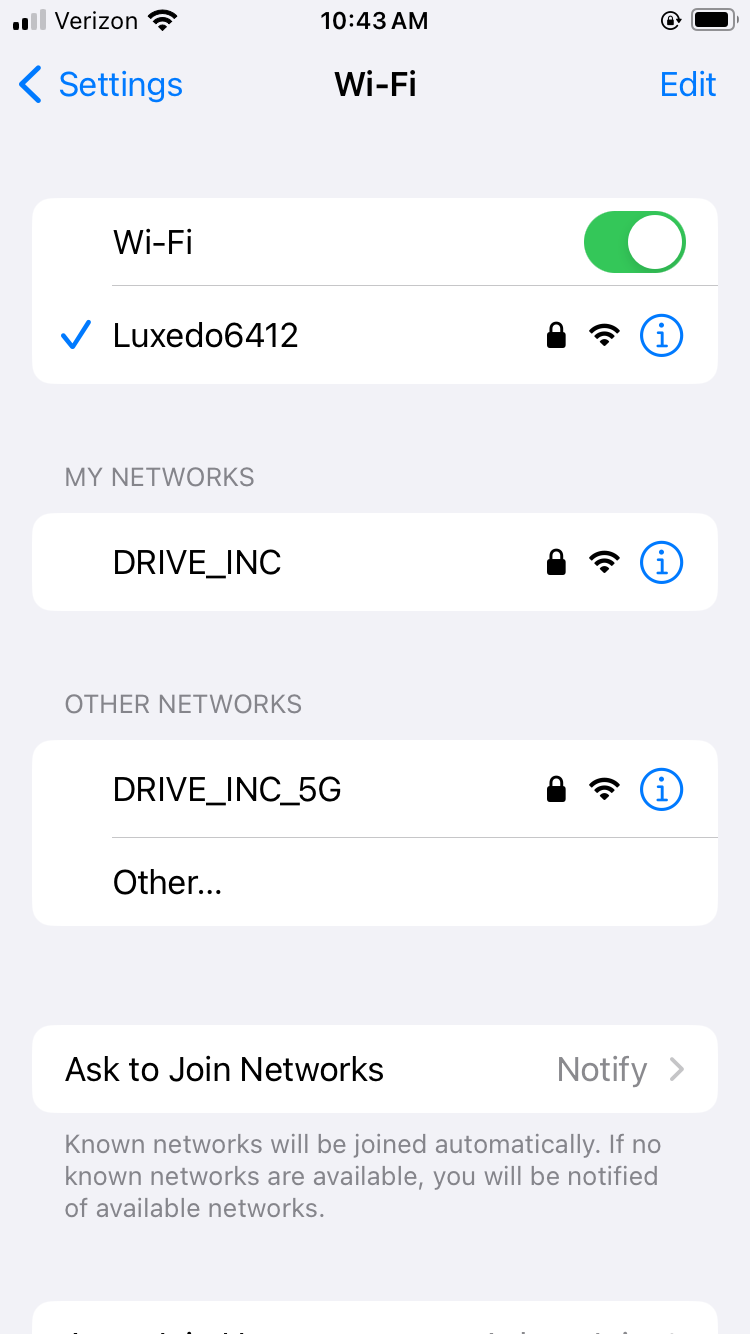
Every Luxedo projector broadcasts its own hotspot network so that you can get the projector connected to WiFi. This hotspot network does not actually connect to the internet and only exists so that you can control the projector with your phone. It will be called "LuxedoXXXX" (where the last four digits are your Device ID)
After your device has been plugged in for a few moments, on your laptop or phone, you should see that hotspot network appear. Before connecting to this network, please disable mobile data as this can often interfere with this process.
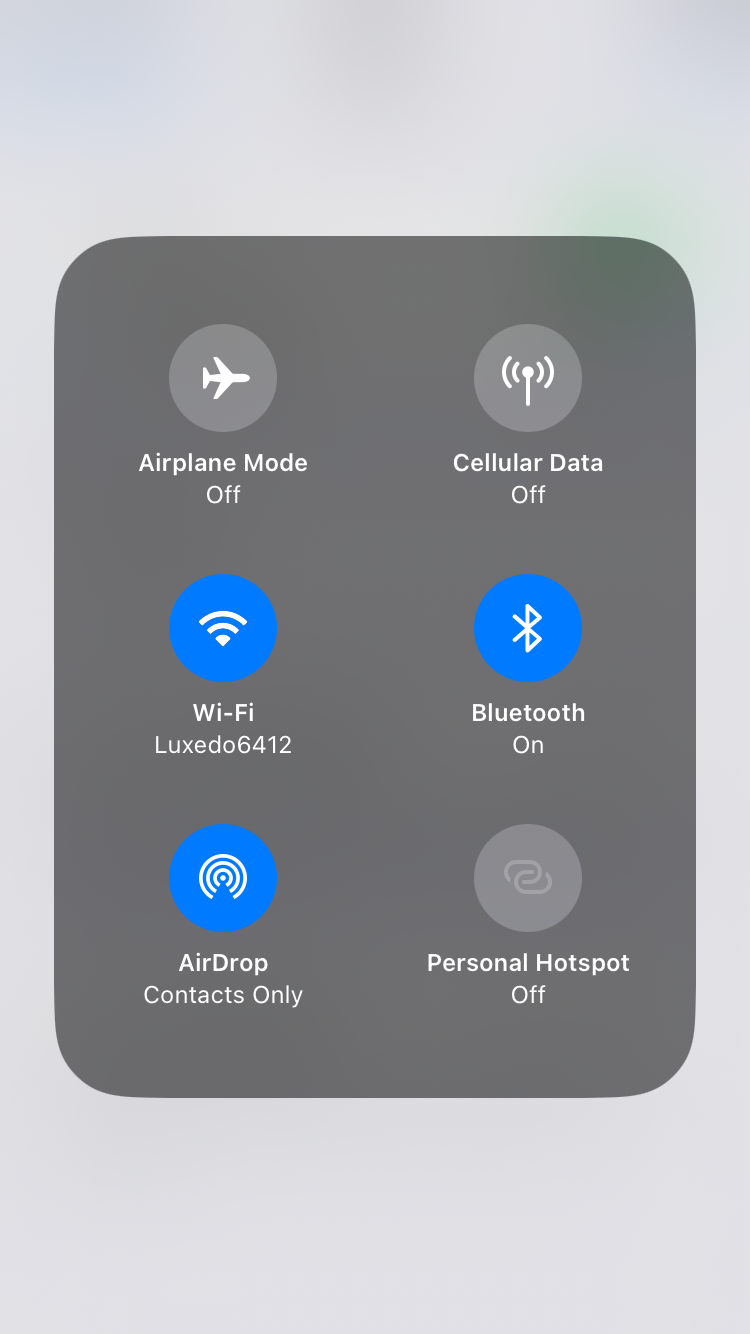
With your mobile data disconnected, go ahead and connect to it using the password provided to you on your pamphlet:
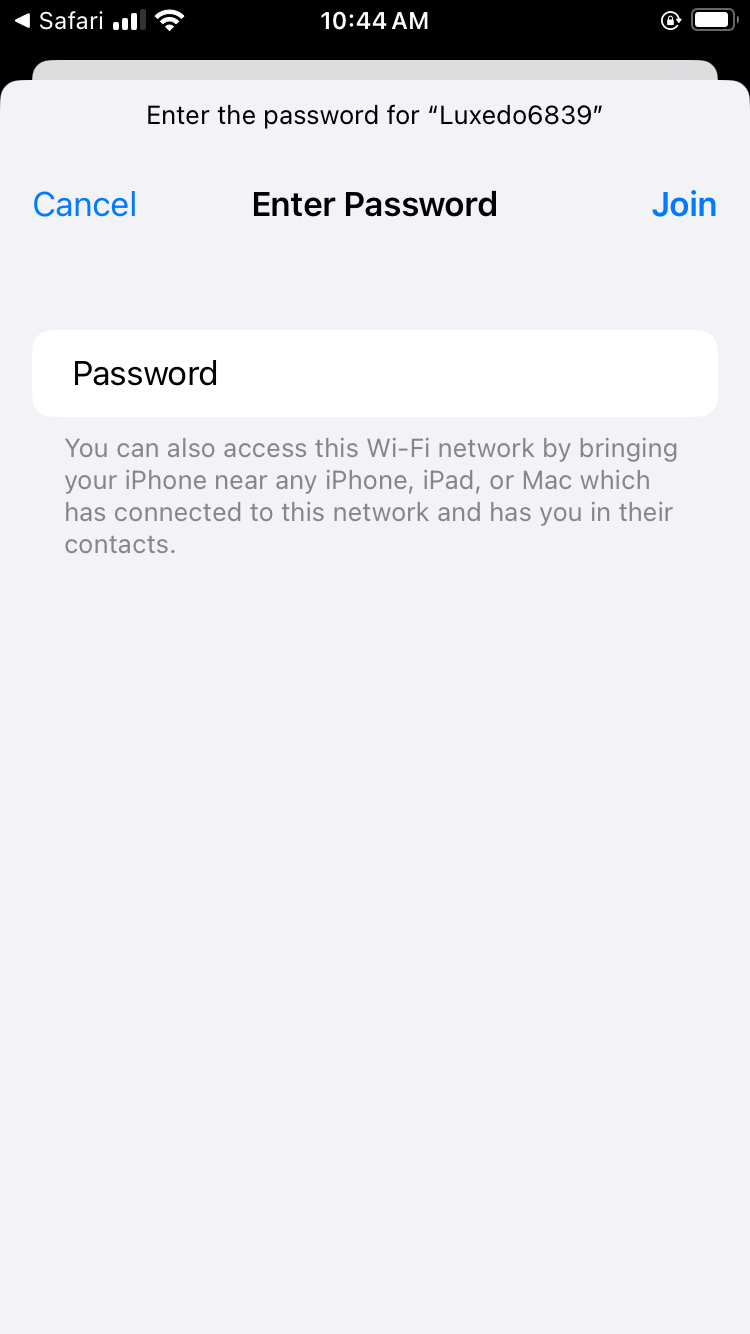
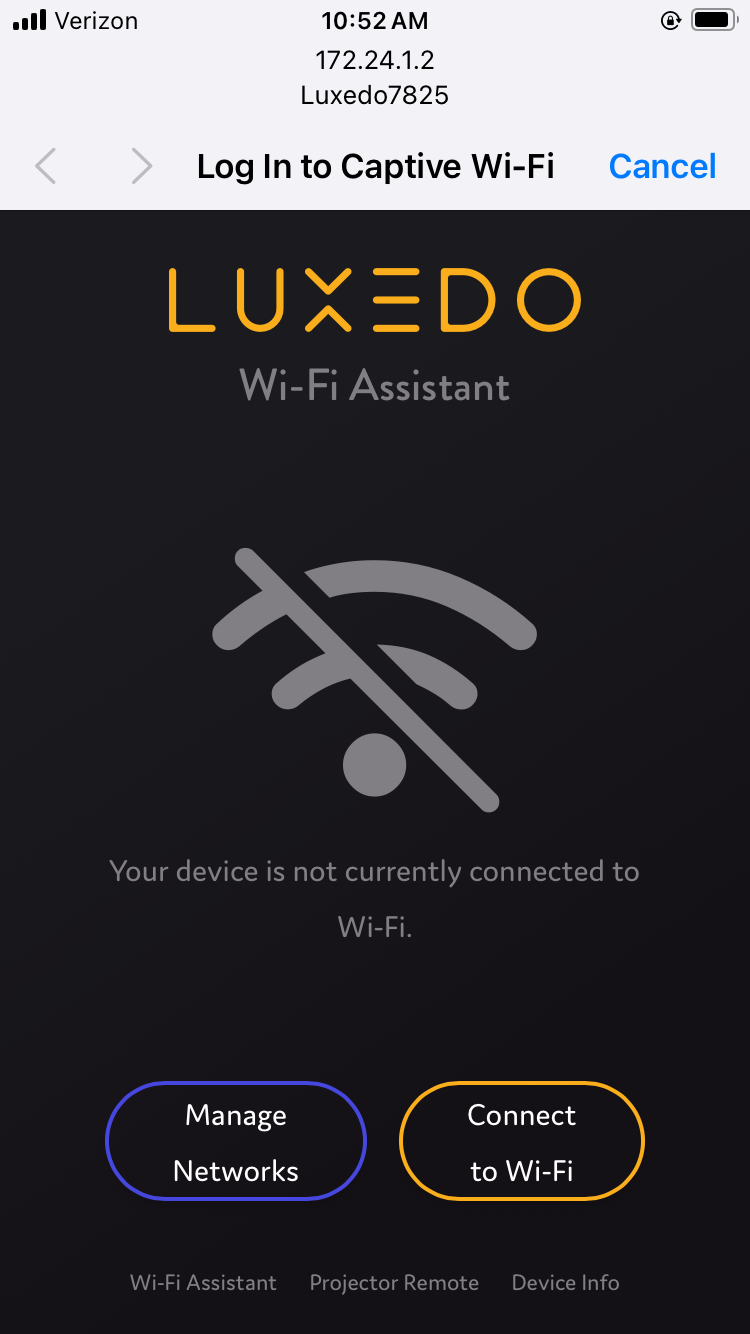
On most devices, step 3 should take you directly to the Wi-Fi manager page, but if you don't see it immediately, please open up your browser of choice and type in connect.luxedo.com or 172.24.1.2, this should take you to the Wi-Fi manager page. From the Wi-Fi manager page, click "Connect to Wi-Fi".
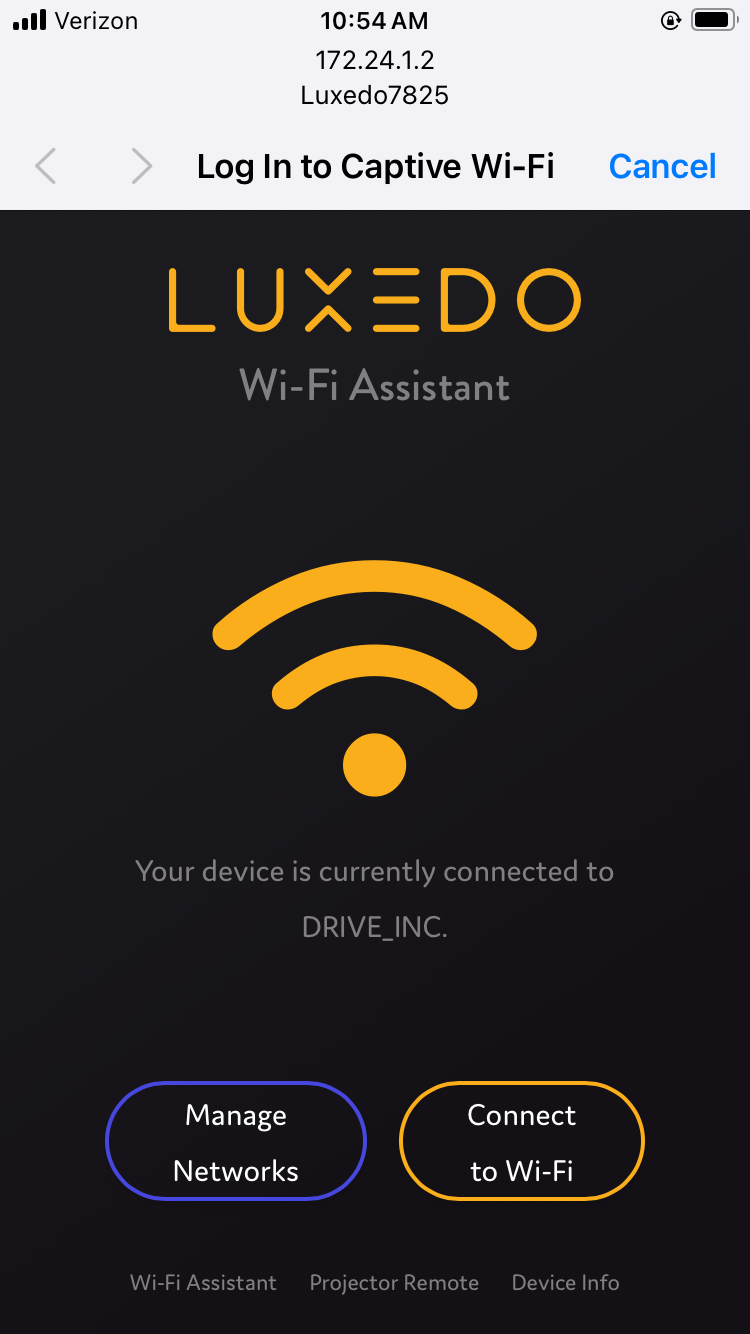
Find your home network, then connect to it as you normally would. In our case, it will be DRIVE_INC.
If your device has successfully connected to the internet, you will be taken back to the first page, but this time you should see that your device is connected!
Disconnect from the Luxedo hotspot network (LuxedoXXXX) on your phone. All successive control of your projector can now be done through the internet from anywhere and any device.
Part 2: Register Your Projector To Your MyLuxedo Account
- Go to the Projectors page of the new Luxedo portal.

- On the top of the page you will see the projectors already registered to your account, click the "+" icon then click "Register New Projector".
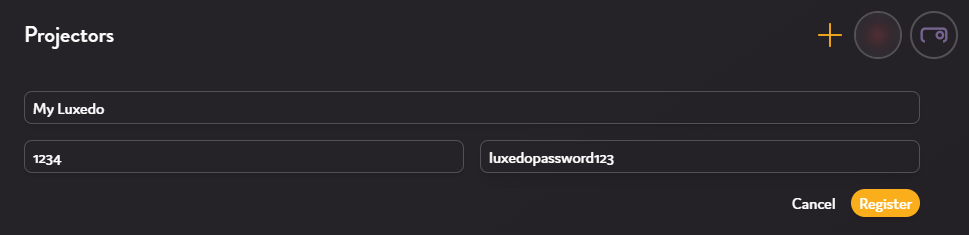
- Fill out the necessary information for you device. The ID and Password are available in your device's welcome guide. The device name can be anything you want - device location, model or anything in between - and can be changed at any
Optionally, you can also change the device color by clicking the device icon from the registration or settings page.
- Once you have your device information filled out, finish registration by clicking "Register" and your device will be added to your account.
Part 3: Calibrate Your Luxedo Projector
Once your device is registered to your account, you will need to calibrate your device. Calibration is an automated process where your Luxedo device will project patterns while capturing images of the projection using the onboard camera. Once all the images are captured, the images will then be processed to create a snapshot that truly reflects your projection space. This snapshot will be used as a guide to create your future shows.
Before Calibrating
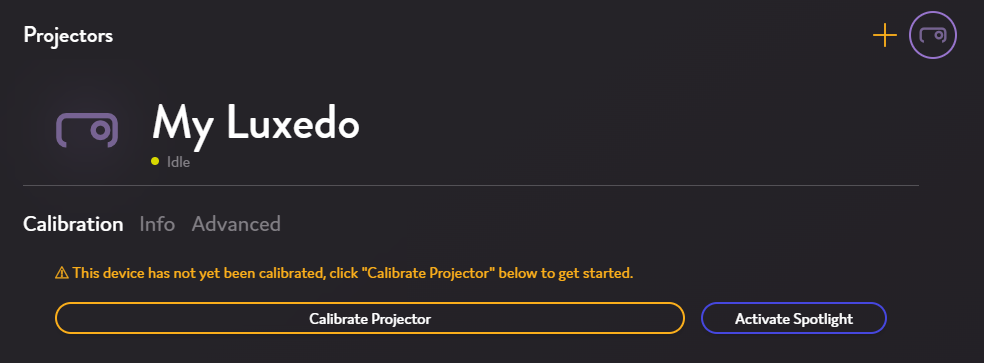
Before calibrating, ensure your device is accurately covering your projection space. To do this, click the "Activate Spotlight" button. This will tell your Luxedo to project a white box. Use this to adjust the position of your device.
Calibrating Your Device
Now that your Luxedo device is positioned correctly, it is time to start calibrating!
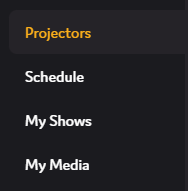
1. Go to the Projectors page in the MyLuxedo Portal and select your projector from the top of the screen that needs to be calibrated.
2. Go to the Calibration tab within the device settings.
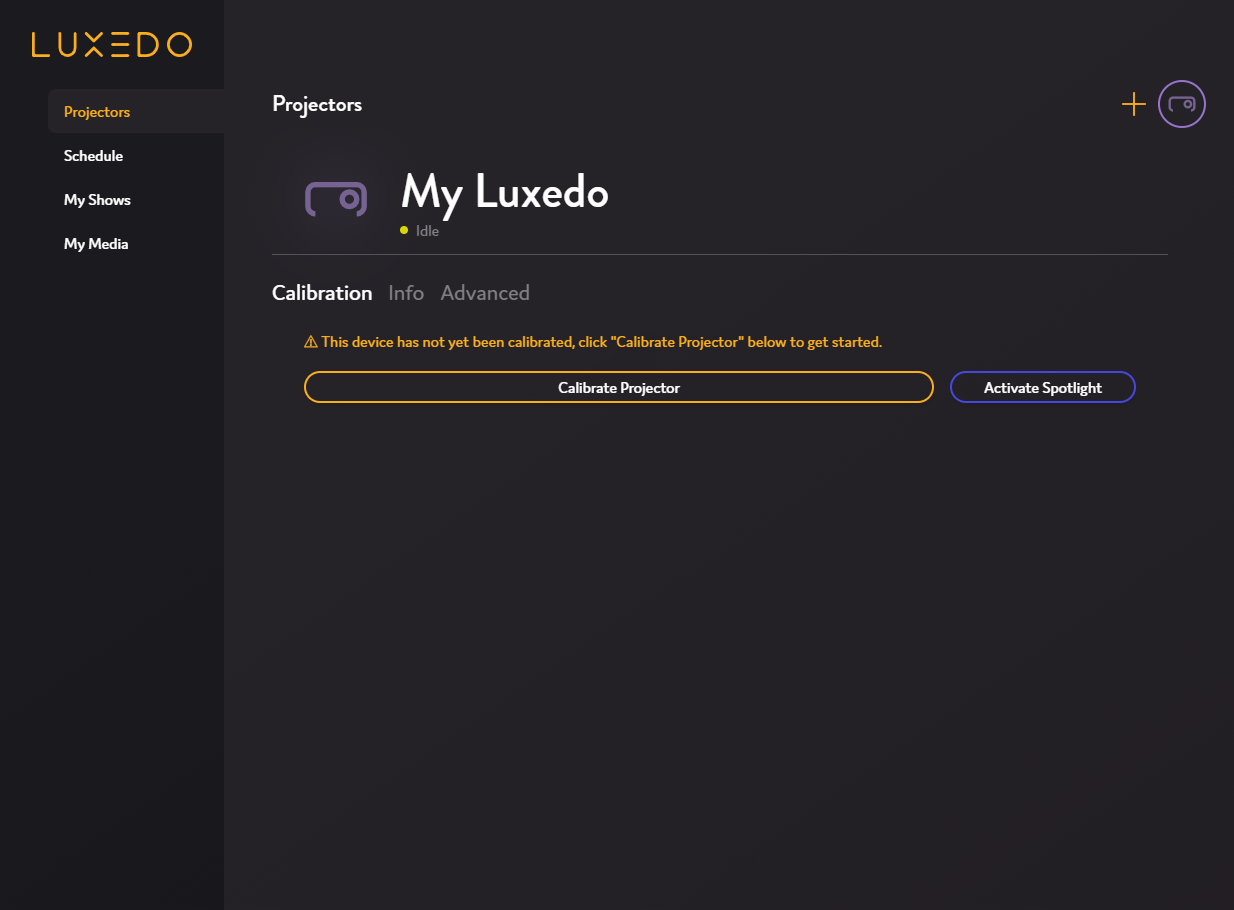
3. Click the "Calibrate Projector" button to open the calibration overlay.
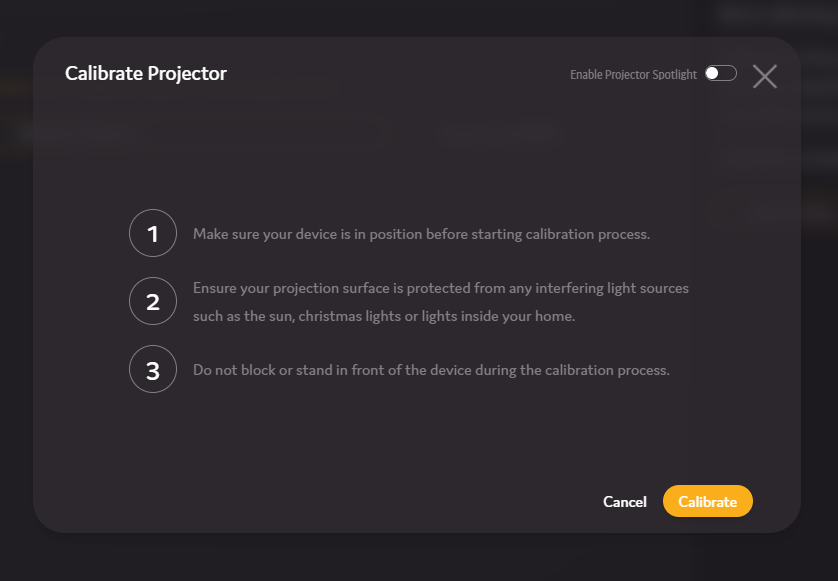
4. When ready, click the "Calibrate" button - this will start the calibration process. Be sure not to move or step in front of your device while it is calibrating.
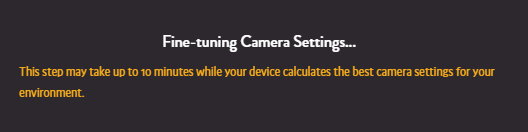
Because everyone's projection space is different, your device must first detect the best internal settings for your environment.
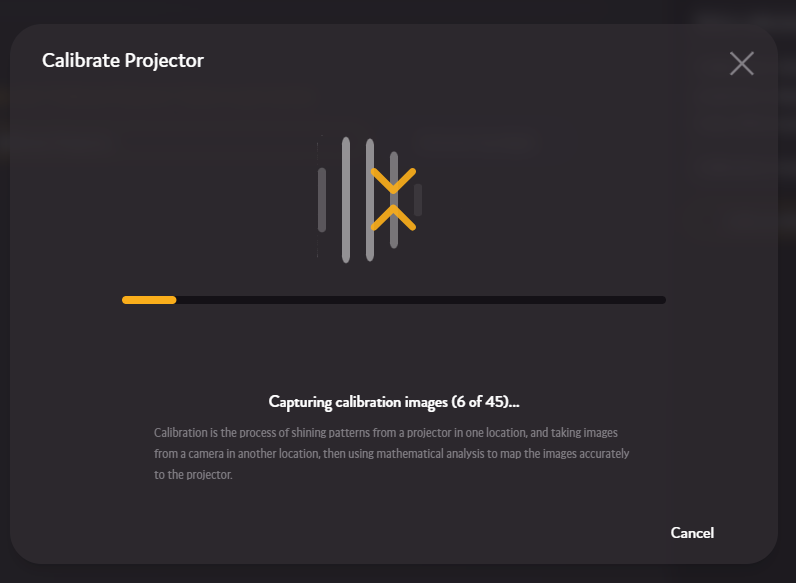
Once the internal camera settings have been successfully configured, your Luxedo projector will begin the calibration process.
4. Sit back and allow your device to complete the calibration (this may take a while, as each image must be projected, captured and sent to a processing center).
Once the calibration is complete you will receive a snapshot (an algorithmically generated image designed to reflect the projection space), which you can use as a guide to create your shows. To simplify show creation, it is recommended to create masks after calibrating.
Part 4 : Masking your Projection Space
Before creating any shows, it is recommended to mask out specific sections of your projection space, as this allows you to control where projected content appears within your shows.
Configuring masks for your most recent snapshot / calibration is done in the Mask Editor. Here you will create or edit masks to be imported every time you create a new scene.
Accessing the Mask Editor
- Navigate to the Projectors page and select your active device.
- Navigate to the "Calibration" tab (
 ).
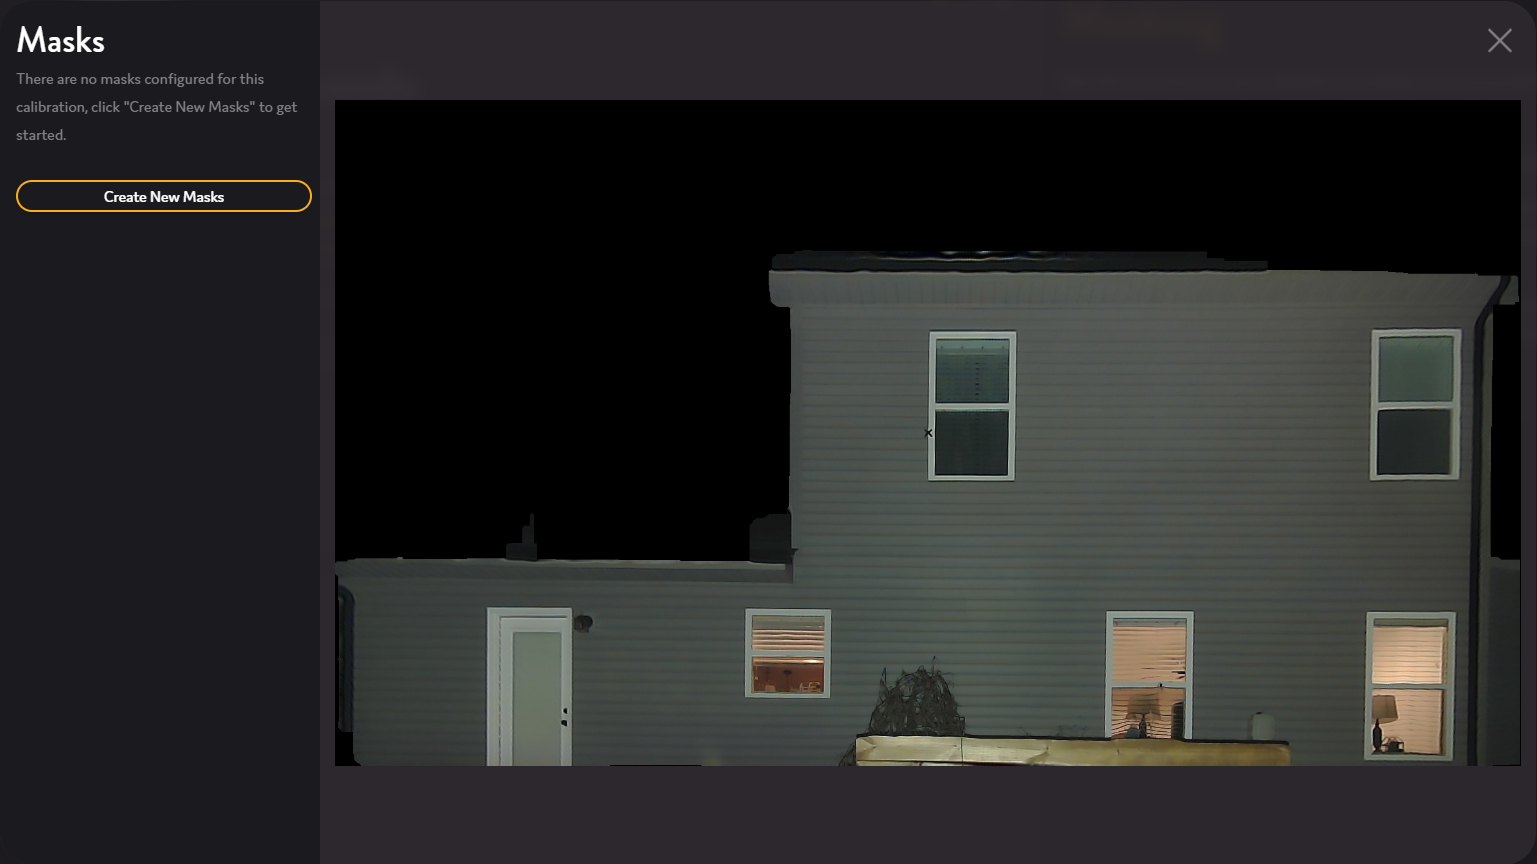
). - Here you will see a list of your device's calibrations, with dropdowns for Snapshots and Masks. Click on "Masks".

- This will open a preview of the Masks configured for this calibration. If you have no relevant masks, you will need to create new masks. Click the "Create New Masks" button (
 ) - this will open the Mask Editor.
Using the Mask Editor
- If you had created masks for a previous calibration, you could import them here. For now, lets create new ones. Click the "Create New Masks" button (
 ) - this will open the New Mask menu.
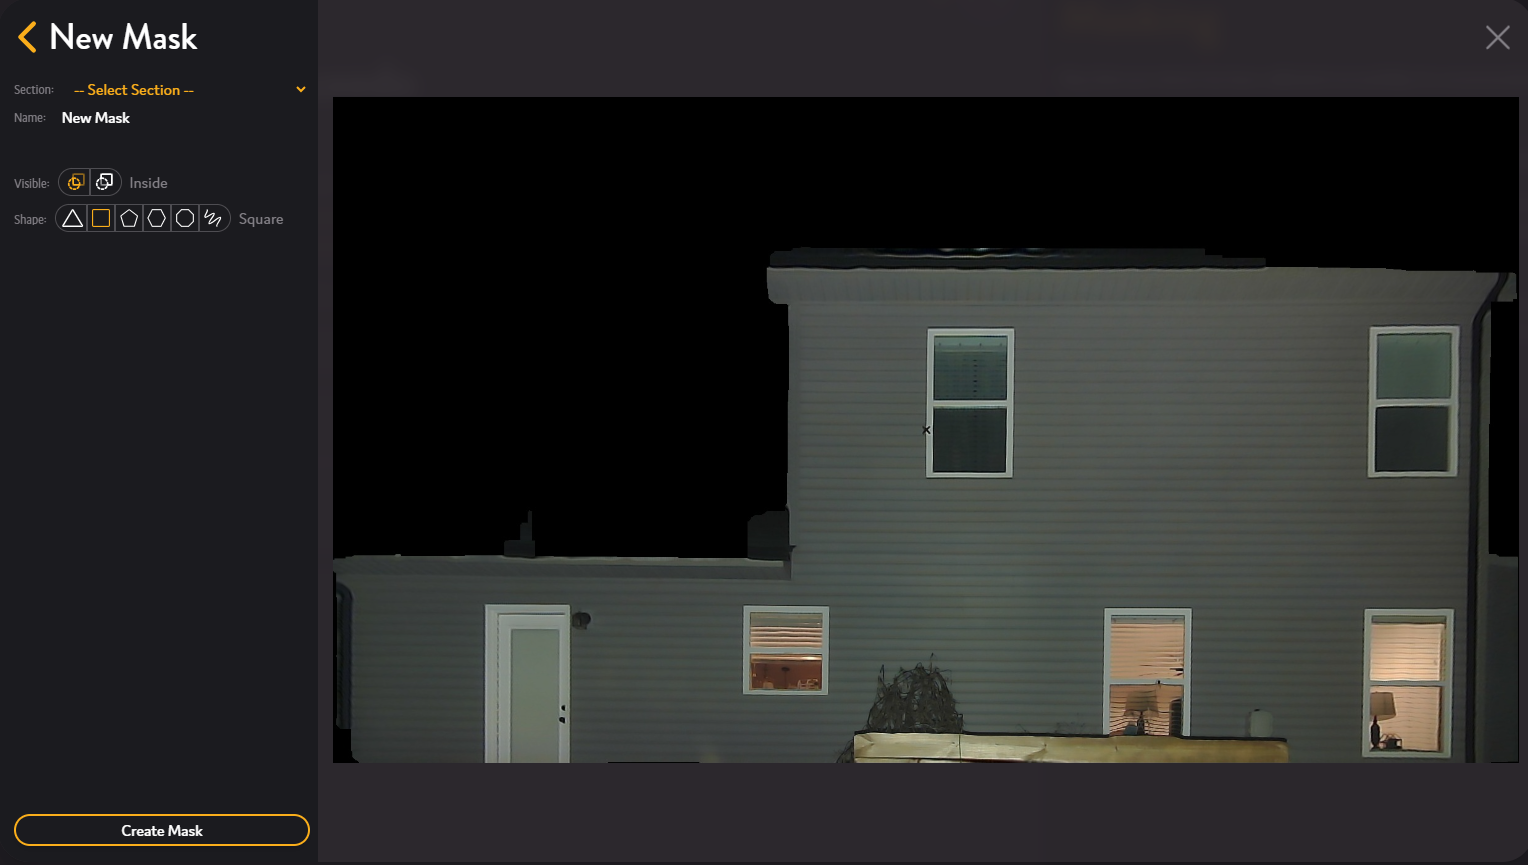
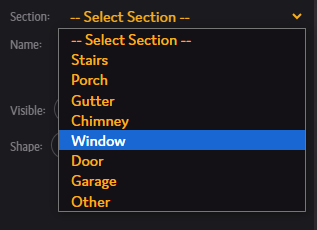
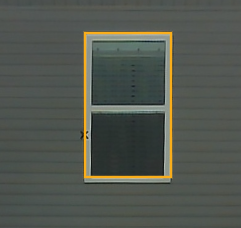
- Select a section of your home - for now, we are going to start with a window. This will automatically give it the name window - feel free to change this to be more specific.
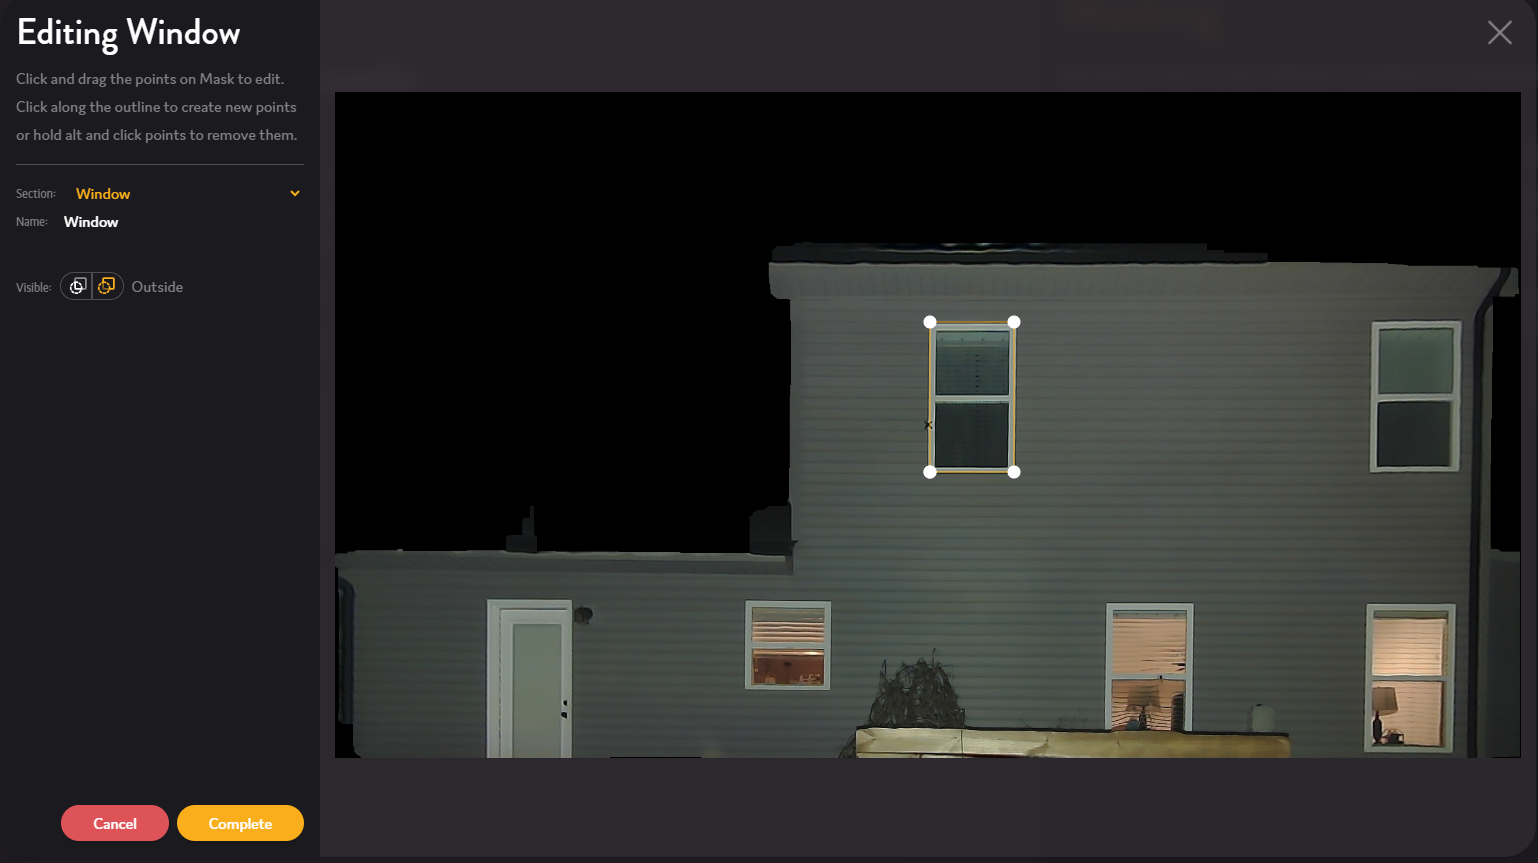
- Select the mask visibility - if you want content to only appear inside of the masked section, select the left "inside" option (
 ). Otherwise if you want content to only appear outside of the masked section, select the right "outside" option (
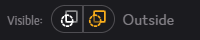 ). Because we have selected a window, selecting "outside" is probably the best option - we don't want to be projecting into the house!
 - Select the starting shape - this will outline the mask boundaries. Don't worry, you can edit the shape. Because we have selected a rectangular window, I will select the "square" option (
 ).
). - Click "Create Mask" - this will put us in mask creation mode. Now you can click and drag on the window to create a square mask around it.
- Once finished, you will see a preview of the mask you just created on the left side of the Mask Editor.
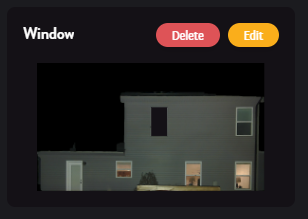
- Hover your mouse over the mask preview to see its outline on your snapshot.
- Click the mask preview to select it - once selected, you can move it around by dragging.
- Click the Edit button to transform it - here you can add points and update the section, name and visibility. Once finished, click the "Complete" button.
- After creating your masks, click the "Save" button (
 ). This will save all of your masks to be imported into your next scene!
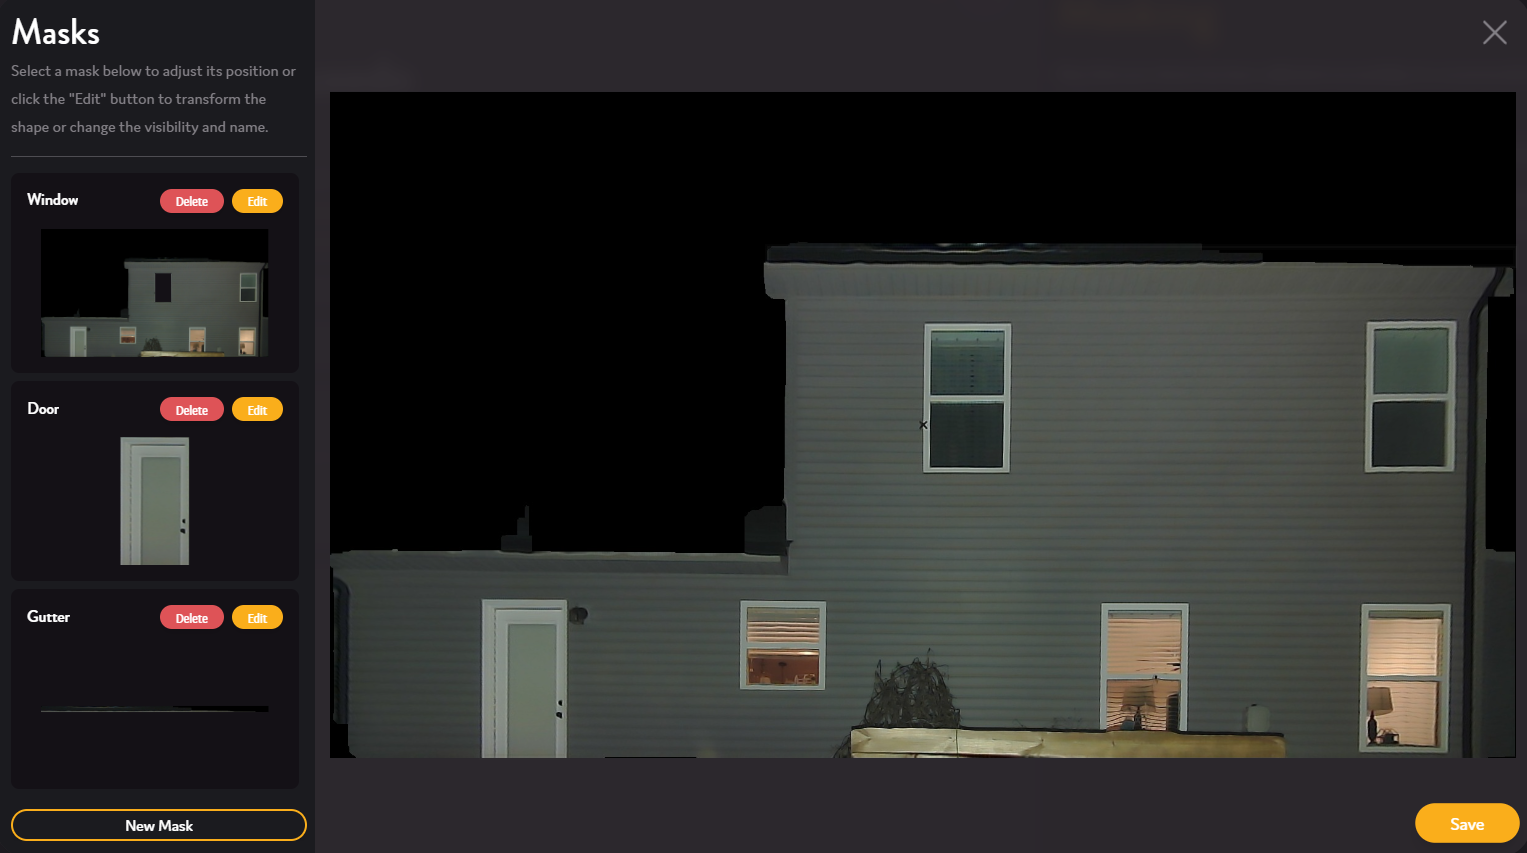
Part 5 : Creating a Scene For Your Projector
- Navigate to the My Shows page.

- Click the "Create Scene" button (
 ) - this will open the new scene overlay.
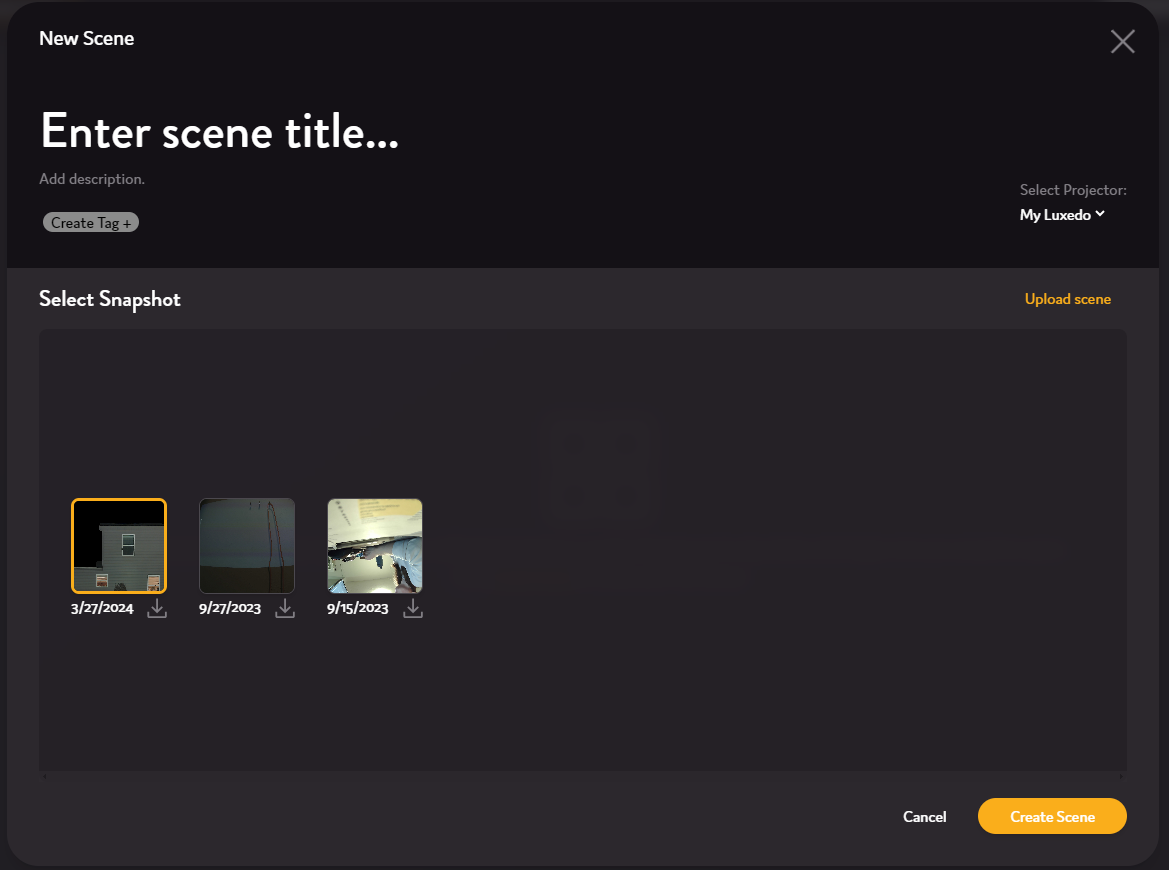
- Enter a title for your scene by double clicking the text "Enter scene title..."
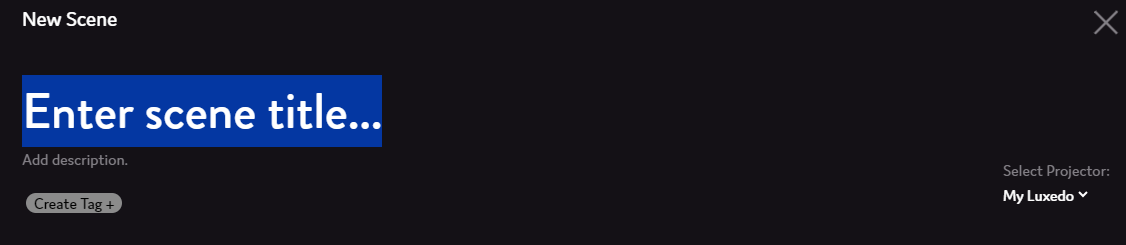
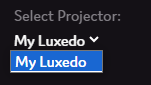
- Select the projector this scene will be linked to.
- You can also add tags to help organize your scenes by clicking the "Create Tag +" button, entering a name and selecting the new tag (
 ).
). - Click the snapshot you would like to use (usually the most recent one).
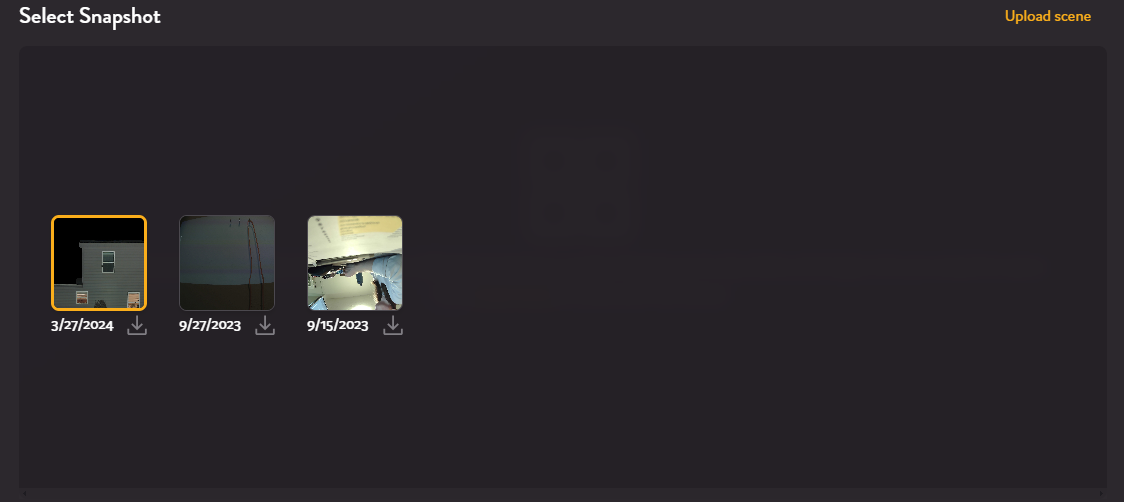
- Click the "Create Scene" button (
 ) - this will create the scene and take you to the Luxedo Scene Editor.
If you need any help while editing your new scene, you can follow more guides here.