Creating Masks for your SnapshotUpdated 6 months ago

Before creating any shows, it is recommended to mask out specific sections of your projection space, as this allows you to control where projected content appears within your shows.
Configuring masks for your most recent snapshot / calibration is done in the Mask Editor. Here you will create or edit masks to be imported every time you create a new scene.
If you have not calibrated your device yet, you will need to do that first.
Accessing the Mask Editor
- Navigate to the Projectors page and select your active device.
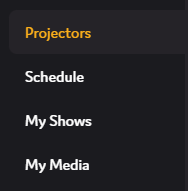
- Navigate to the "Calibration" tab (
 ).
). - Here you will see a list of your device's calibrations, with dropdowns for Snapshots and Masks. Click on "Masks"

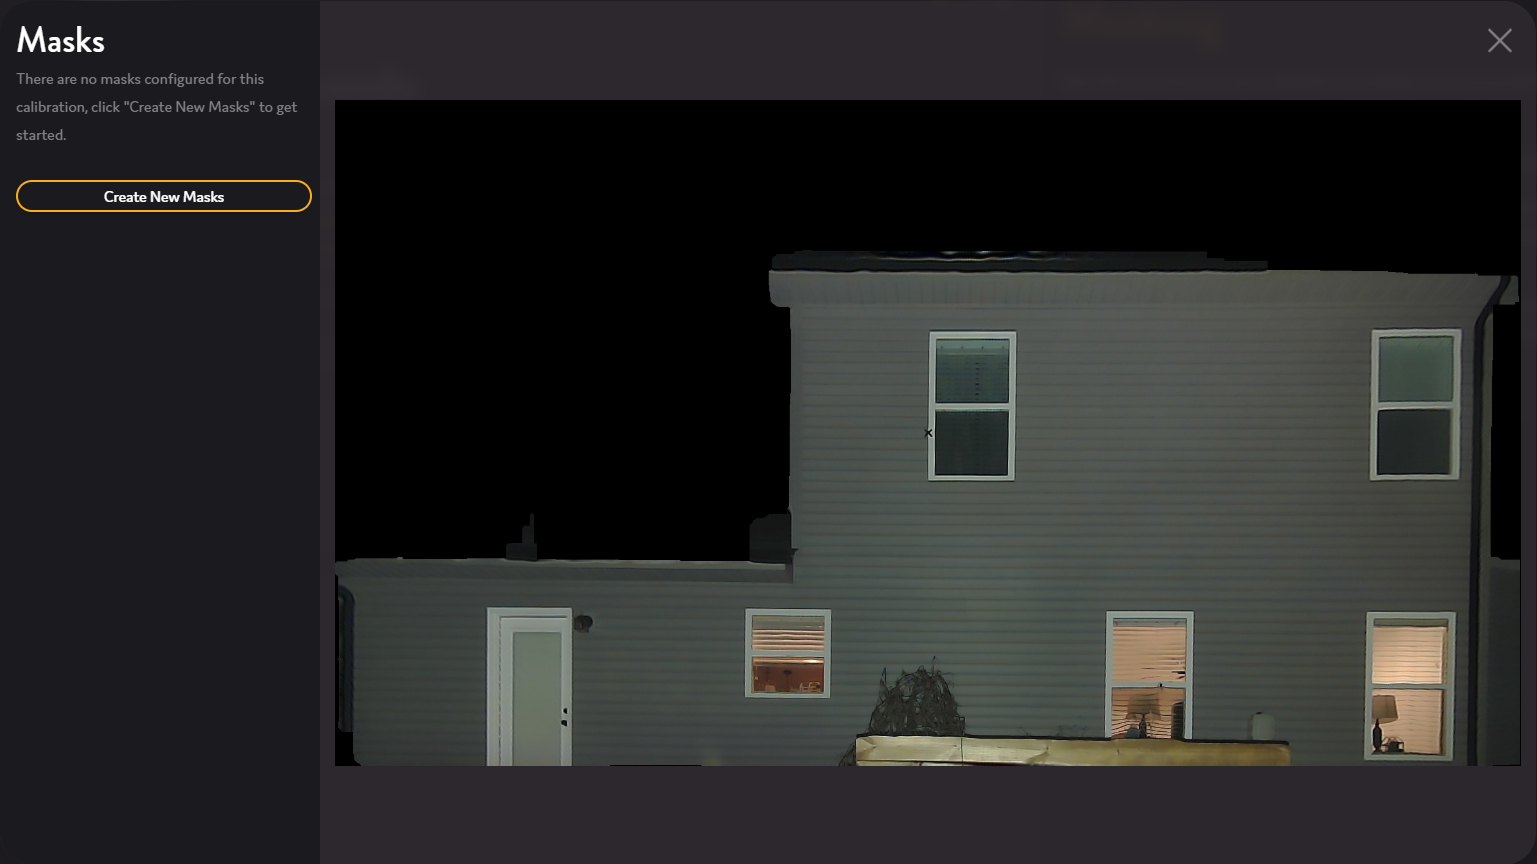
- This will open a preview of the Masks configured for this calibration. If you have no relevant masks, you will need to create new masks. Click the "Create New Masks" button (
 ) - this will open the Mask Editor.
Using the Mask Editor
- If you had created masks for a previous calibration, you could import them here. For now, lets create new ones. Click the "Create New Masks" button (
 ) - this will open the New Mask menu.
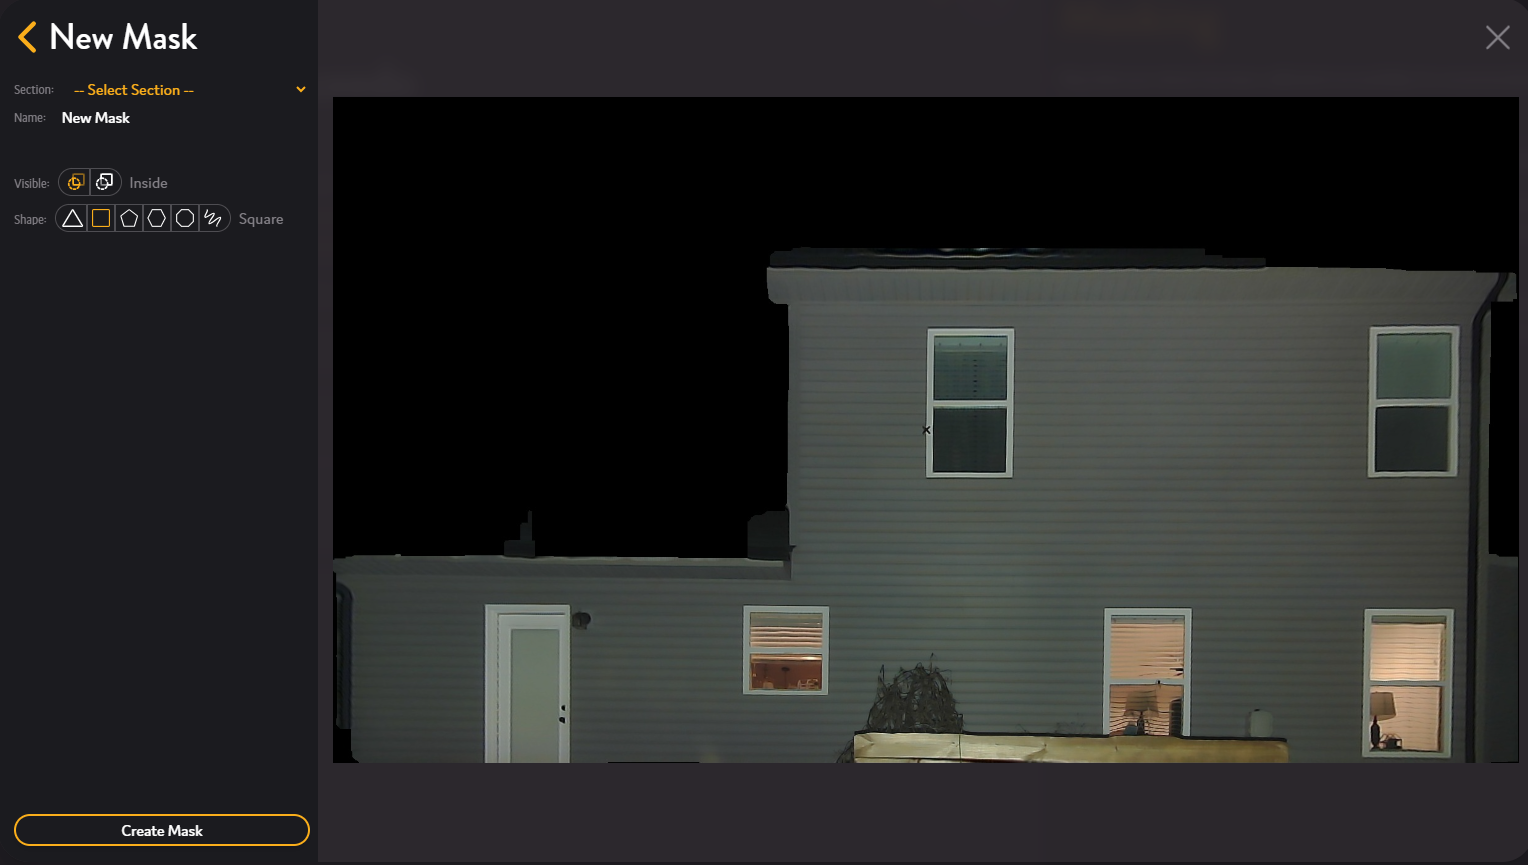
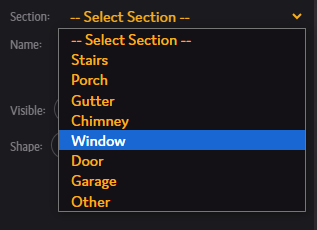
- Select a section of your home - for now, we are going to start with a window. This will automatically give it the name window - feel free to change this to be more specific.
- Select the mask visibility - if you want content to only appear inside of the masked section, select the left "inside" option (
 ). Otherwise if you want content to only appear outside of the masked section, select the right "outside" option (
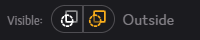 ). Because we have selected a window, selecting "outside" is probably the best option - we don't want to be projecting into the house!
 - Select the starting shape - this will outline the mask boundaries. Don't worry, you can edit the shape. Because we have selected a rectangular window, I will select the "square" option (
 ).
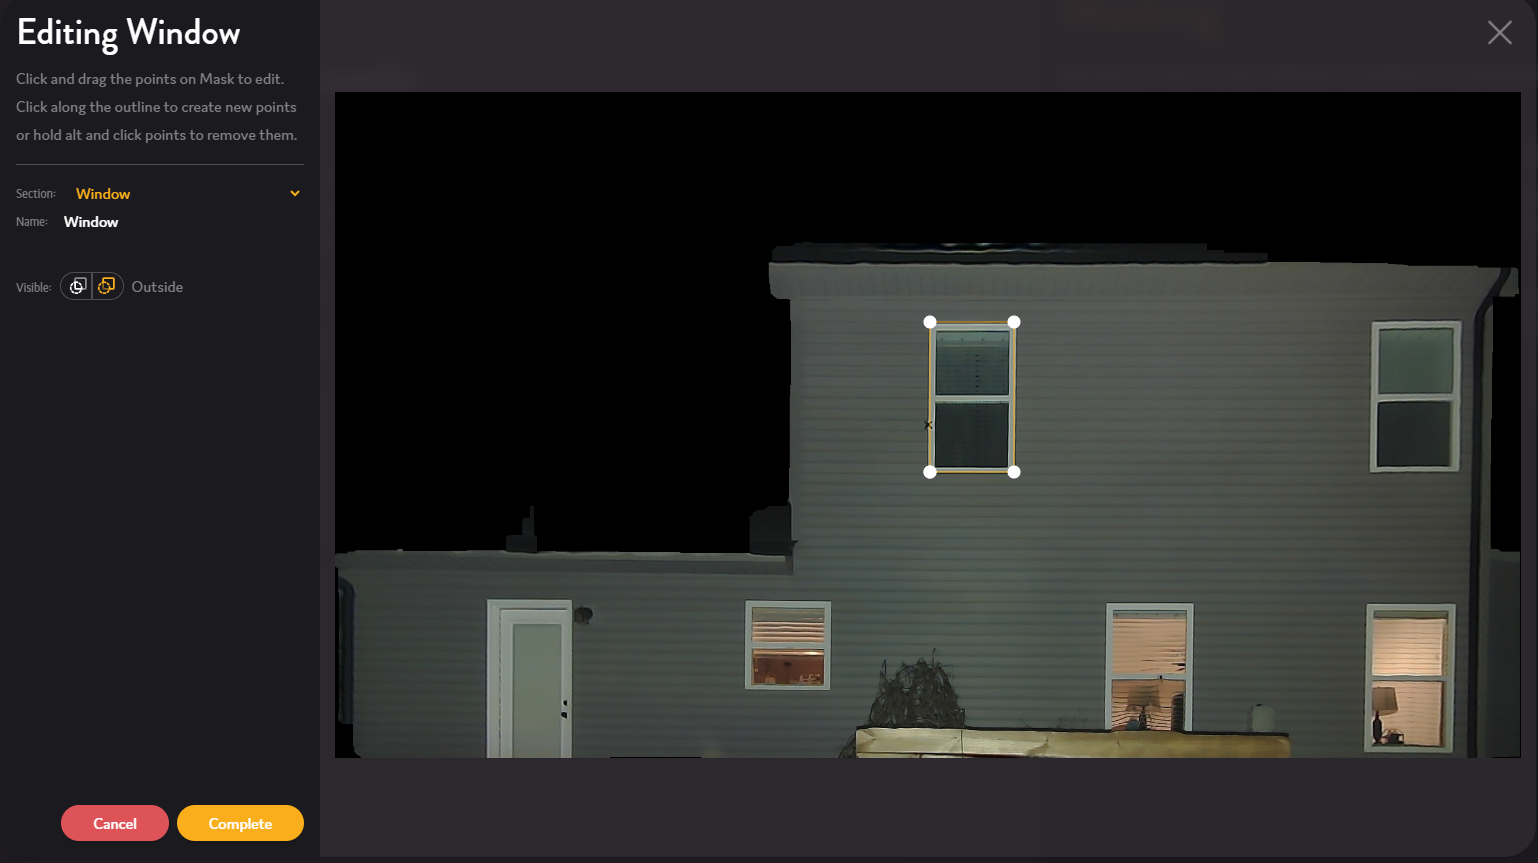
). - Click "Create Mask" - this will put us in mask creation mode. Now you can click and drag on the window to create a square mask around it.
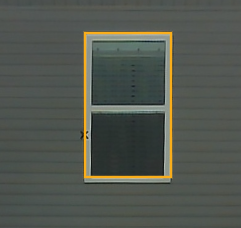
- Once finished, you will see a preview of the mask you just created on the left side of the Mask Editor.
- Hover your mouse over the mask preview to see its outline on your snapshot.
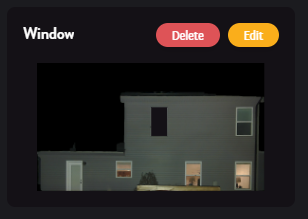
- Click the mask preview to select it - once selected, you can move it around by dragging.
- Click the Edit button to transform it - here you can add points and update the section, name and visibility. Once finished, click the "Complete" button.
- After creating your masks, click the "Save" button (
 ). This will save all of your masks to be imported into your next scene!
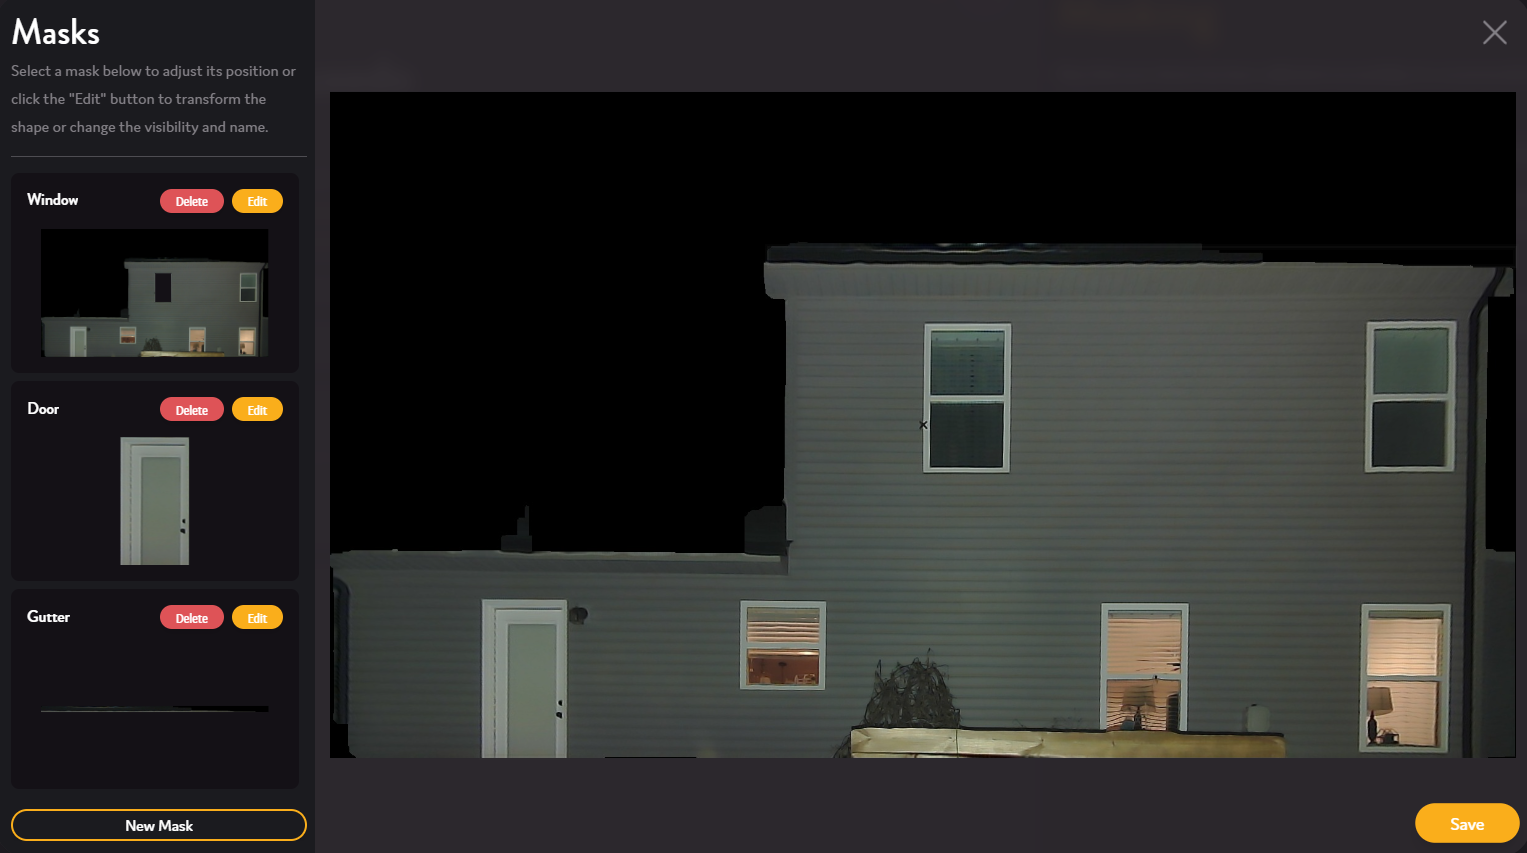
Once you have configured masks for your snapshot, you are ready to create your first show! To learn more, check out this article.