Registering your LuxHome to the Luxedo AppUpdated 6 months ago
 Connecting your LuxHome to Wi-Fi
Before using LuxHome, the system must first be added to your account before you are able to play or schedule any scenes you've made for it. Once added you are able to calibrate and begin bringing your environment to life.
Adding a New Projector
- Go to the Projectors page of the Luxedo app.

- On the top of the page you will see the projectors already registered to your account, click the "+" icon then click "Register New Projector".
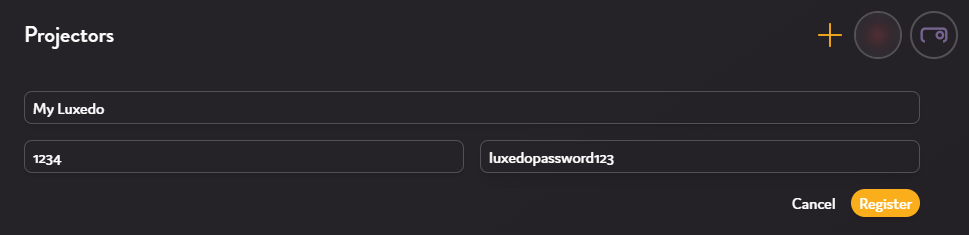
- Fill out the necessary information for you device. The ID and Password are available in your device's welcome guide. The device name can be anything you want - device location, model or anything in between - and can be changed at any
Optionally, you can also change the device color by clicking the device icon from the registration or settings page.
- Once you have your device information filled out, finish registration by clicking "Register" and your device will be added to your account.
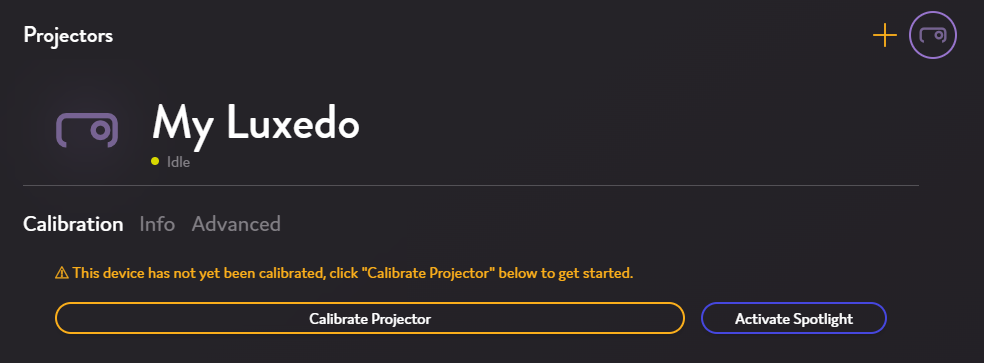
Your device should now be registered to your app, and showing as Idle. Before moving on to the next step, you should check your Wi-Fi under the Downloads tab:
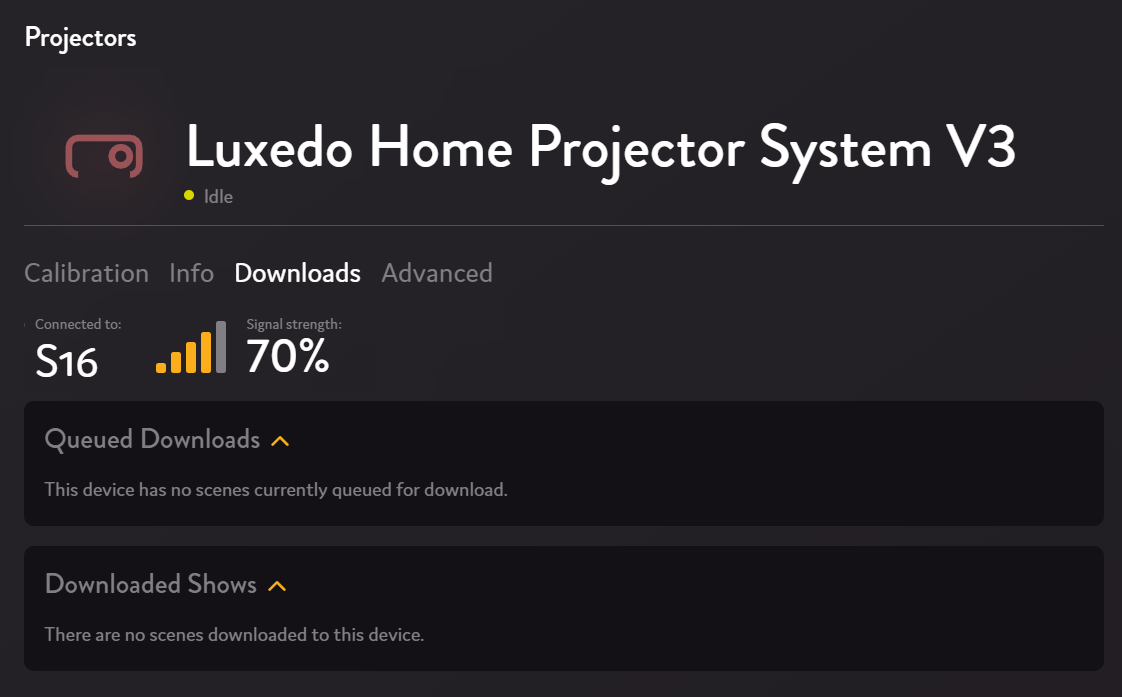
So long as you are connected to Wi-Fi, you can use your system. If your signal strength is consistently dropping below 30%, however, there is a chance your calibration will be stuck in loading, so we recommend considering our Unstable Wi-Fi connection guide
Once your device is registered and online, calibrating it should be your next task.